Receiving in the client app
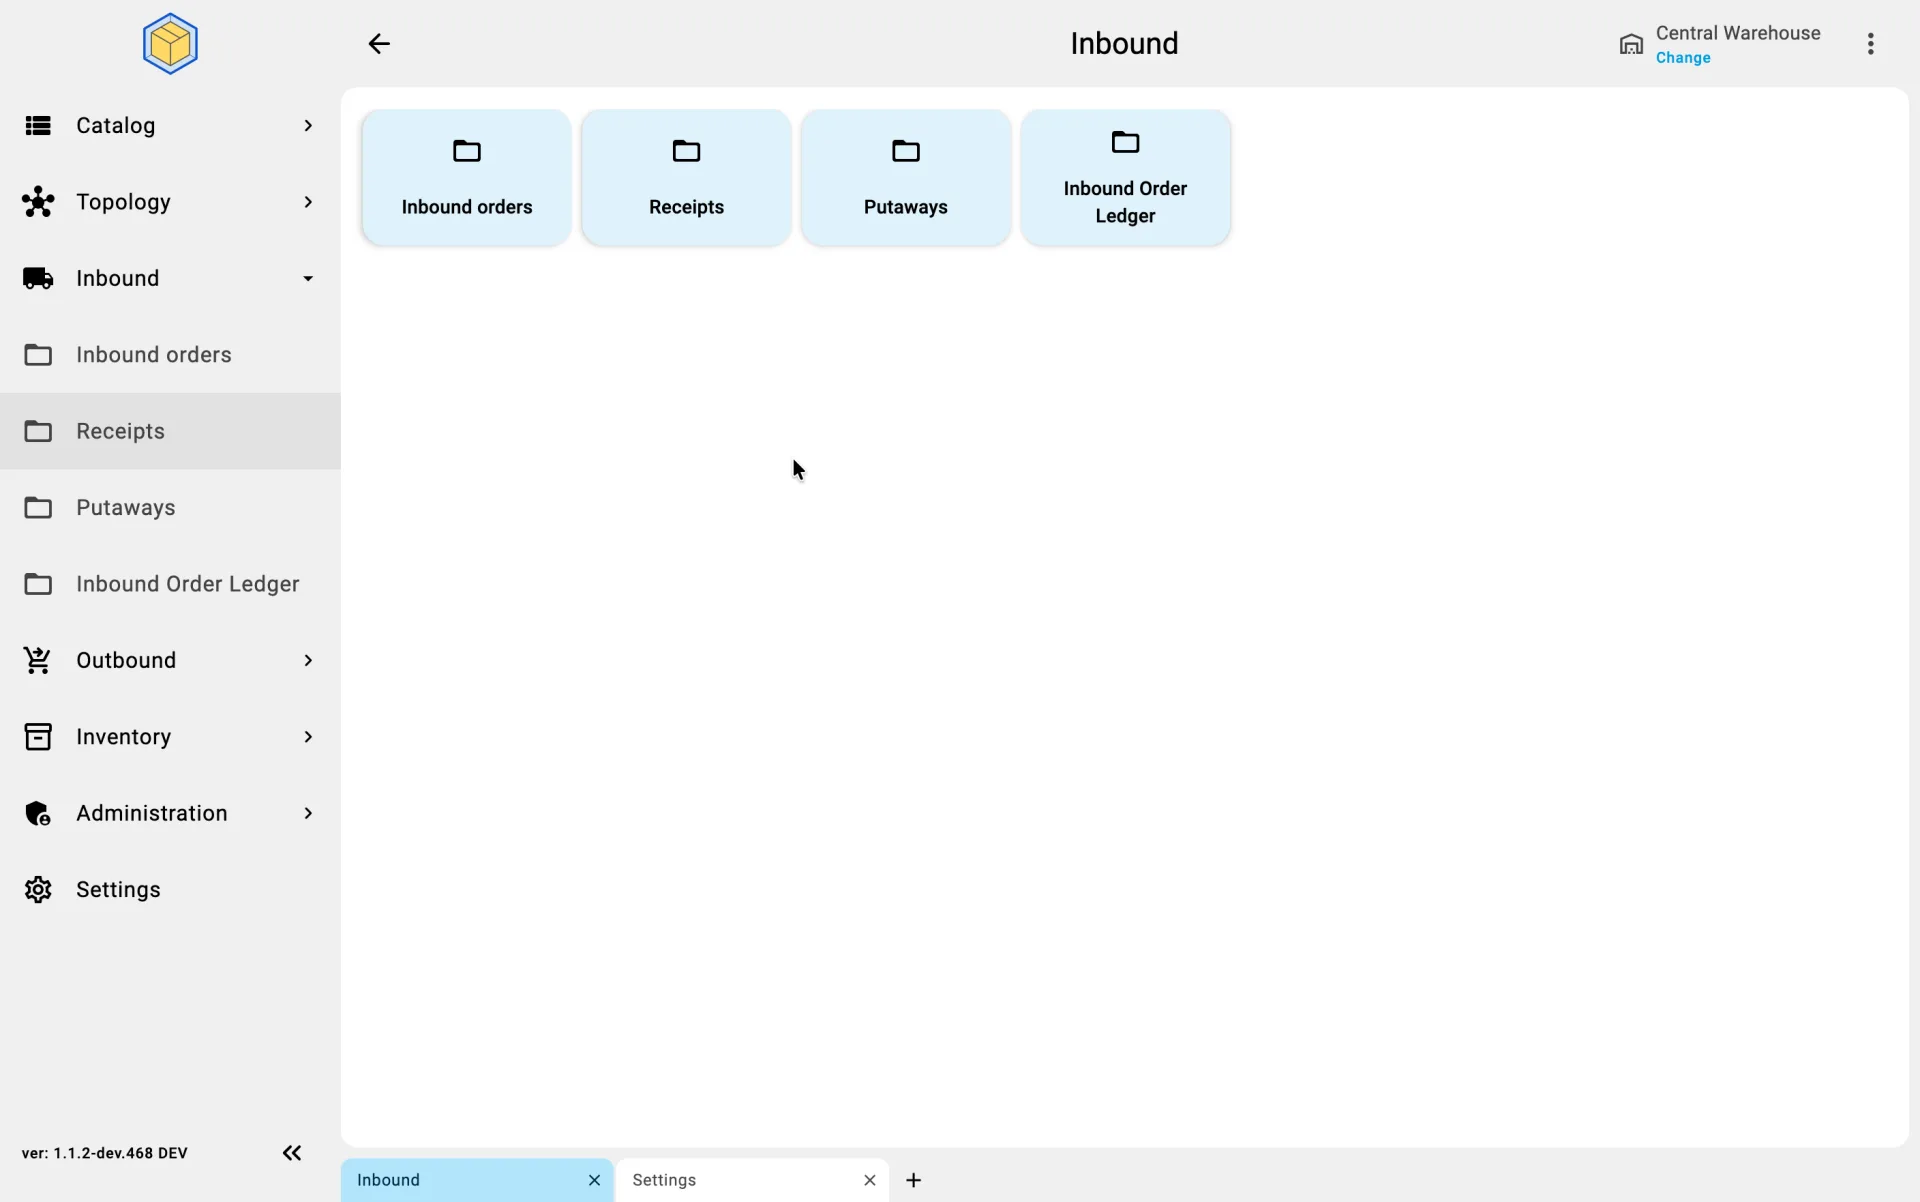
This document describes the end-to-end receiving process as it runs in the client app (on a workstation — a desktop computer or a shift supervisor's tablet). All eight phases — from creating the document to closing it — are visible to the operator as tabs and checklists in the full working interface.
If you are looking for receiving on the PDT, see Receiving on PDT. The Inbound Order is not part of this process: it is an input into it and is documented separately.
Use the variation picker on the right (or the collapsed block above the text on a narrow screen) to tailor the process to your warehouse settings; leave any dimension unset to see every branch.
Common scenarios
Phase 1. Receipt creation
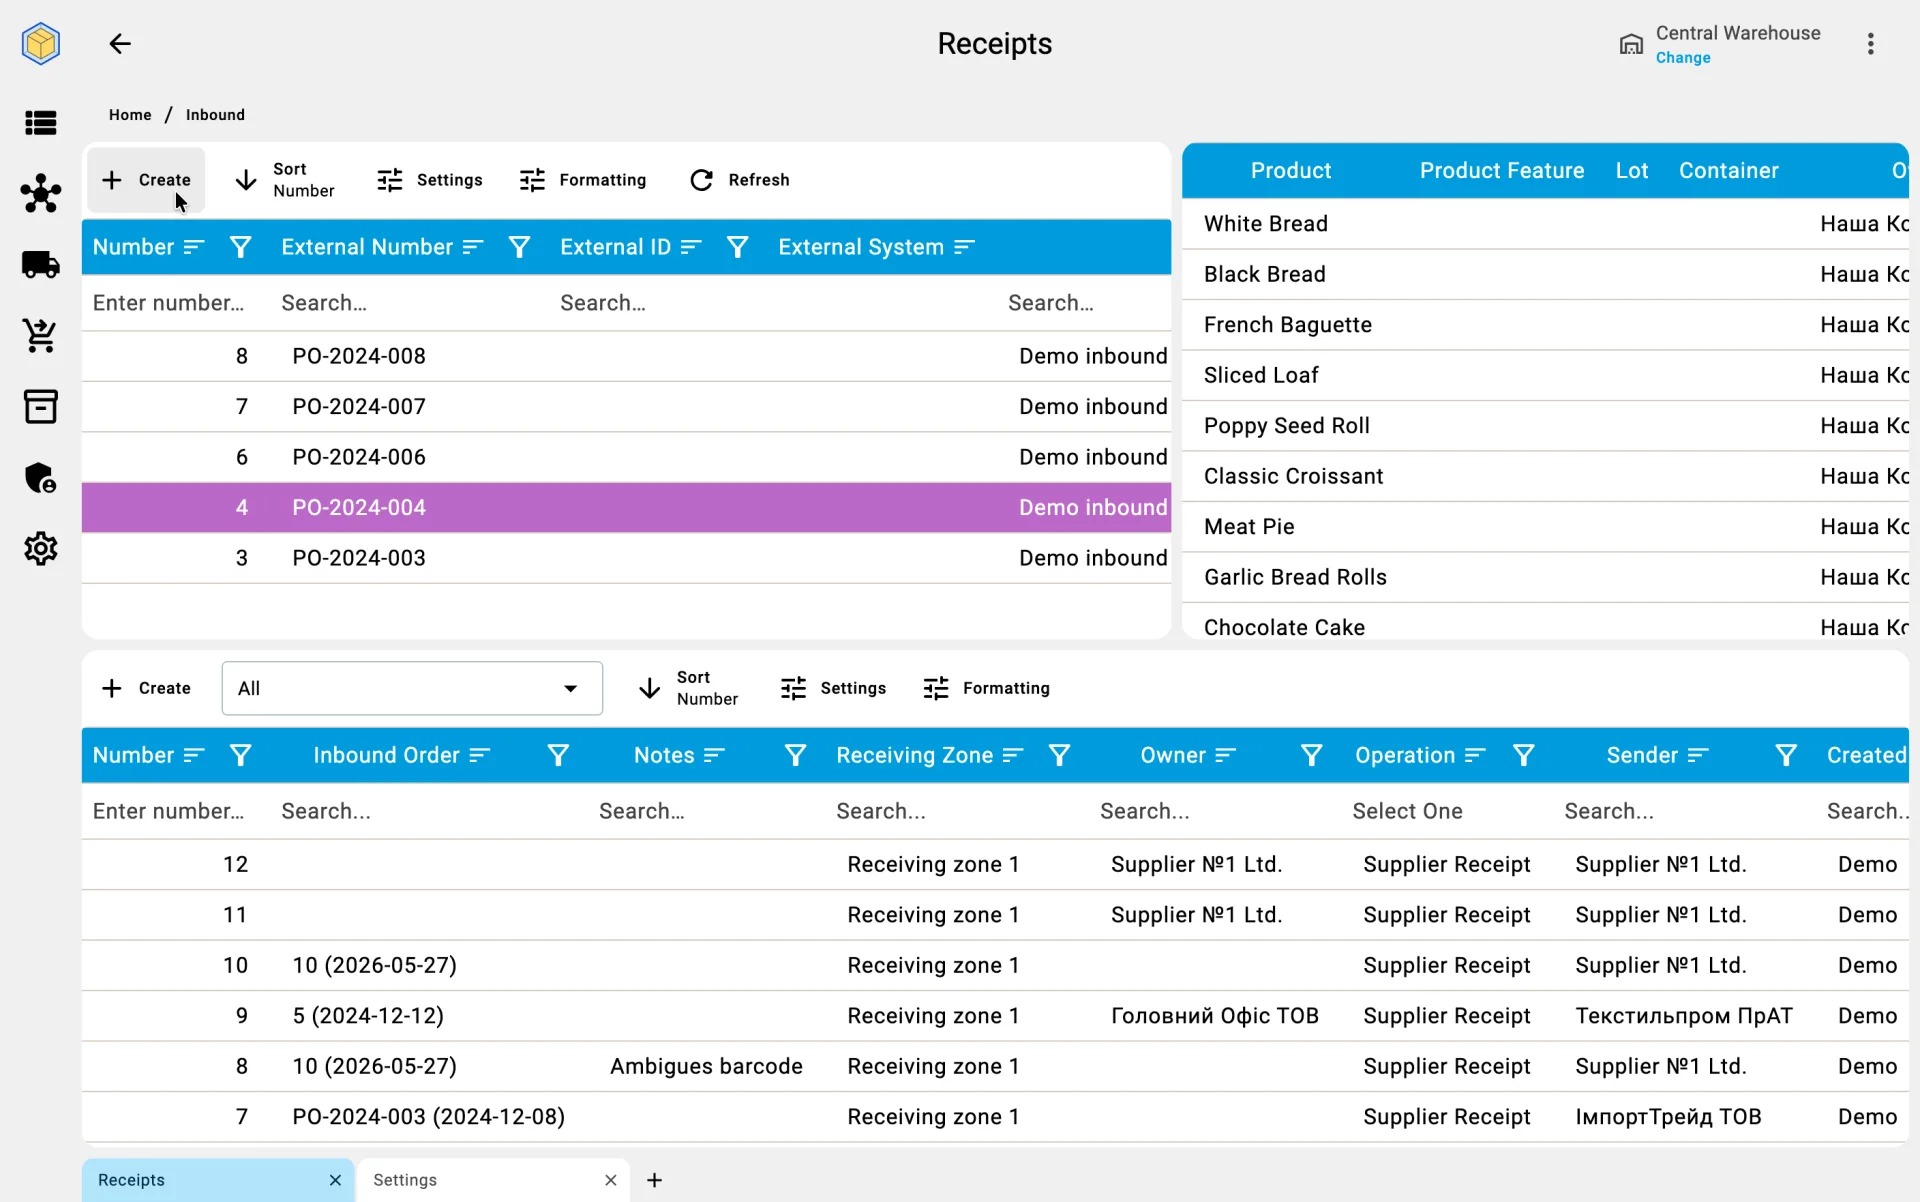
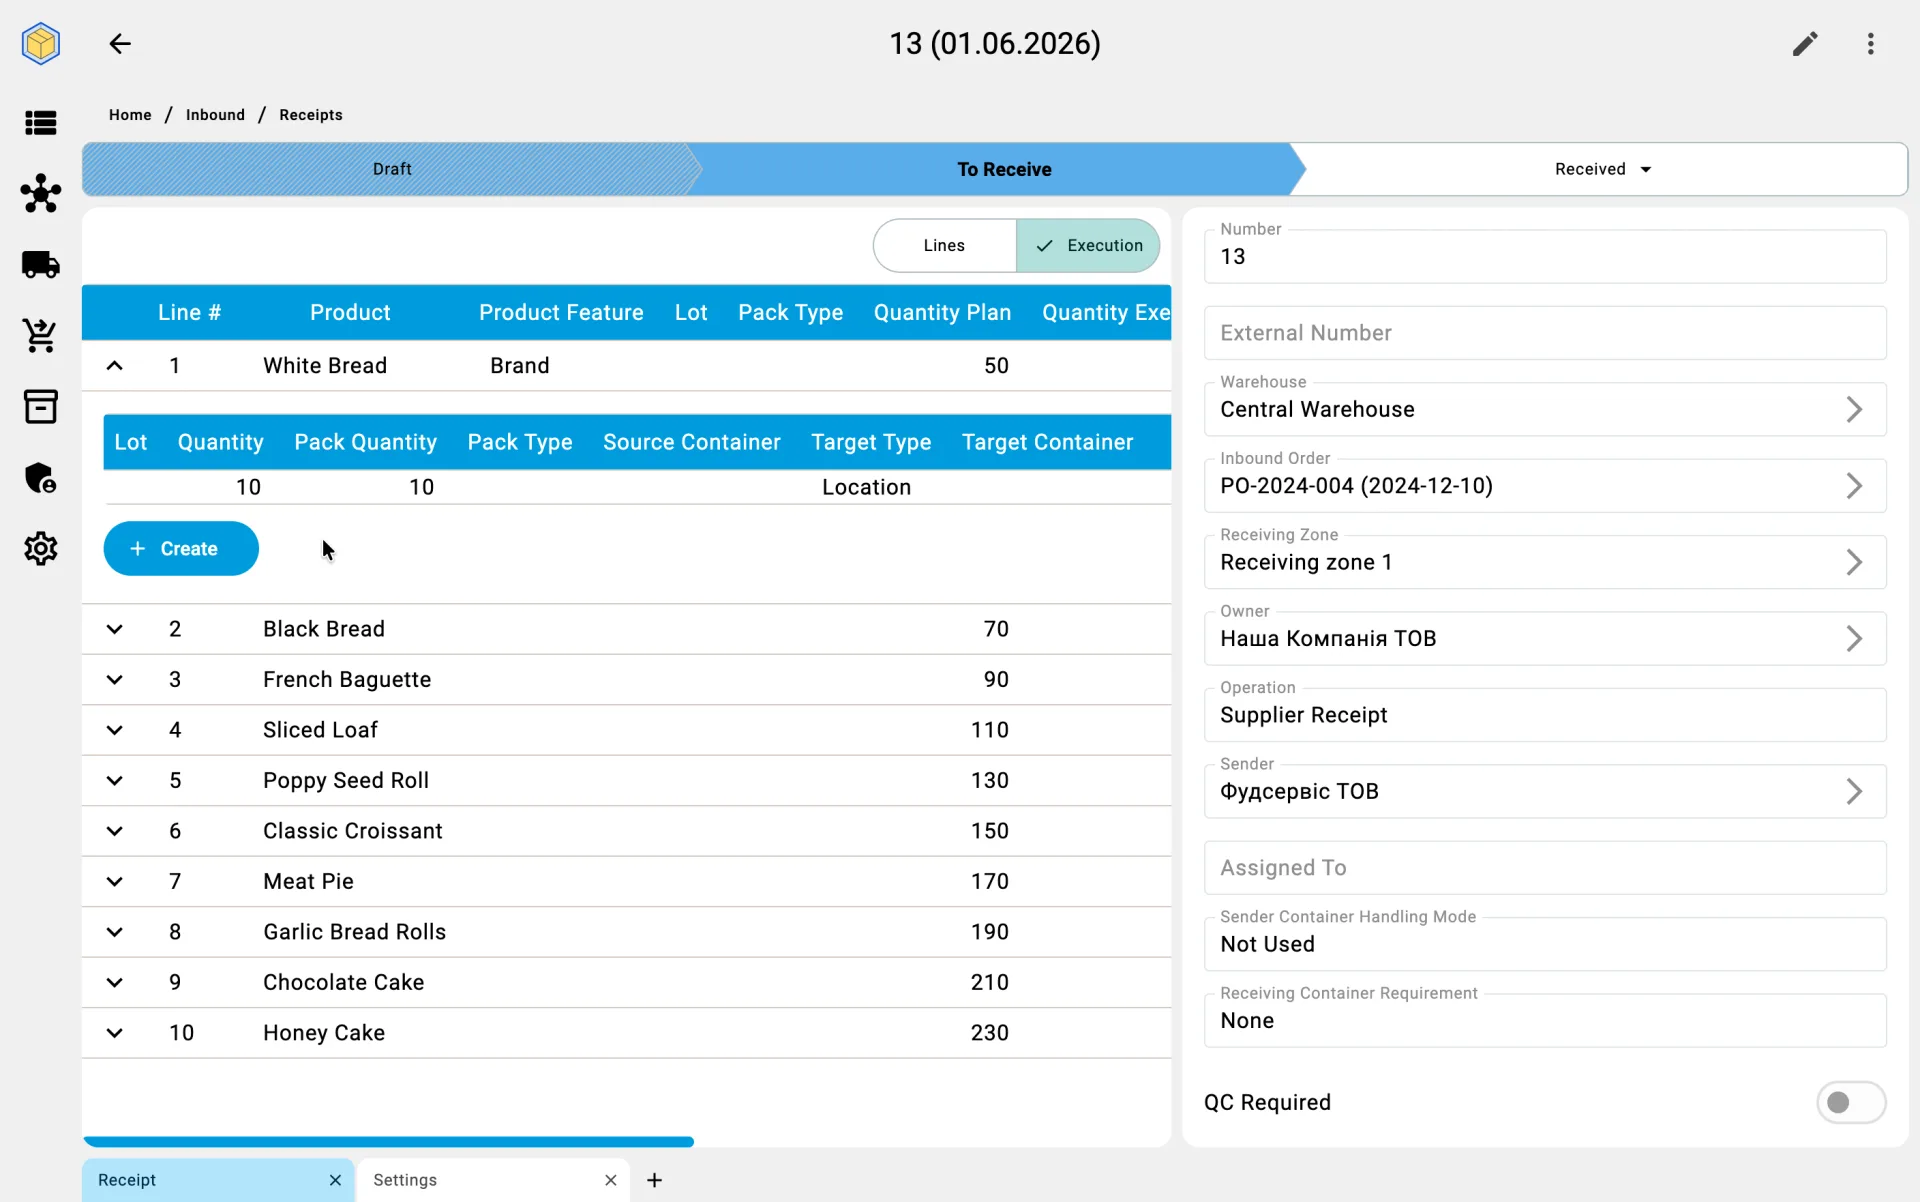
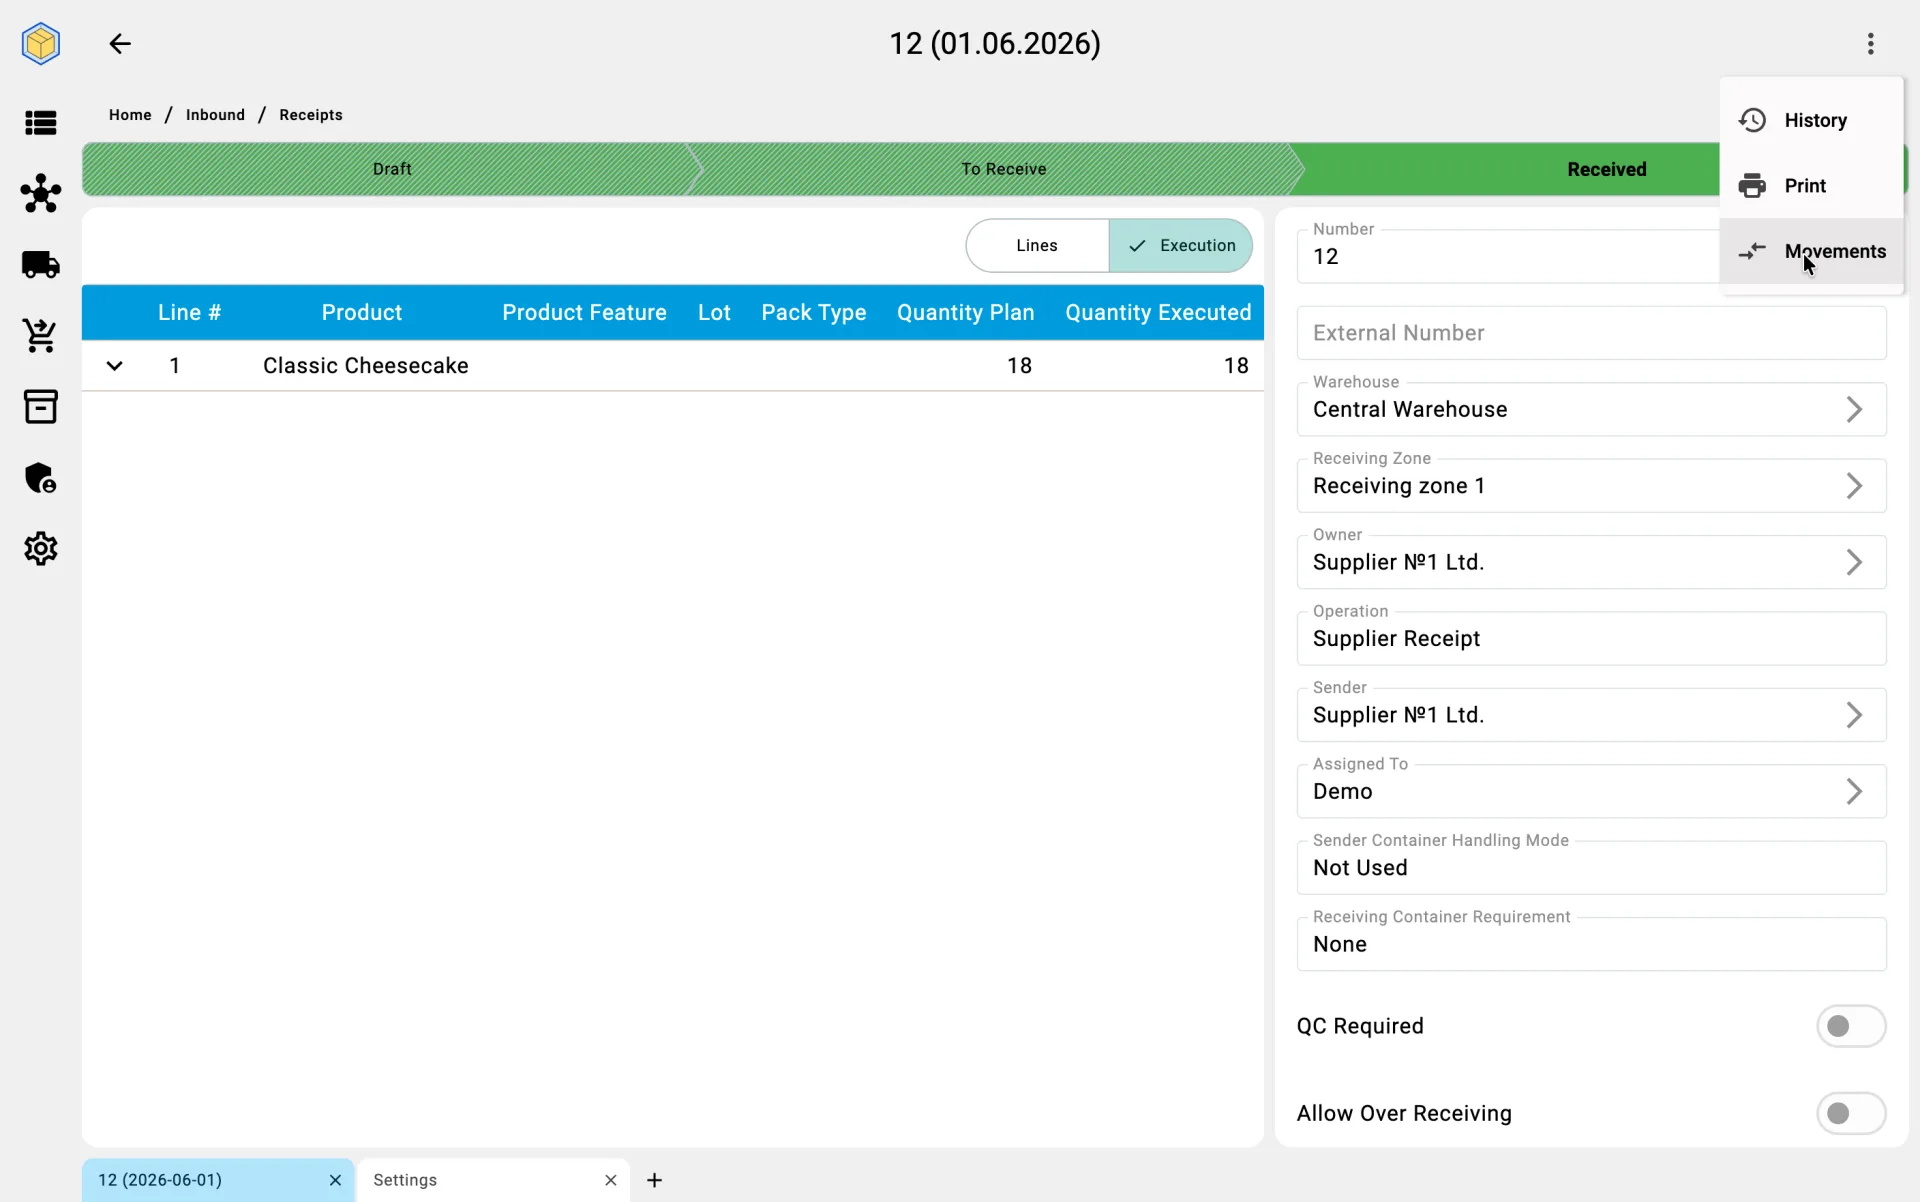
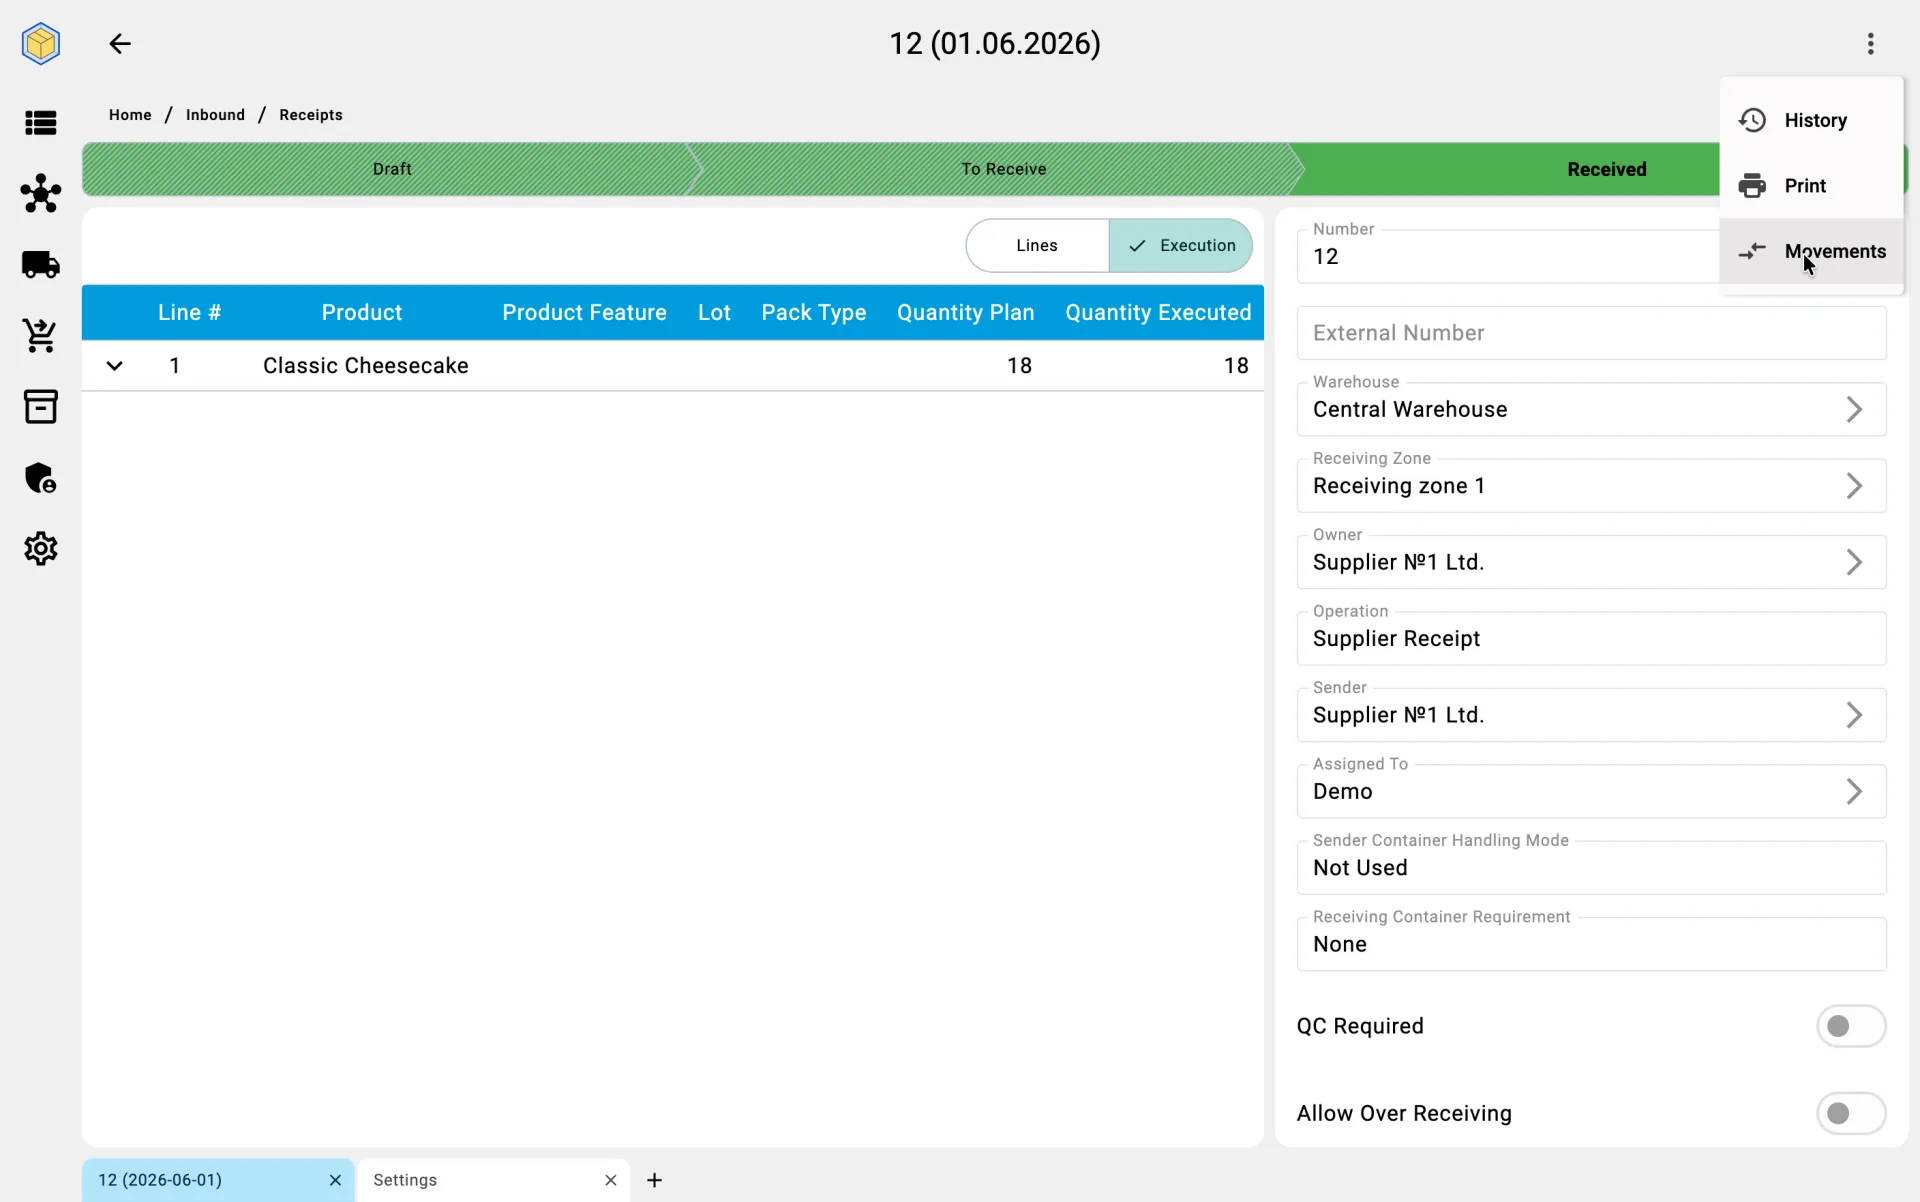
The receipt is the working document that the rest of the process hangs from: facts of received goods, containers, discrepancies, and closure all attach to it. The document moves through a small set of statuses — Draft while it is being prepared, To receive once it is released for receiving, Received when receiving is finished, and Cancelled if it is cancelled. Creating the document is the first step of the process in the client app.
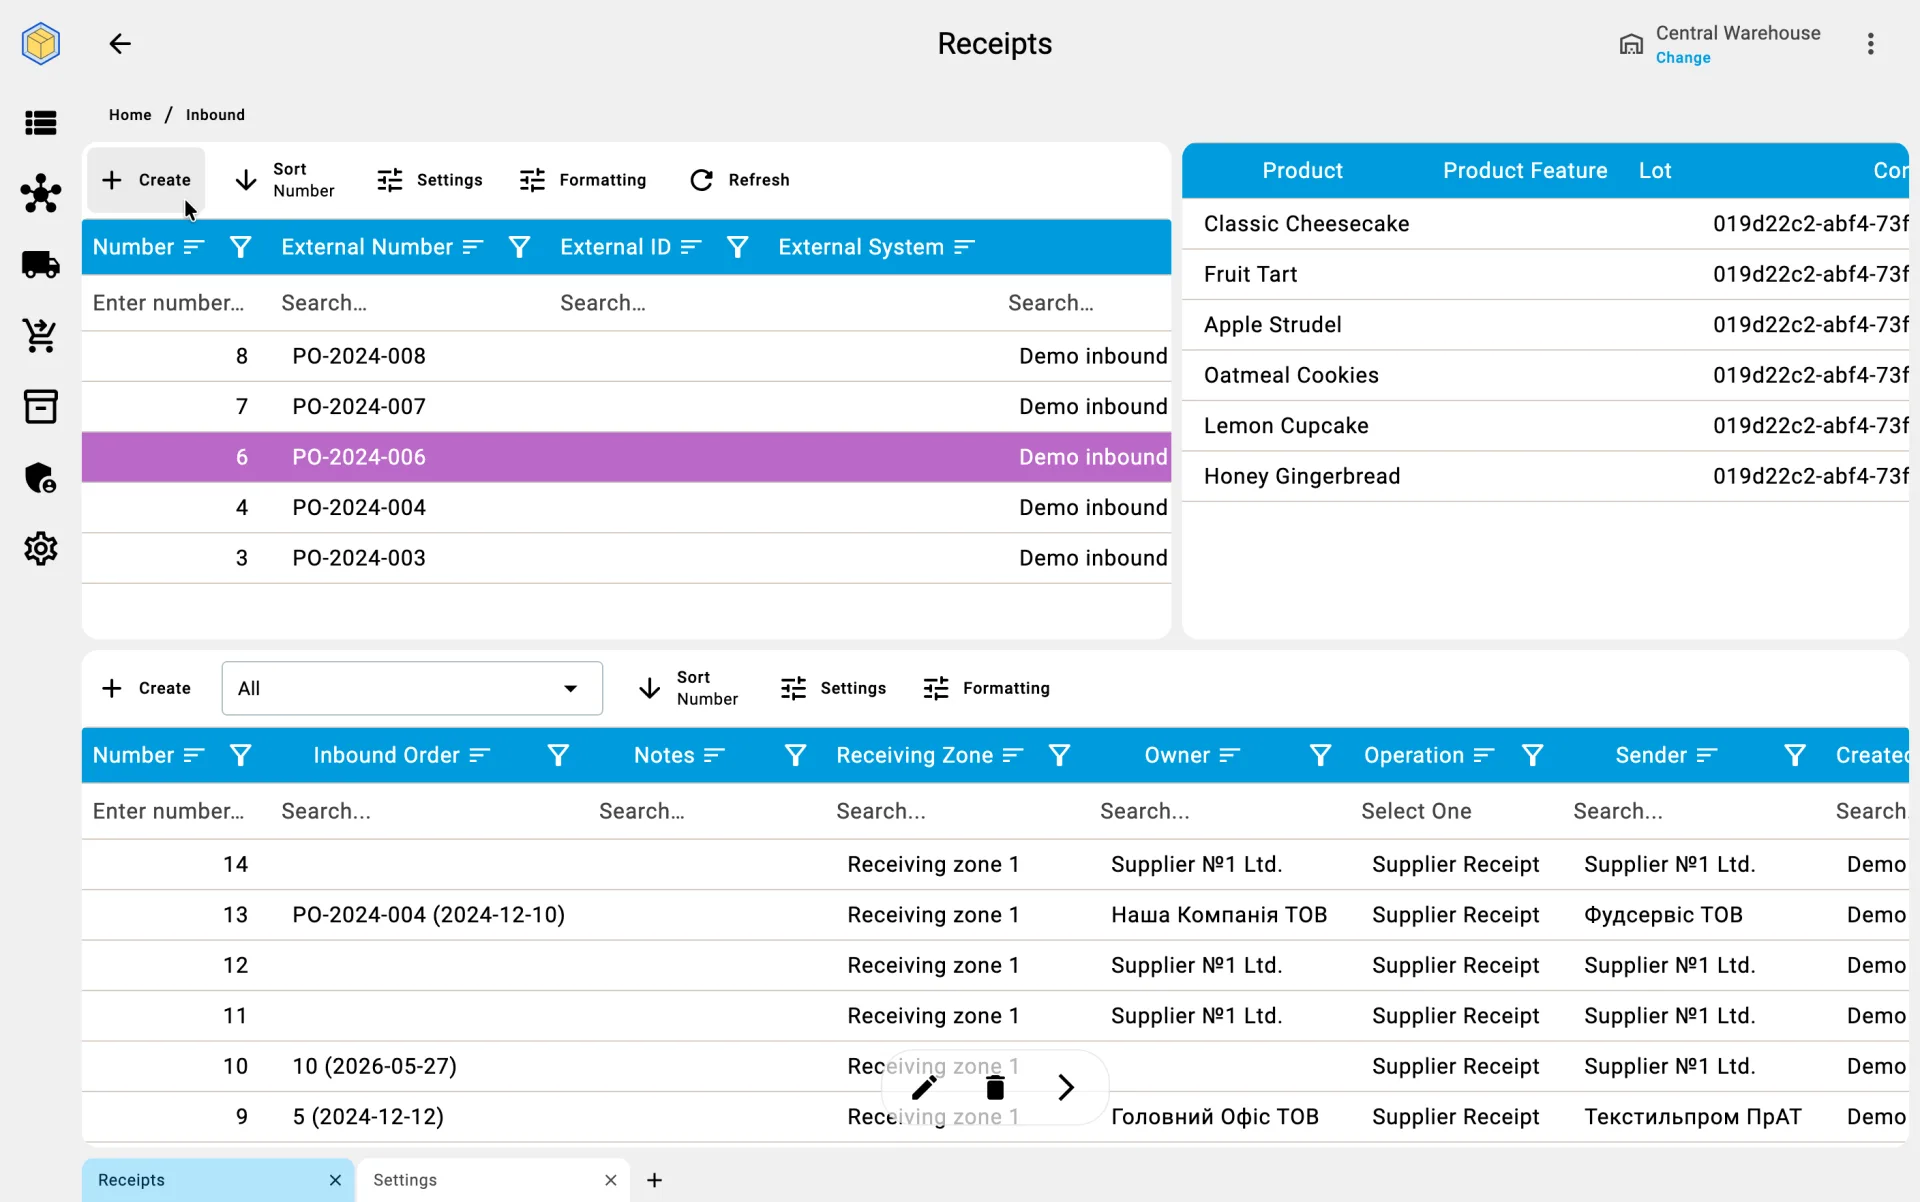
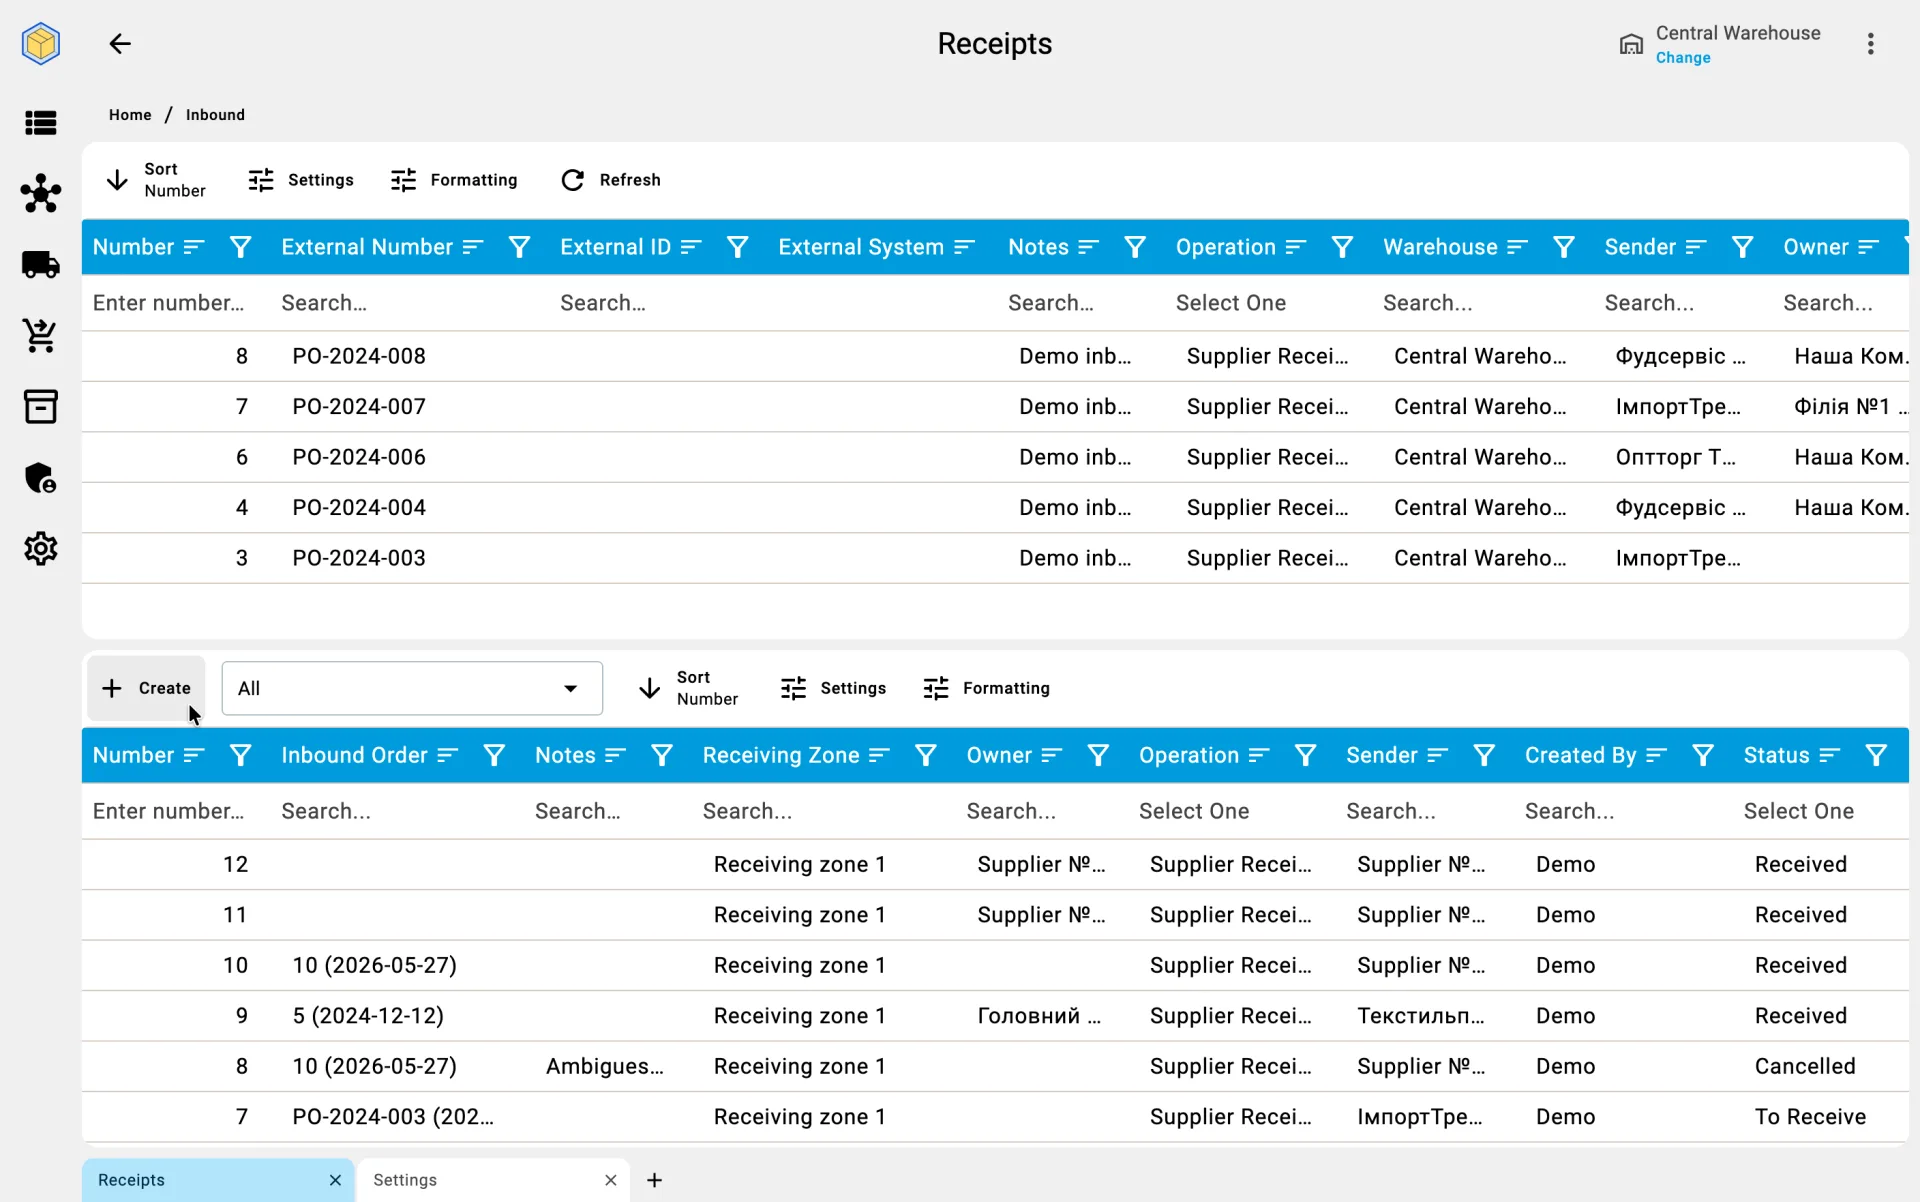
The document is created in one of two ways — based on an existing inbound order or from scratch. Choosing between them is a per-delivery decision, not a warehouse setting: the same warehouse regularly uses both paths.
The Inbound Order is not part of the receiving process itself — it is a separate document that describes what the warehouse expects to receive. It is an input into the process: when it exists and the cargo arrives, it is used as the basis for the receipt. When there is no order (emergency delivery, return, mistake), a standalone receipt is created without one.
Receipt creation source
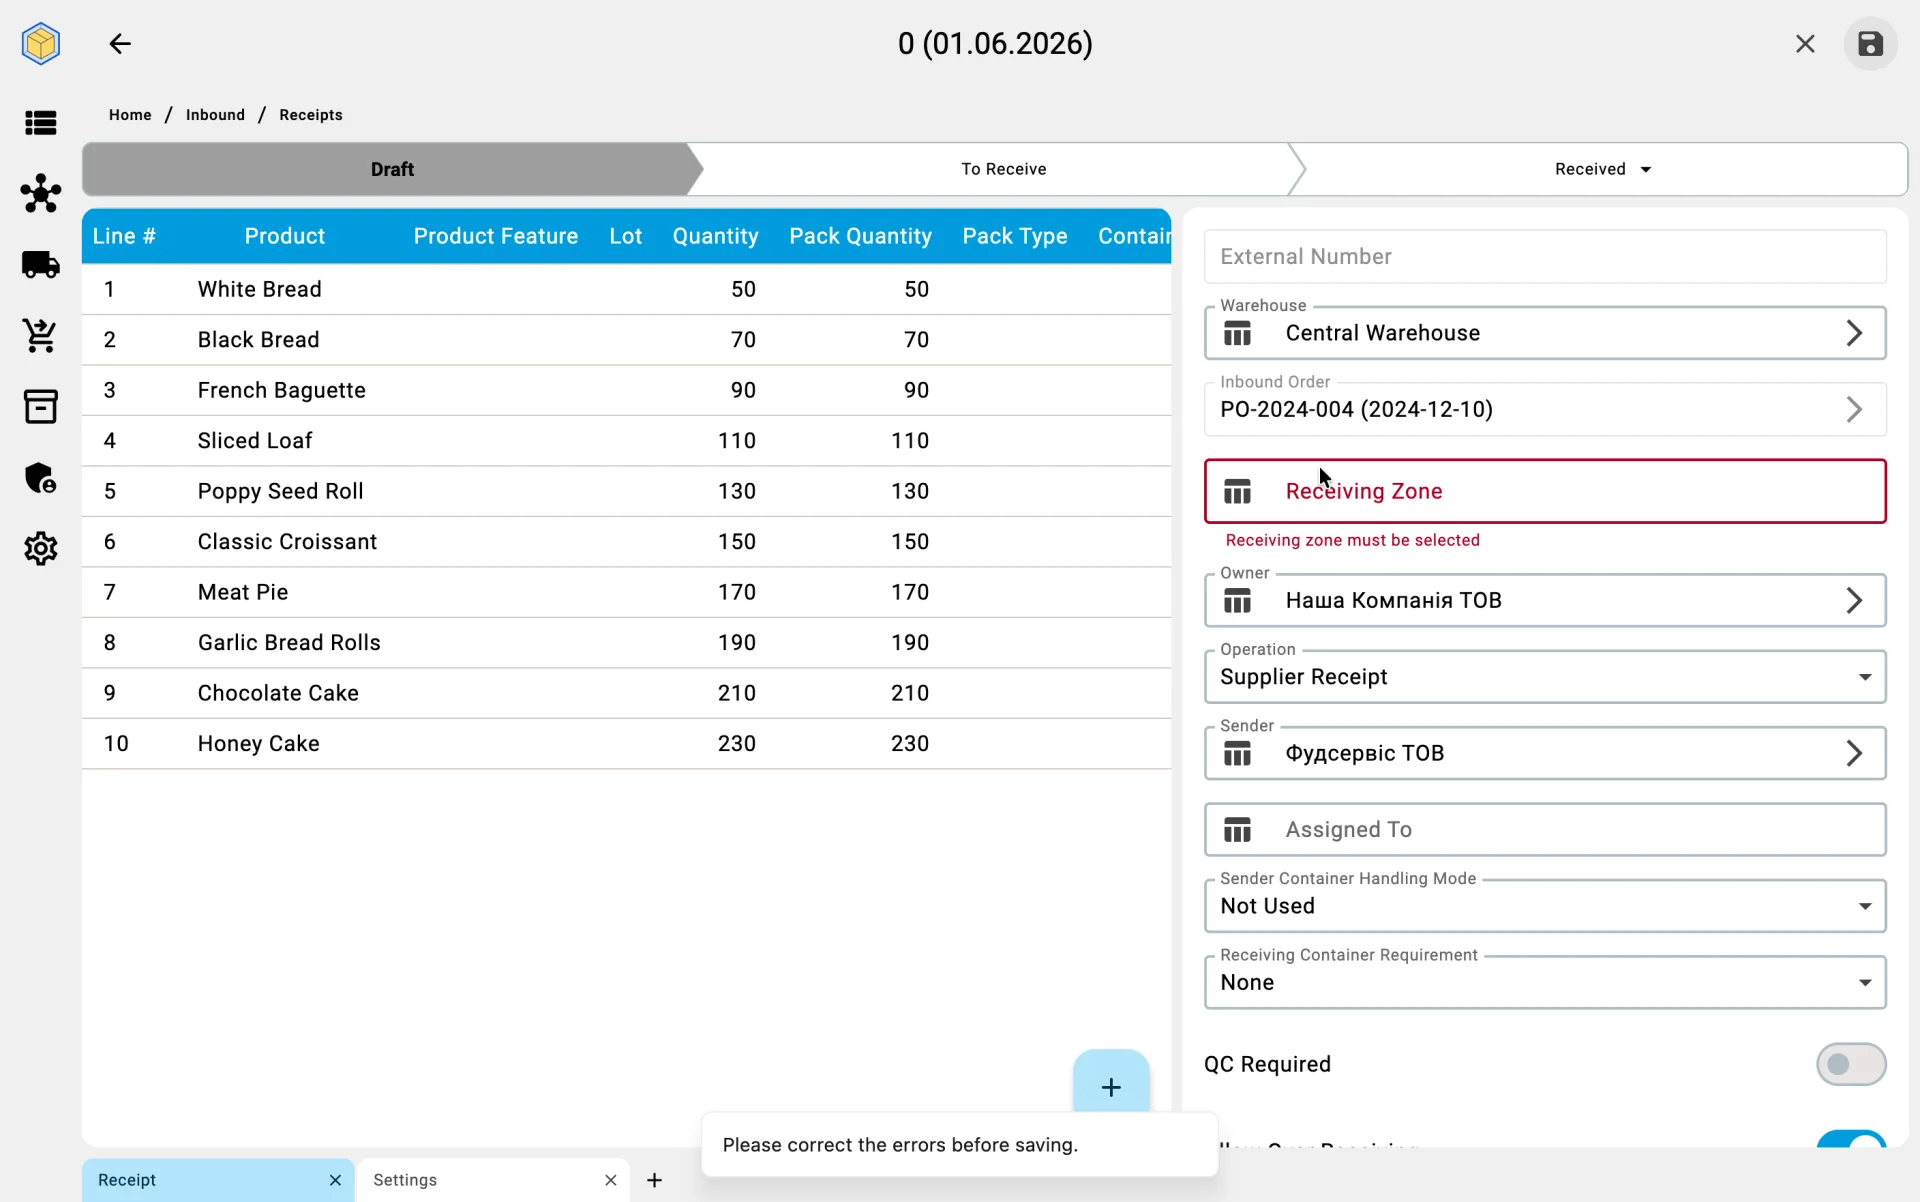
Creation from an inbound order
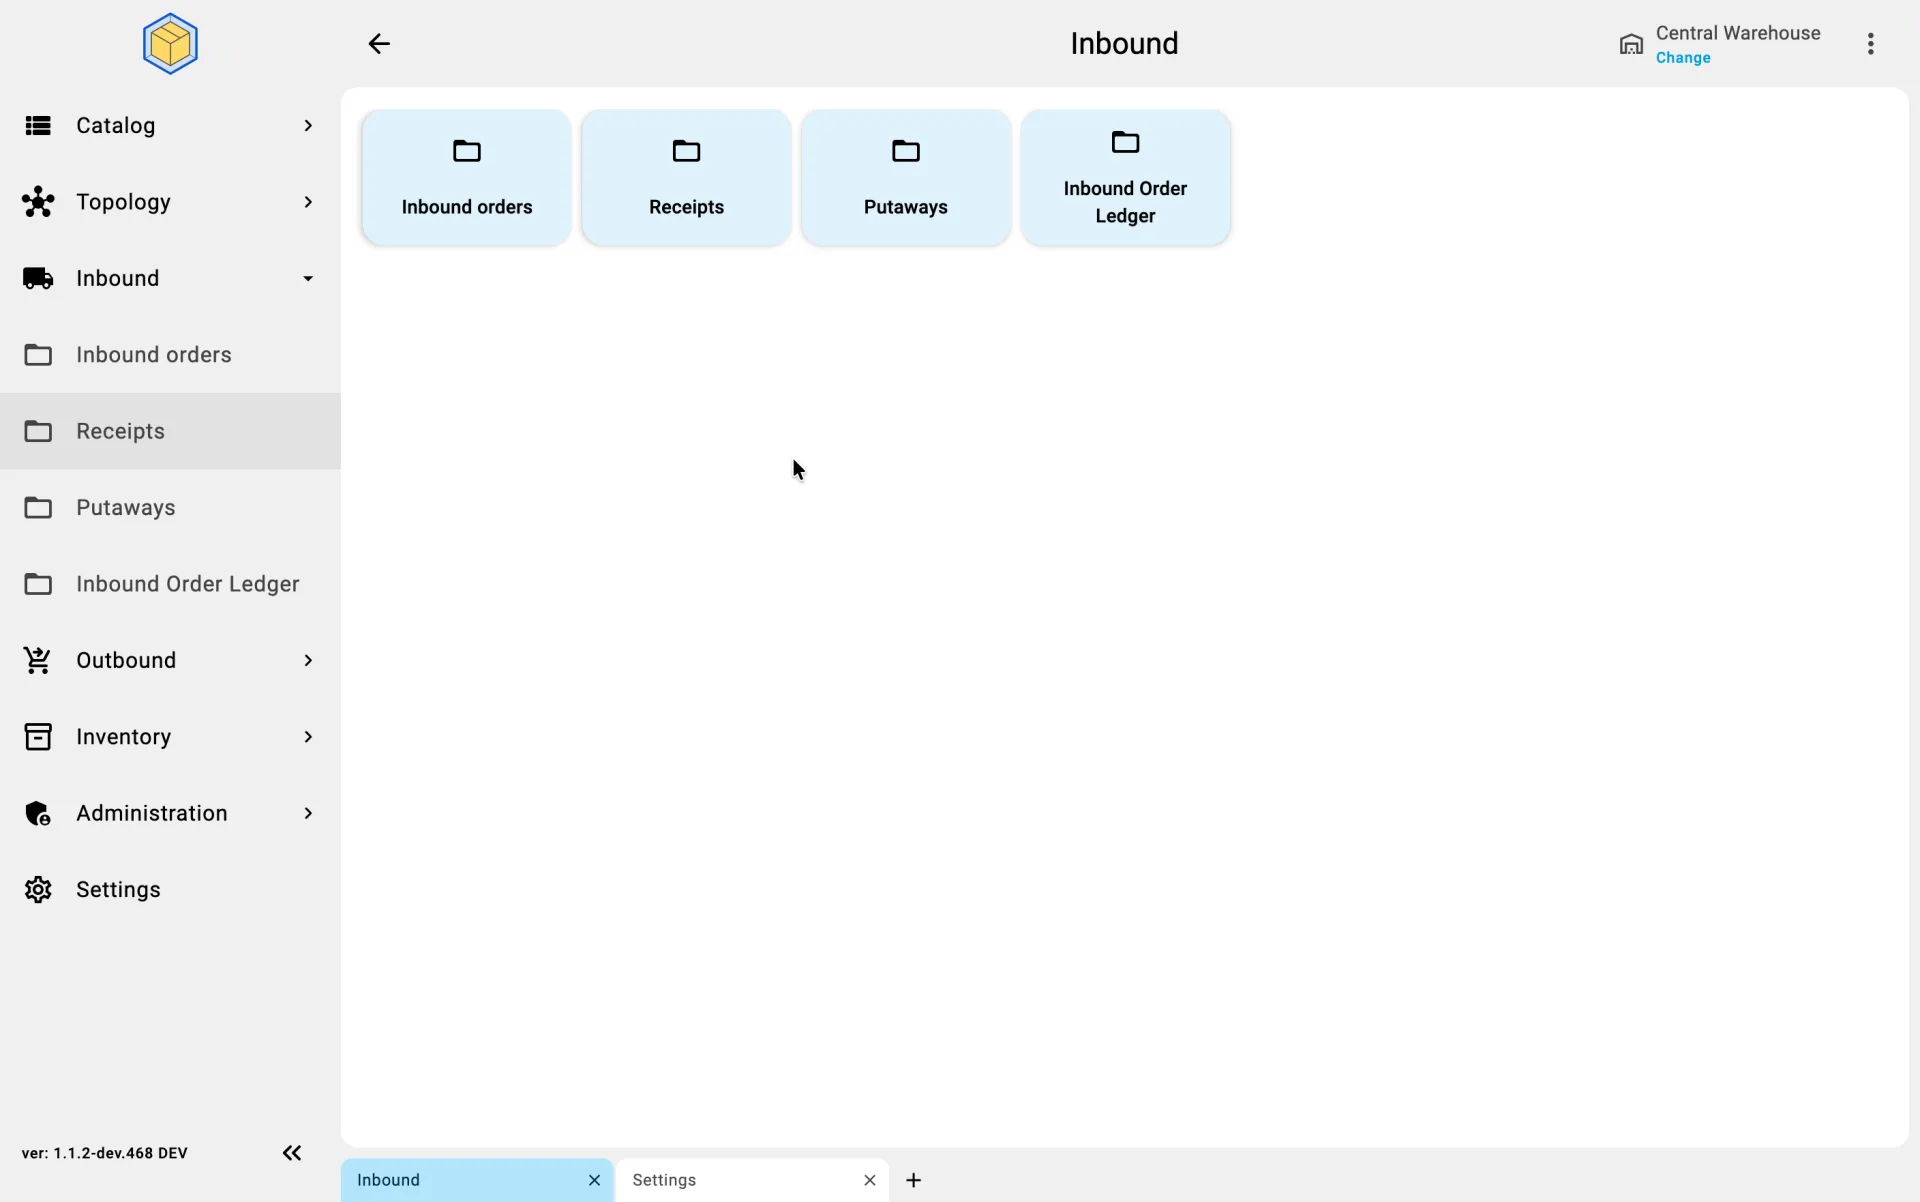
When the shift supervisor opens an existing inbound order, the system offers to build a receipt from it. The user confirms or fine-tunes:
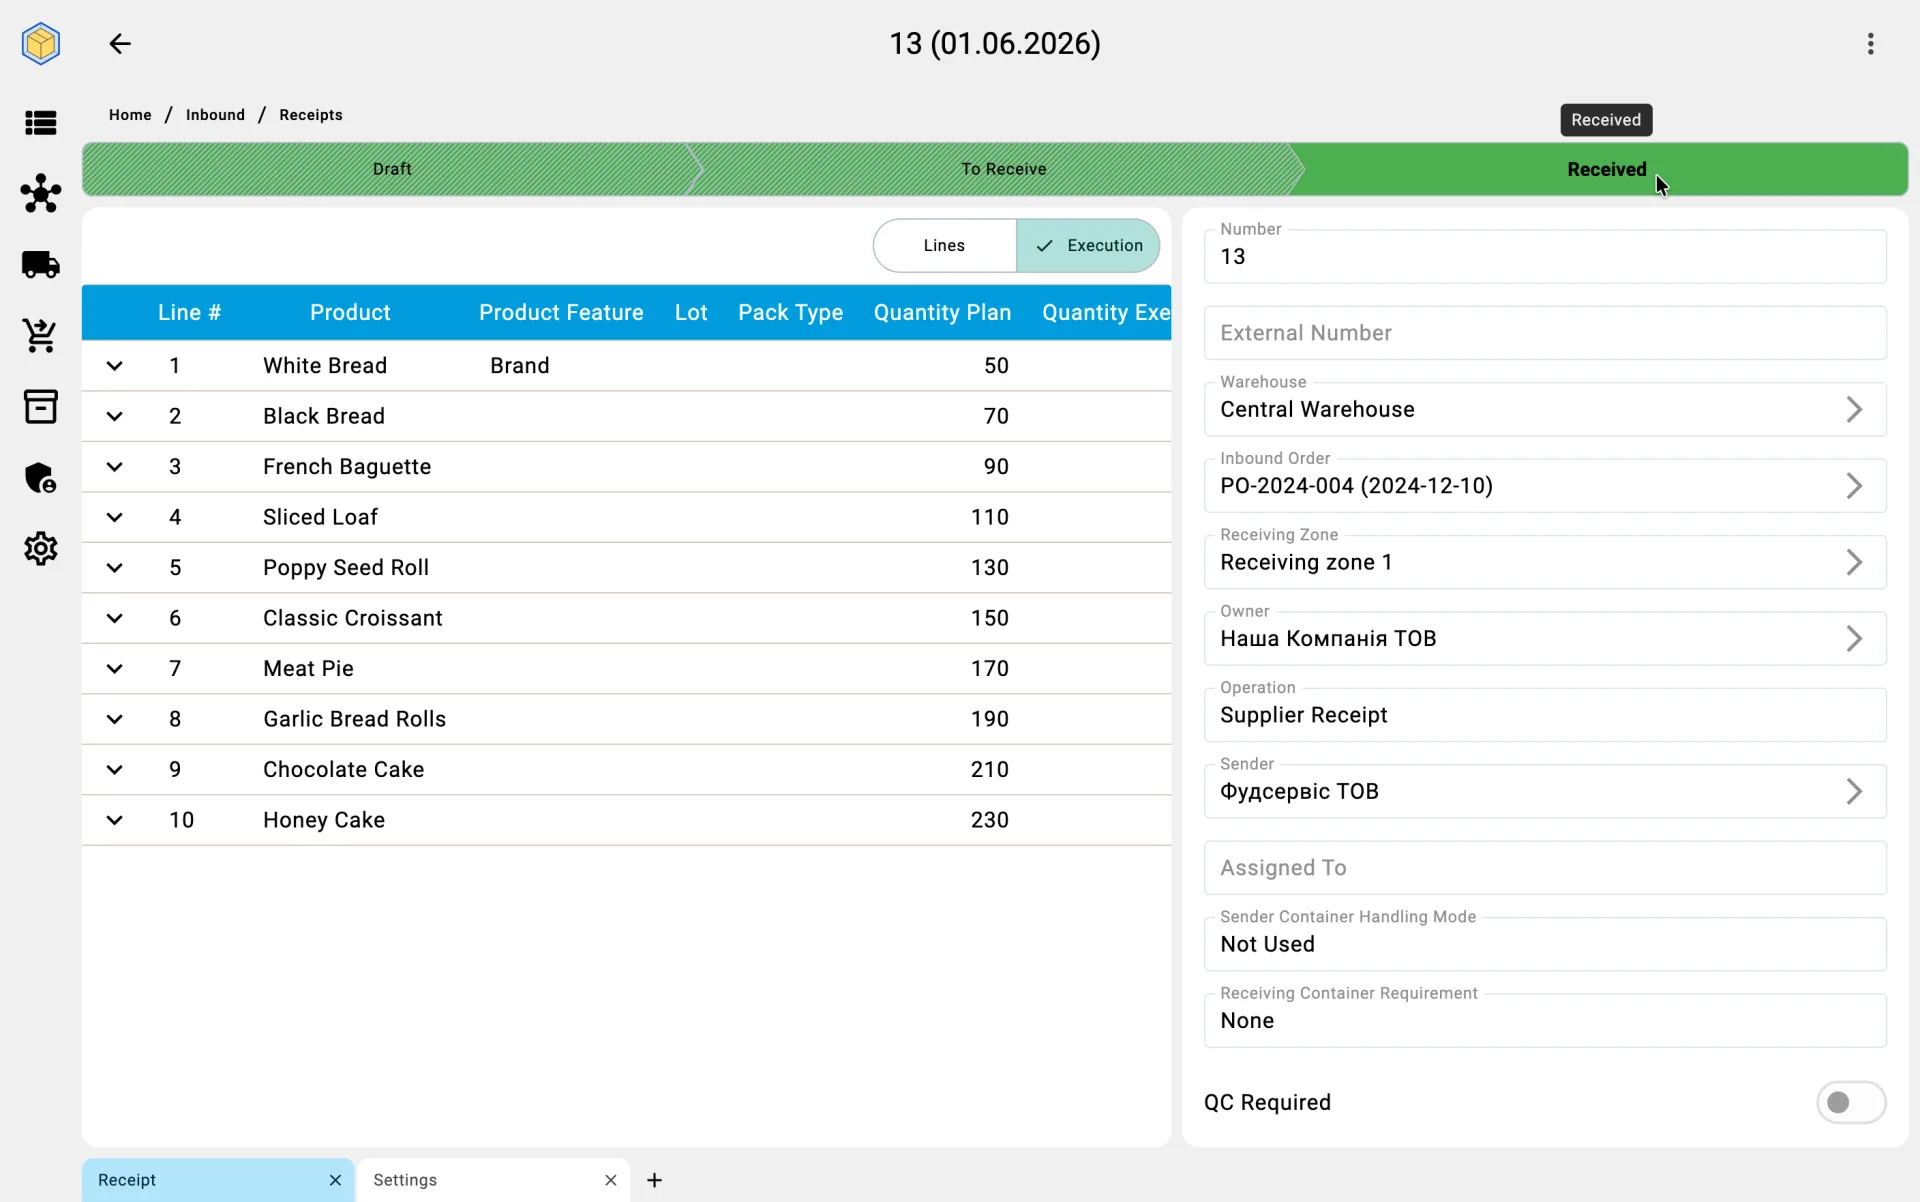
- the system populates the receipt lines from the order lines, taking into account quantities not yet allocated to other receipts;
- if the order specifies containers, they are pulled into the receipt as full branches (nested ones included) — the operator does not need to copy them manually;
- line quantities equal what is still to be received; pack types are carried over from the original unless a partial receipt is already in flight;
- the user can narrow the selection — for example, limit the receipt to specific products, lots, or containers if the truck is bringing only part of the order.
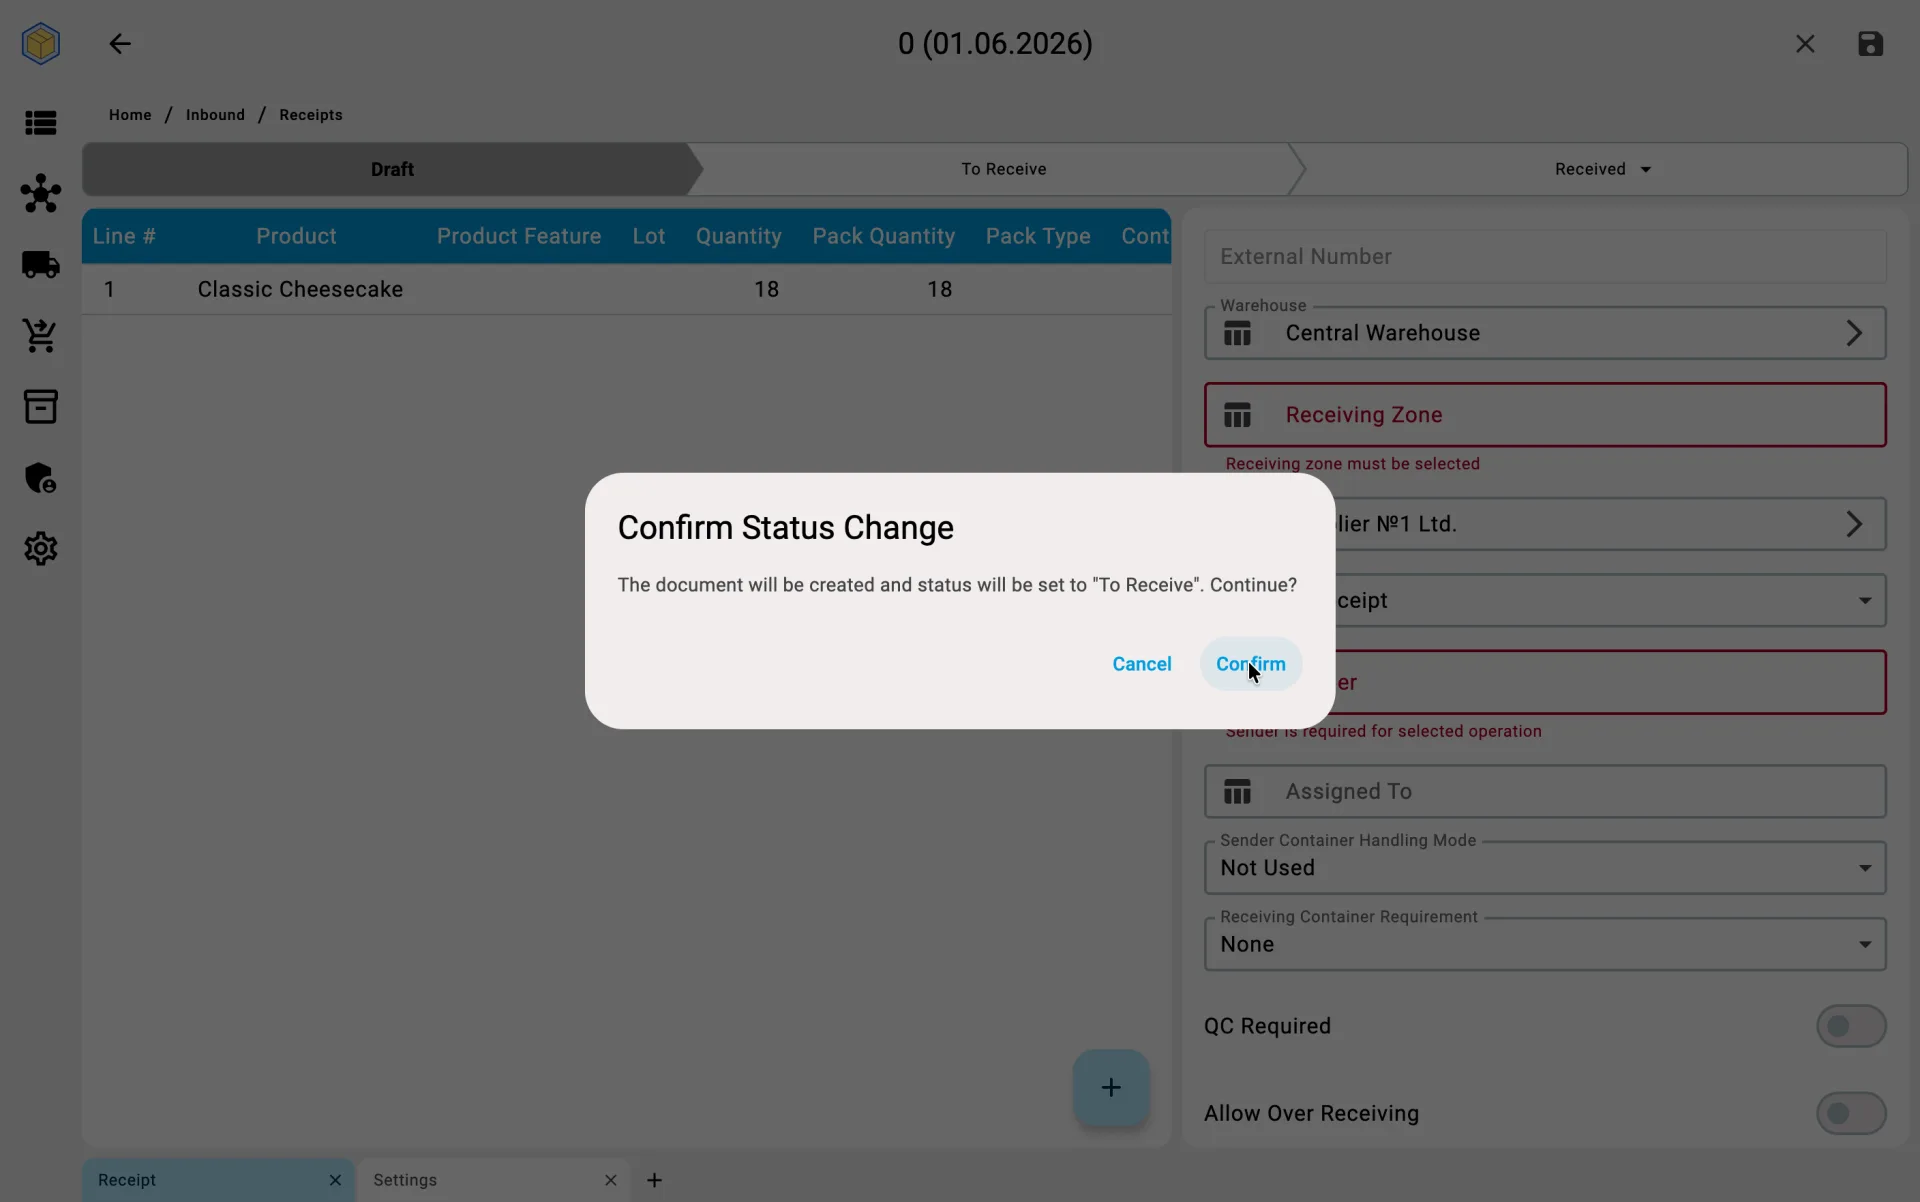
Once confirmed, the document is created in Draft. Lines can still be adjusted while the document is in Draft or To receive; editing closes once it moves to Received or Cancelled.
Standalone creation
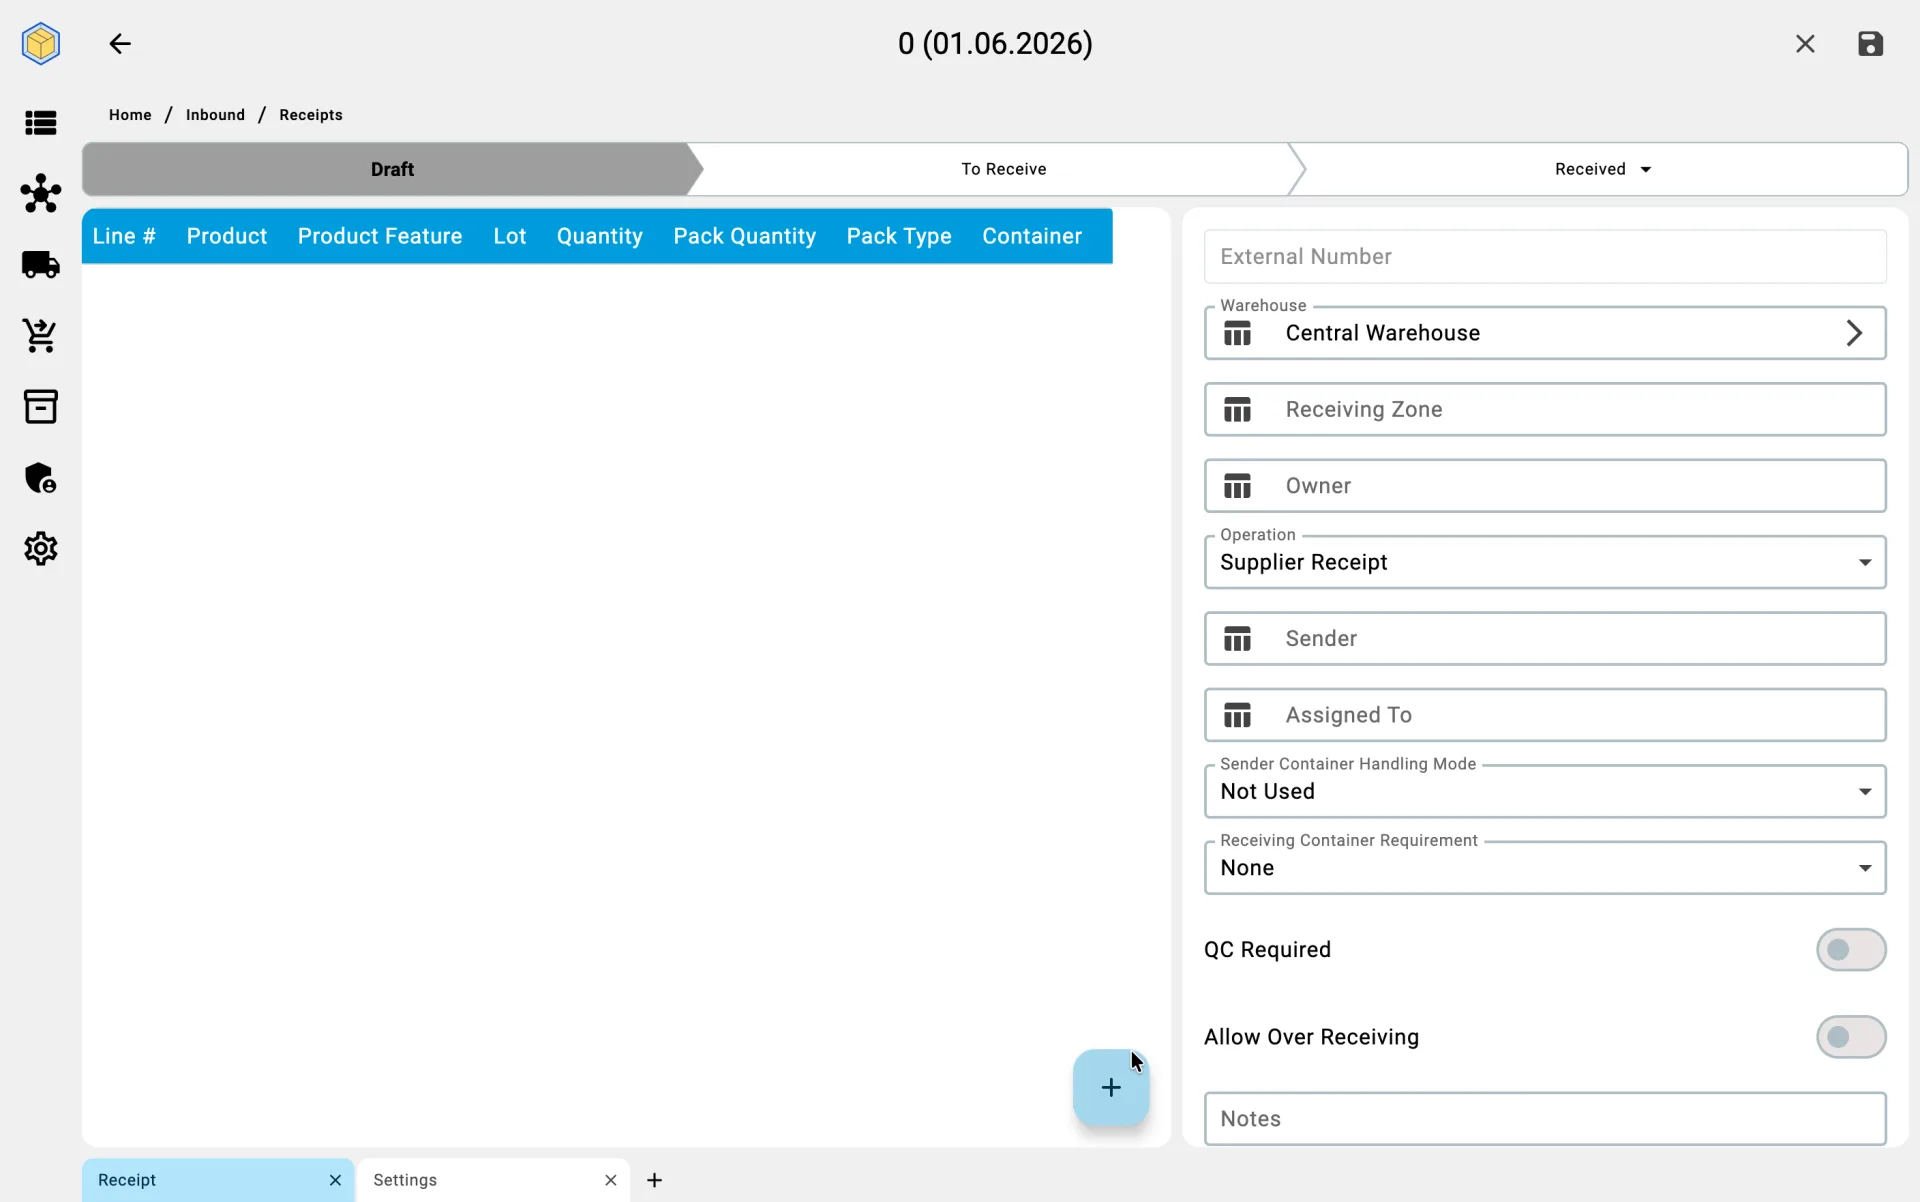
When there is no inbound order, the receipt is created from scratch:
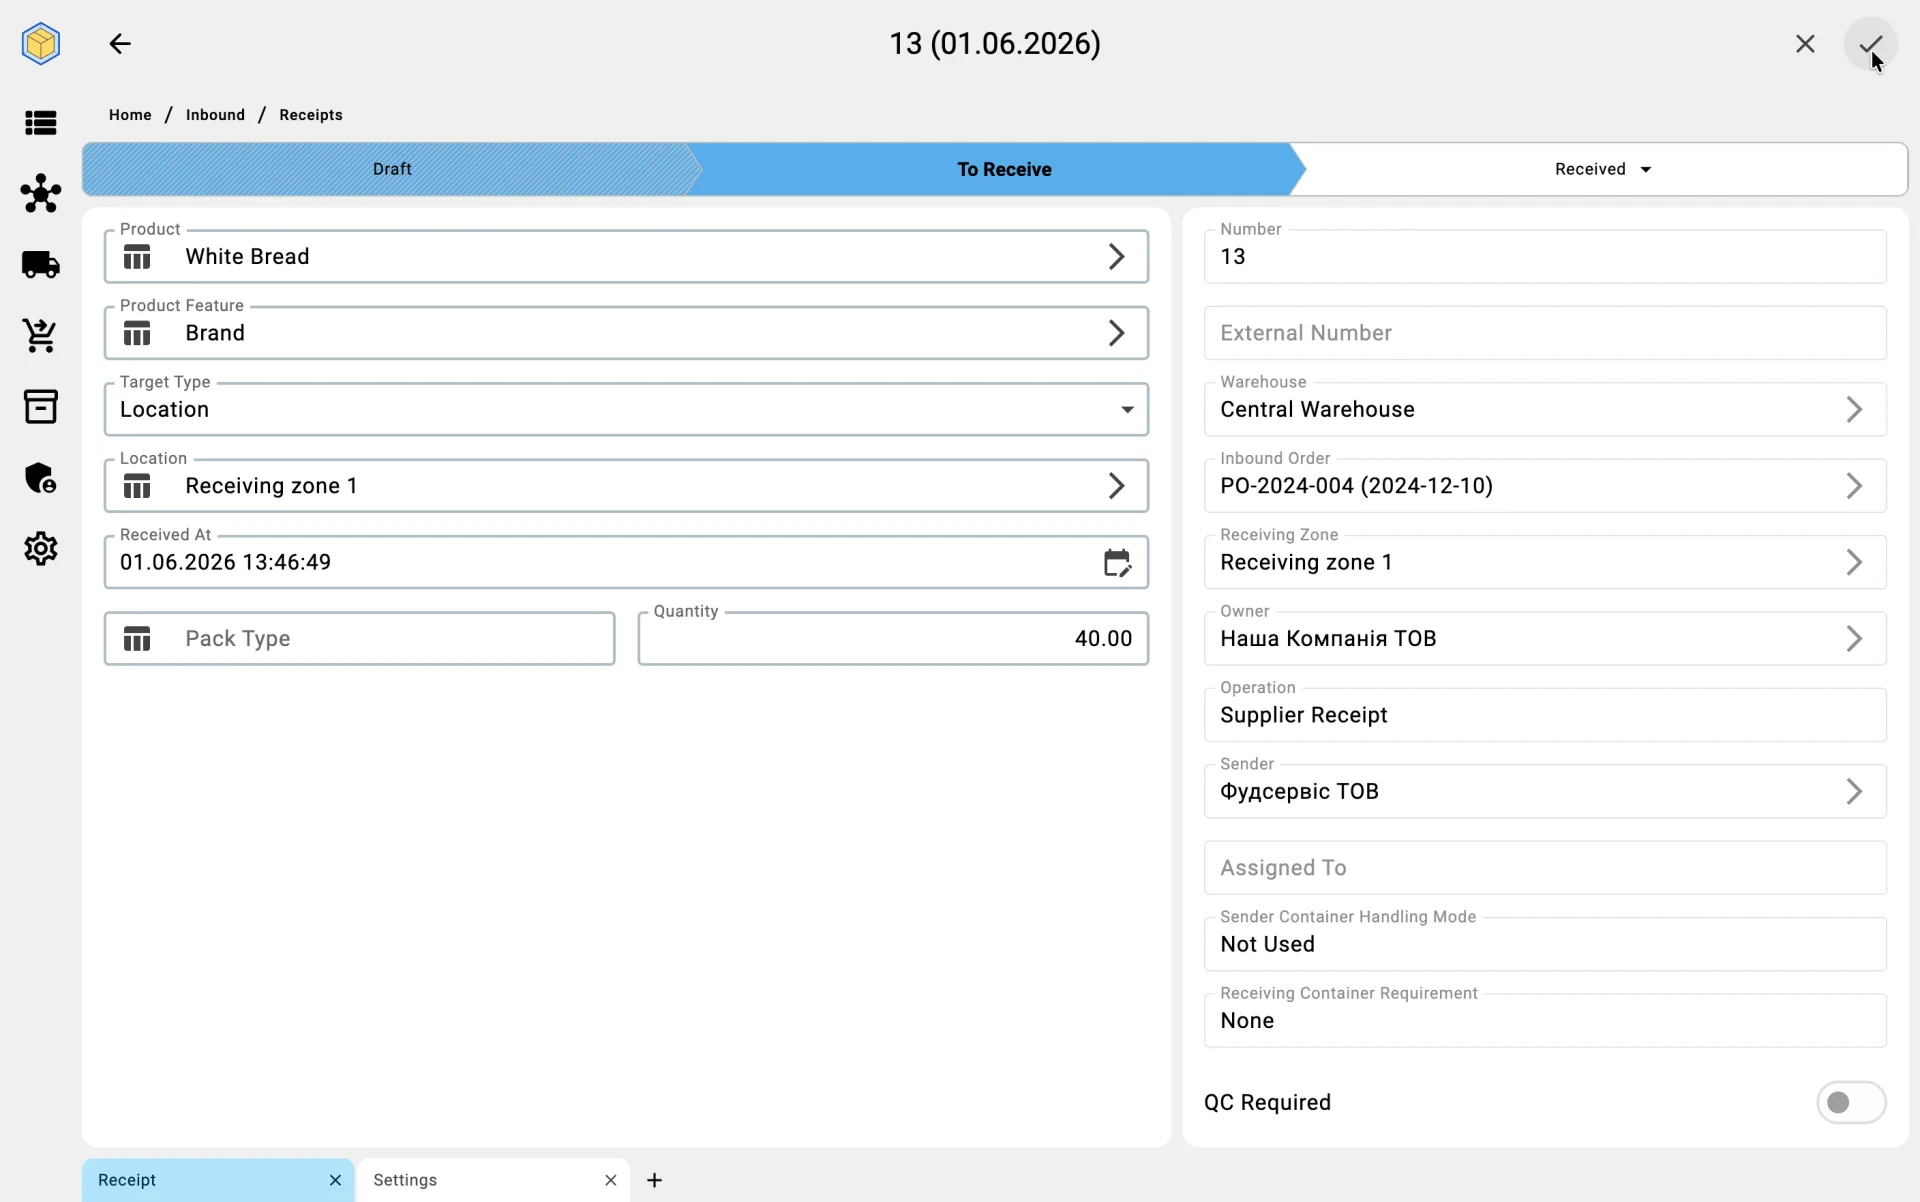
- the user fills in the warehouse, sender (if known) and, where needed, the other document attributes;
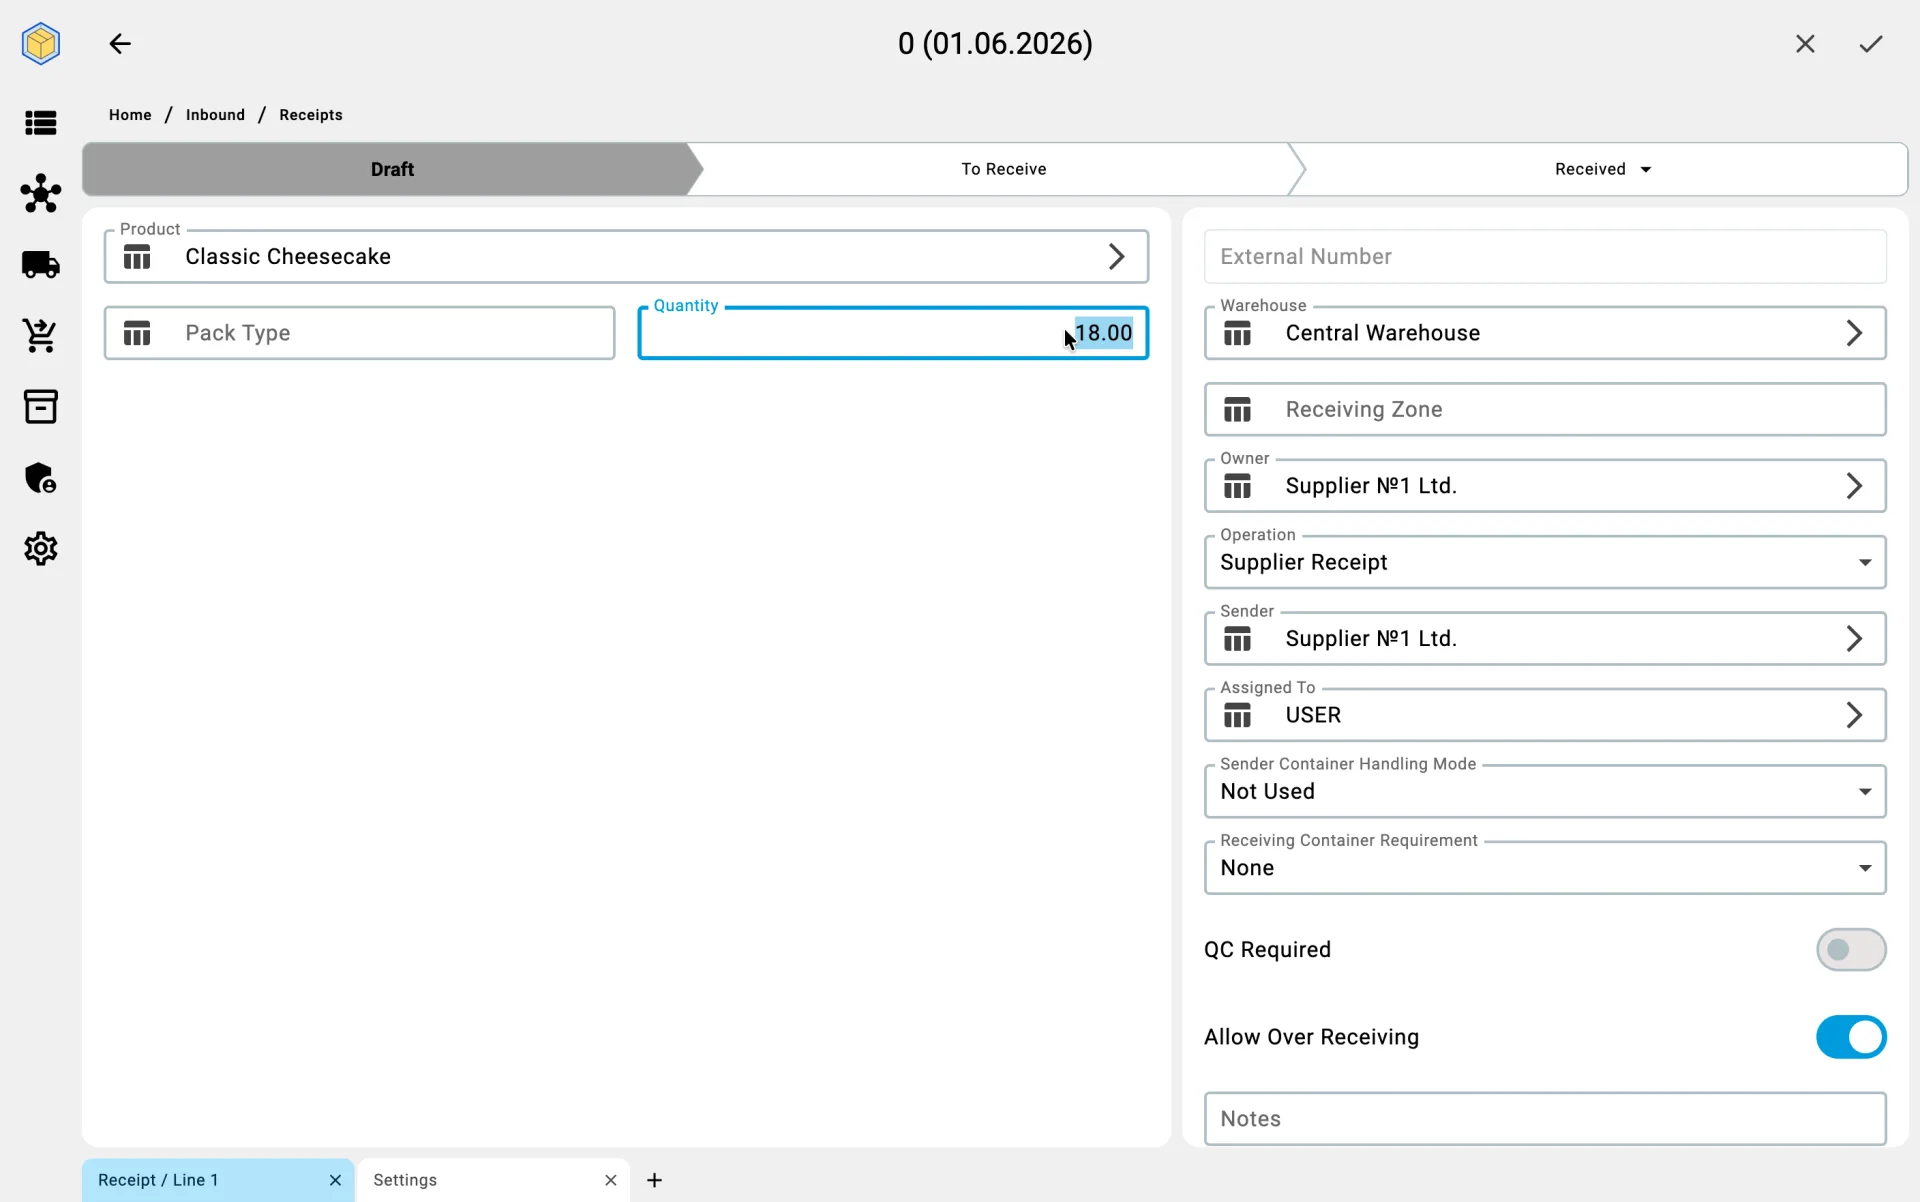
- lines are added by hand from the product catalogue;
- quantities and pack types are entered by the operator;
- containers, where used, are added separately by hand.
Typical cases where this path fits: emergency or unplanned deliveries, customer returns, transfers in from other warehouses without a prior order, and corrections to already-closed documents made by creating a new one.
Phase 2. Awaiting delivery
Once the purchasing team has placed an order with the supplier, the expected delivery information lands in the system — either manually or automatically through an ERP integration. As a result:
- the warehouse knows that cargo is expected from a specific supplier, with a specific list of products and quantities;
- the shift supervisor can plan resources: assign receivers, prepare the receiving zone, check that storage capacity is available;
- if the delivery is late, the system records the lateness — this later feeds into supplier scoring.
Phase 3. Arrival check
When the truck pulls up to the gate, the receiver:
- locates the expected receipt in the system;
- checks that the transport documents match the expected cargo — supplier, carrier, pallet count, seal integrity.
If a mismatch is visible at this stage already (for example, a different supplier or a different carrier), the system lets the receiver log the event and pause receiving until the issue is sorted out.
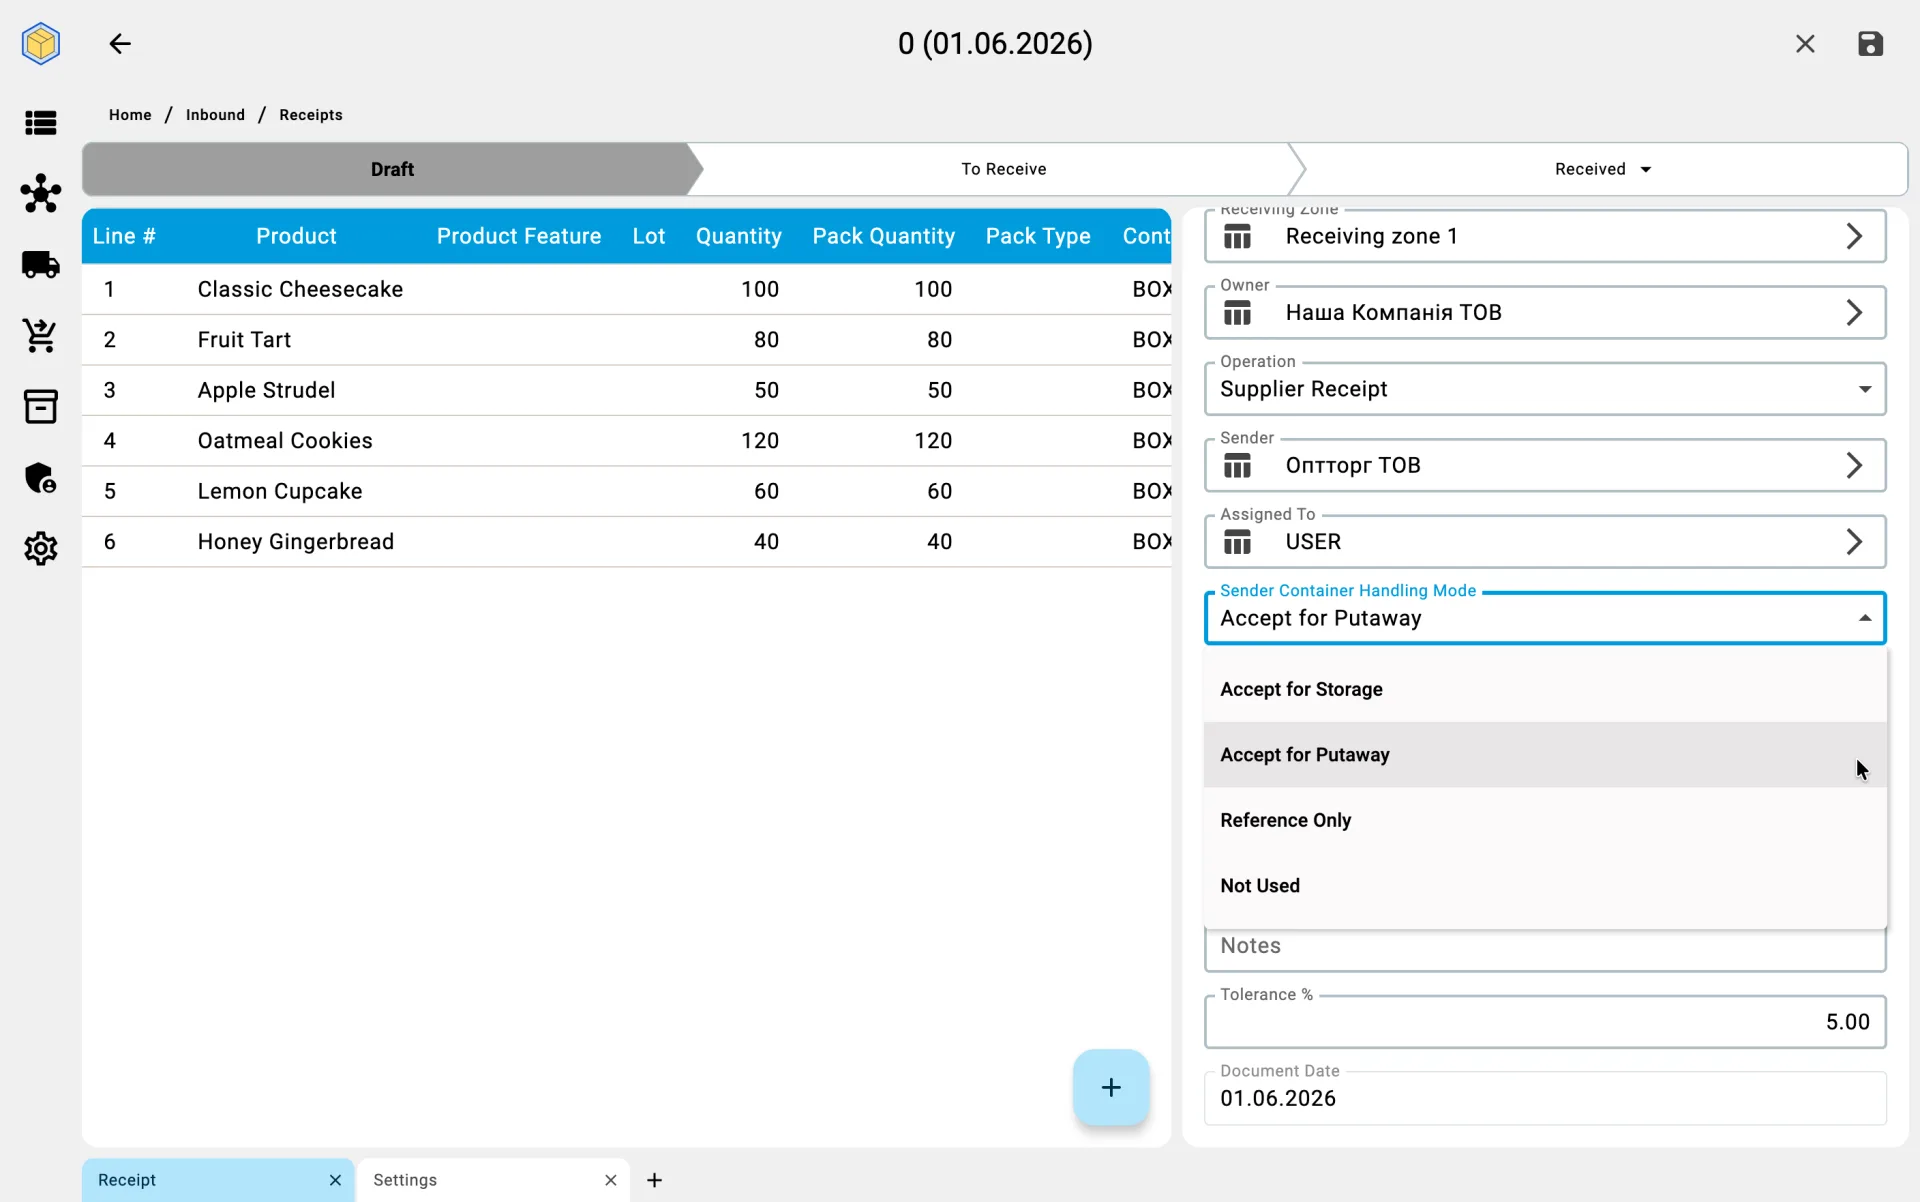
Sender container handling
Sender containers accepted for storage
When the cargo arrives on supplier pallets that will stay on the warehouse as storage units, the receiver additionally checks each pallet for integrity — wrapping, film, labels, seal integrity. Any damage is recorded right away. The pallet count is reconciled against the list of expected pallets that is already in the system.
Sender containers accepted for putaway
When the cargo arrives on supplier pallets that will travel into putaway along with the goods, the receiver checks each pallet for integrity — damaged packaging or broken seals are grounds to halt receiving. The pallet count is reconciled against the list of expected pallets.
Sender containers for tracking only
When supplier containers are used only as a lot identifier — for lookup and reconciliation, not for storage — the receiver records the container numbers. The packaging itself is not accepted onto the warehouse: the goods inside it will be unloaded at the next phase.
Sender containers not used
When the supplier delivers loose goods — bulk or in the carrier's own transport crates — no extra pallet-integrity checks are needed. The receiver focuses on the standard transport documents: supplier, carrier, line count, seals.
Phase 4. Unloading and scanning
Unloading the truck happens in parallel with recording into the system. Scanning — both with the camera and with a hardware scanner — works only in the PDT mode of the app, so this part of the phase runs on the handheld terminal (see Receiving on PDT). On the PDT, the receiver:
- scans the barcodes of pallets or cases being unloaded;
- scans the barcodes of products inside;
- enters quantity when the barcode does not carry it (for weight-priced goods the quantity is read automatically);
- captures lot, expiry date, and other product attributes when policy requires.
In real time the system:
- matches scanned lines against the expected lines;
- highlights overages, shortages, and unexpected products;
- calculates the receiving pace — useful for the shift supervisor to see the load on the shift.
Sender container handling
Sender containers accepted for storage
When supplier pallets stay on the warehouse as storage units, before scanning the lines inside, the receiver scans the pallet's barcode. The pallet becomes the target container that the system writes every line into, and it is immediately registered on the warehouse balance.
Sender containers accepted for putaway
When supplier pallets travel into putaway along with the goods, the receiver scans the pallet's barcode before scanning the lines inside. The pallet is registered on the balance and flagged "to putaway"; the system automatically attaches every line to it.
Sender containers for tracking only
When supplier containers are used only as a lot identifier, the receiver scans the container number — the system stores it as a lookup source, but the container itself is not registered on the balance. The lines inside it land either in the receiving zone or in a warehouse container, depending on the receiving container requirement.
Sender containers not used
When the supplier does not use containers, the receiver scans product lines directly. There are no preliminary container scans — each line lands in the system as a separate receipt line.
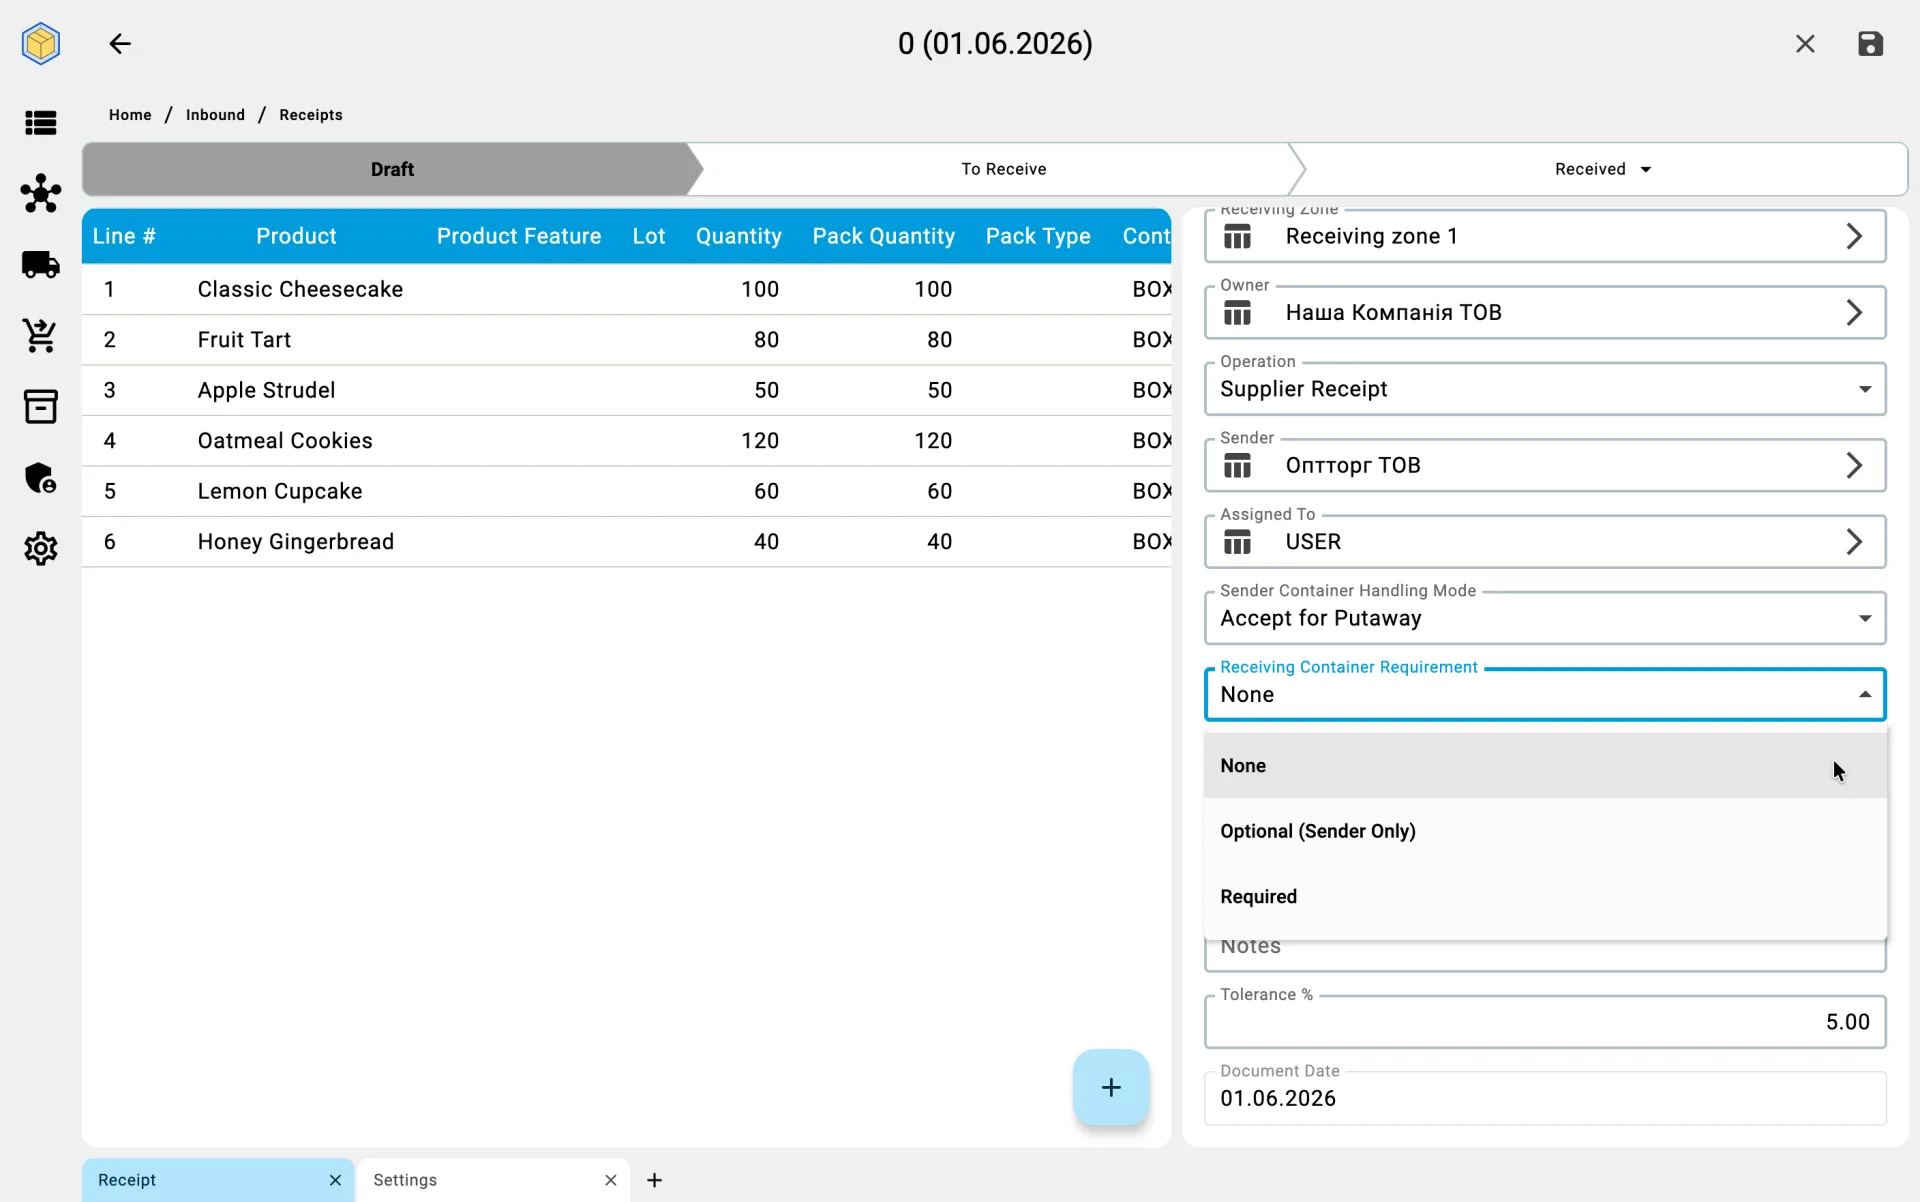
Receiving container requirement
Receiving without a container
When receiving happens without containers, every scanned line is attributed to a specific cell of the receiving zone. The operator names the cell where the goods are physically placed; no container is used as the target.
Receive into sender container if present
When picking a container is not required but receiving into a supplier pallet is allowed, the operator has two options: when a supplier pallet is present and the selected process allows it, lines are stored into it; when there is no pallet, lines go directly into a cell of the receiving zone. Choosing a warehouse or temporary pallet manually is not allowed in this mode.
Container required for receiving
When receiving into a container is mandatory, the operator cannot write a line directly into a cell — they must either pick an existing supplier pallet or create a warehouse or temporary container and scan lines into it. Without a target container the scan is not recorded.
The operator identifies an SKU — the combination of product, product features (if tracked), lot (if tracked), and pack type — by scanning a barcode or by picking it manually from a list. Required attributes depend on the product configuration. How SKU selection works.
Quantities go in the quantity field — set from the barcode, typed by hand, or worked out in the calculator, with − and + to adjust; the pack type sits beside it. How the quantity field works.
Quantity entry mode
Quantity confirmed in form
In the client app the receiver most often works with the receipt-line form: opens a line from the plan, picks the SKU (if it was not auto-matched), enters the actual quantity, the pack type and — when needed — the lot and features, then saves the fact. Every saved fact appears immediately on the Receipts tab with per-line progress.
"+1": quick save on scan
The "+1" quick-save mode belongs to the PDT screen, not the client app: it is switched on with the +1 button in the header of the line list on the PDT receiving screen and is off by default — there is no warehouse setting and no client-side switch for it. With the mode on, a scan saves the fact straight away without opening the form: the quantity is taken from the barcode, or defaults to one. How the mode behaves — the on-screen animation, errors, when it pays off — is described in the PDT phase Record the fact.
Phase 5. Quality control
For the product categories where quality control is mandatory, the system starts the procedure automatically:
- part of the received goods is isolated in the quarantine zone;
- a quality-control specialist is assigned a check task;
- the check results are captured — the goods can be marked fully fit, partially fit, or fully rejected;
- when goods are defective, a quality incident is created with photos, a description of the cause, and recommended actions (return to supplier, disposal, sell at a discount).
The full description of quality control lives in the corresponding module (not yet documented here).
Phase 6. Discrepancy resolution
Discrepancies between expected and actual cargo are a routine part of the job. The system helps resolve them quickly and on paper:
- every discrepancy is recorded in a report listing the product, the expected and actual quantities, and the cause;
- on that basis a claim against the supplier or an overage statement is produced;
- the history of discrepancies accumulates on the supplier's record and feeds into supplier rating.
When a decision cannot be made on the spot (for example, the supplier still needs to be contacted), the receipt stays in progress: the disputed goods are neither added to the free stock nor written off until a final decision is made.
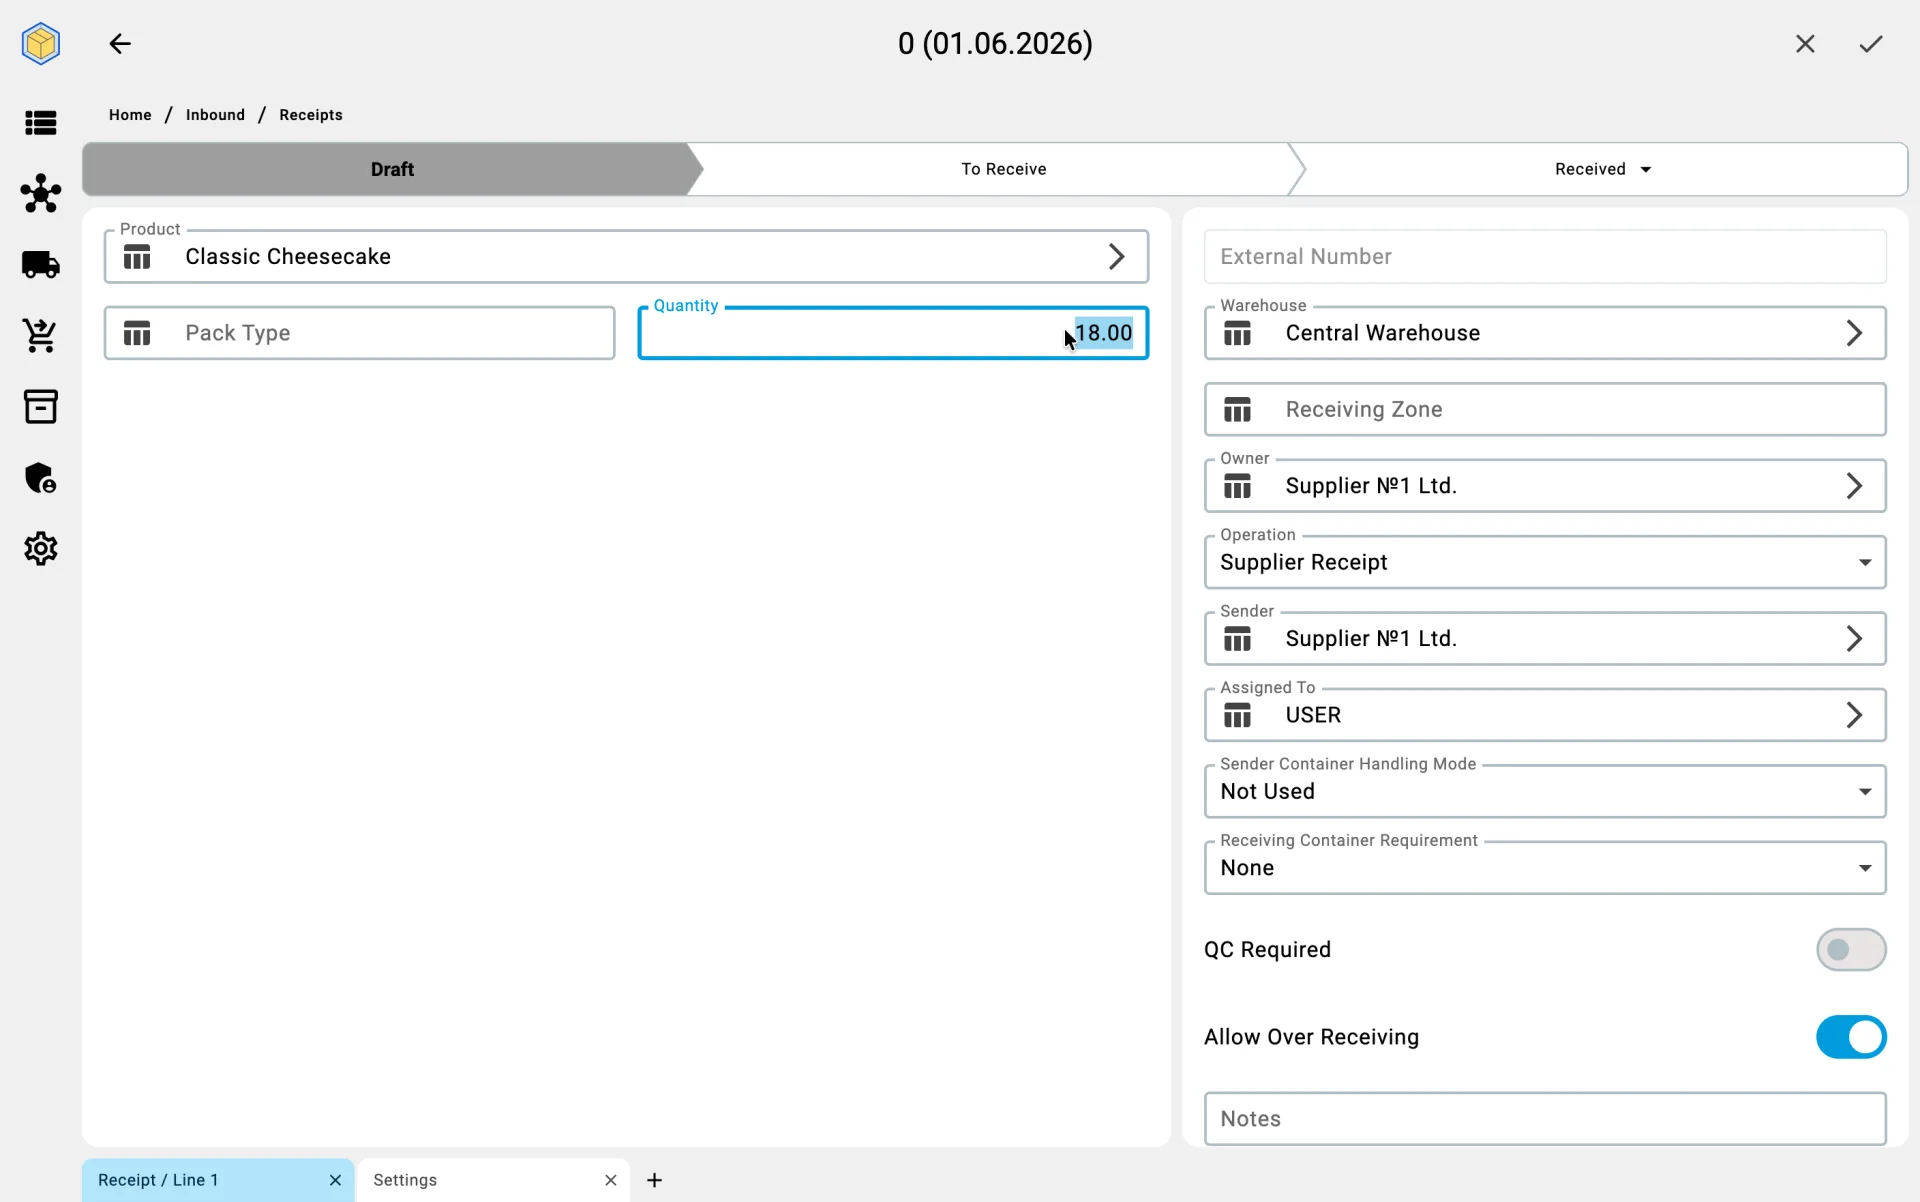
An over-receiving discrepancy — more arrived than the plan expected — is handled inline when the receipt allows it:
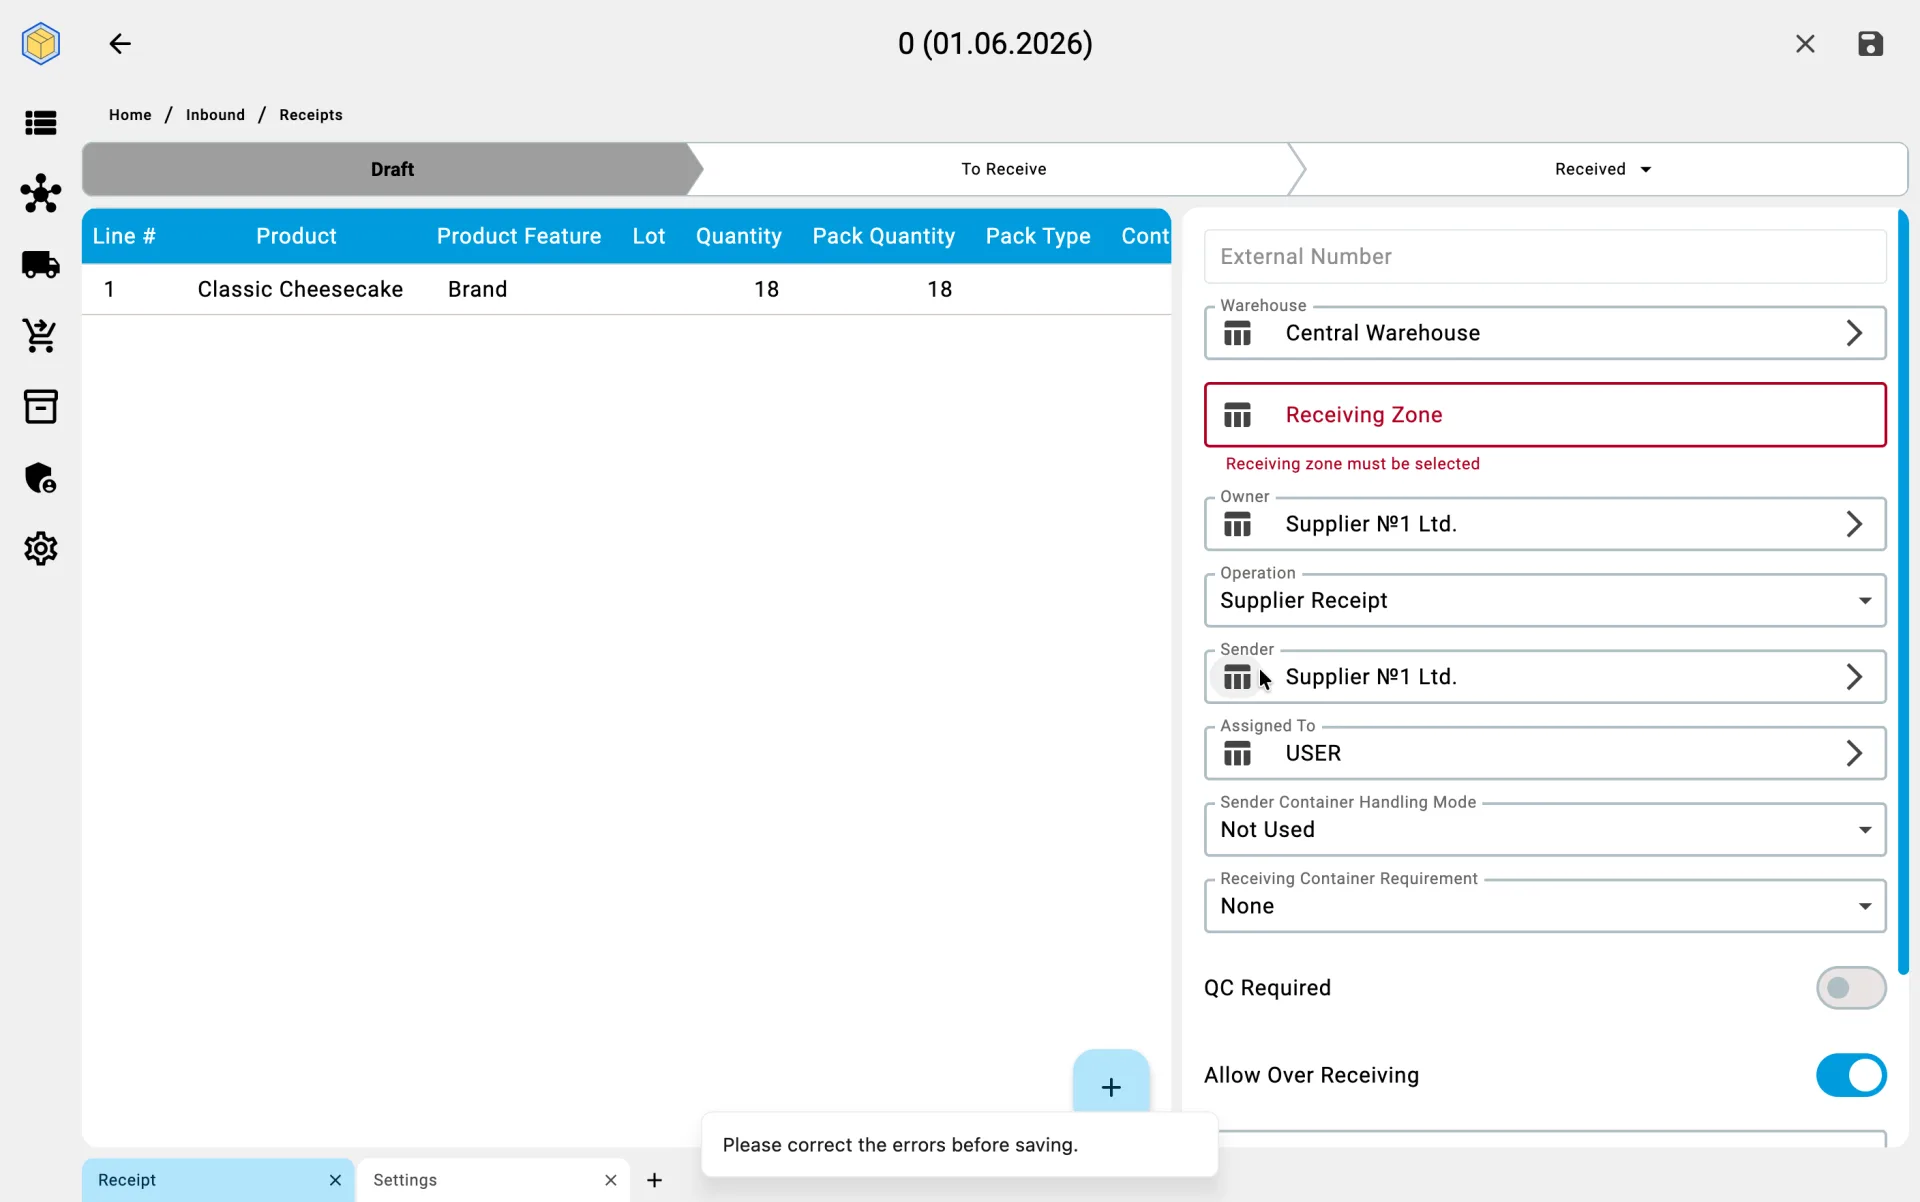
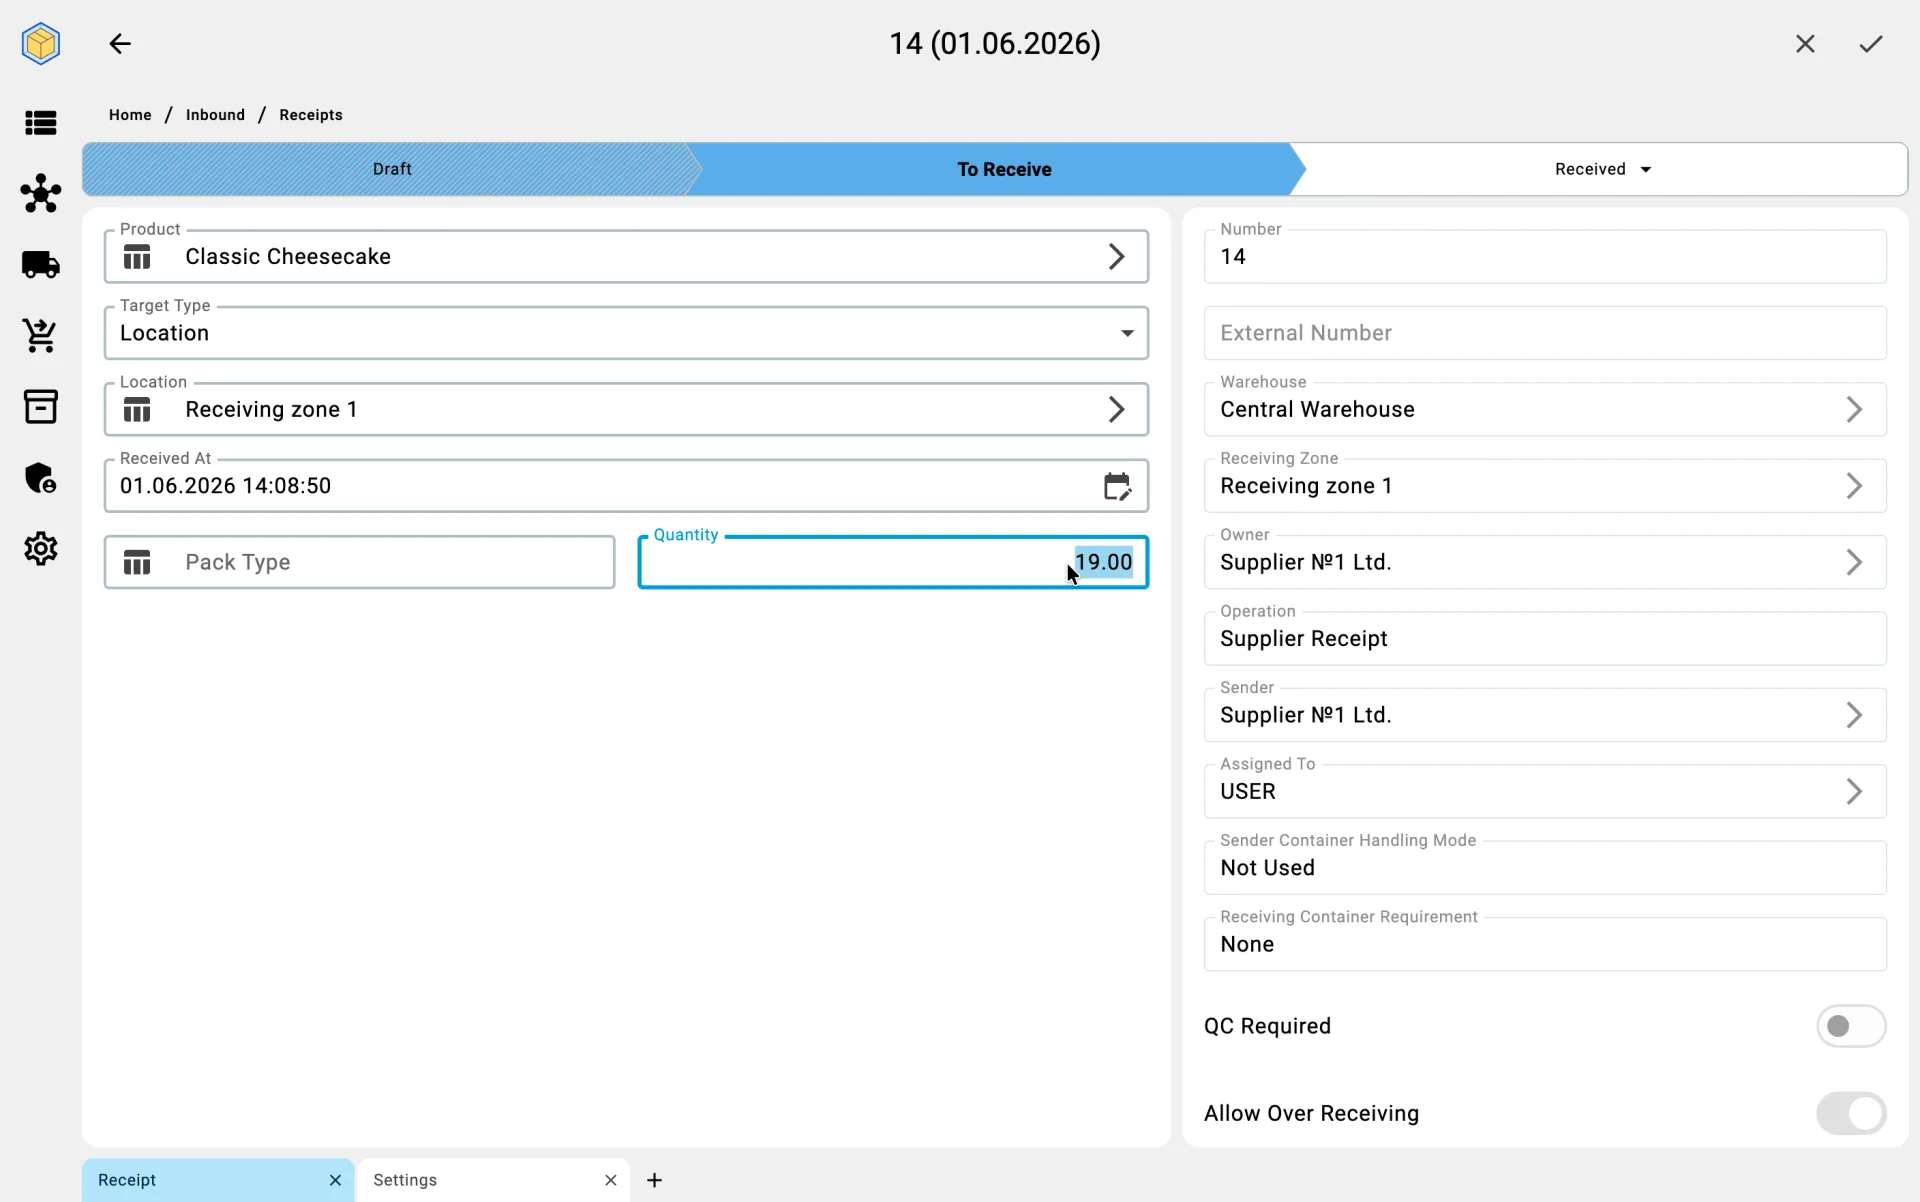
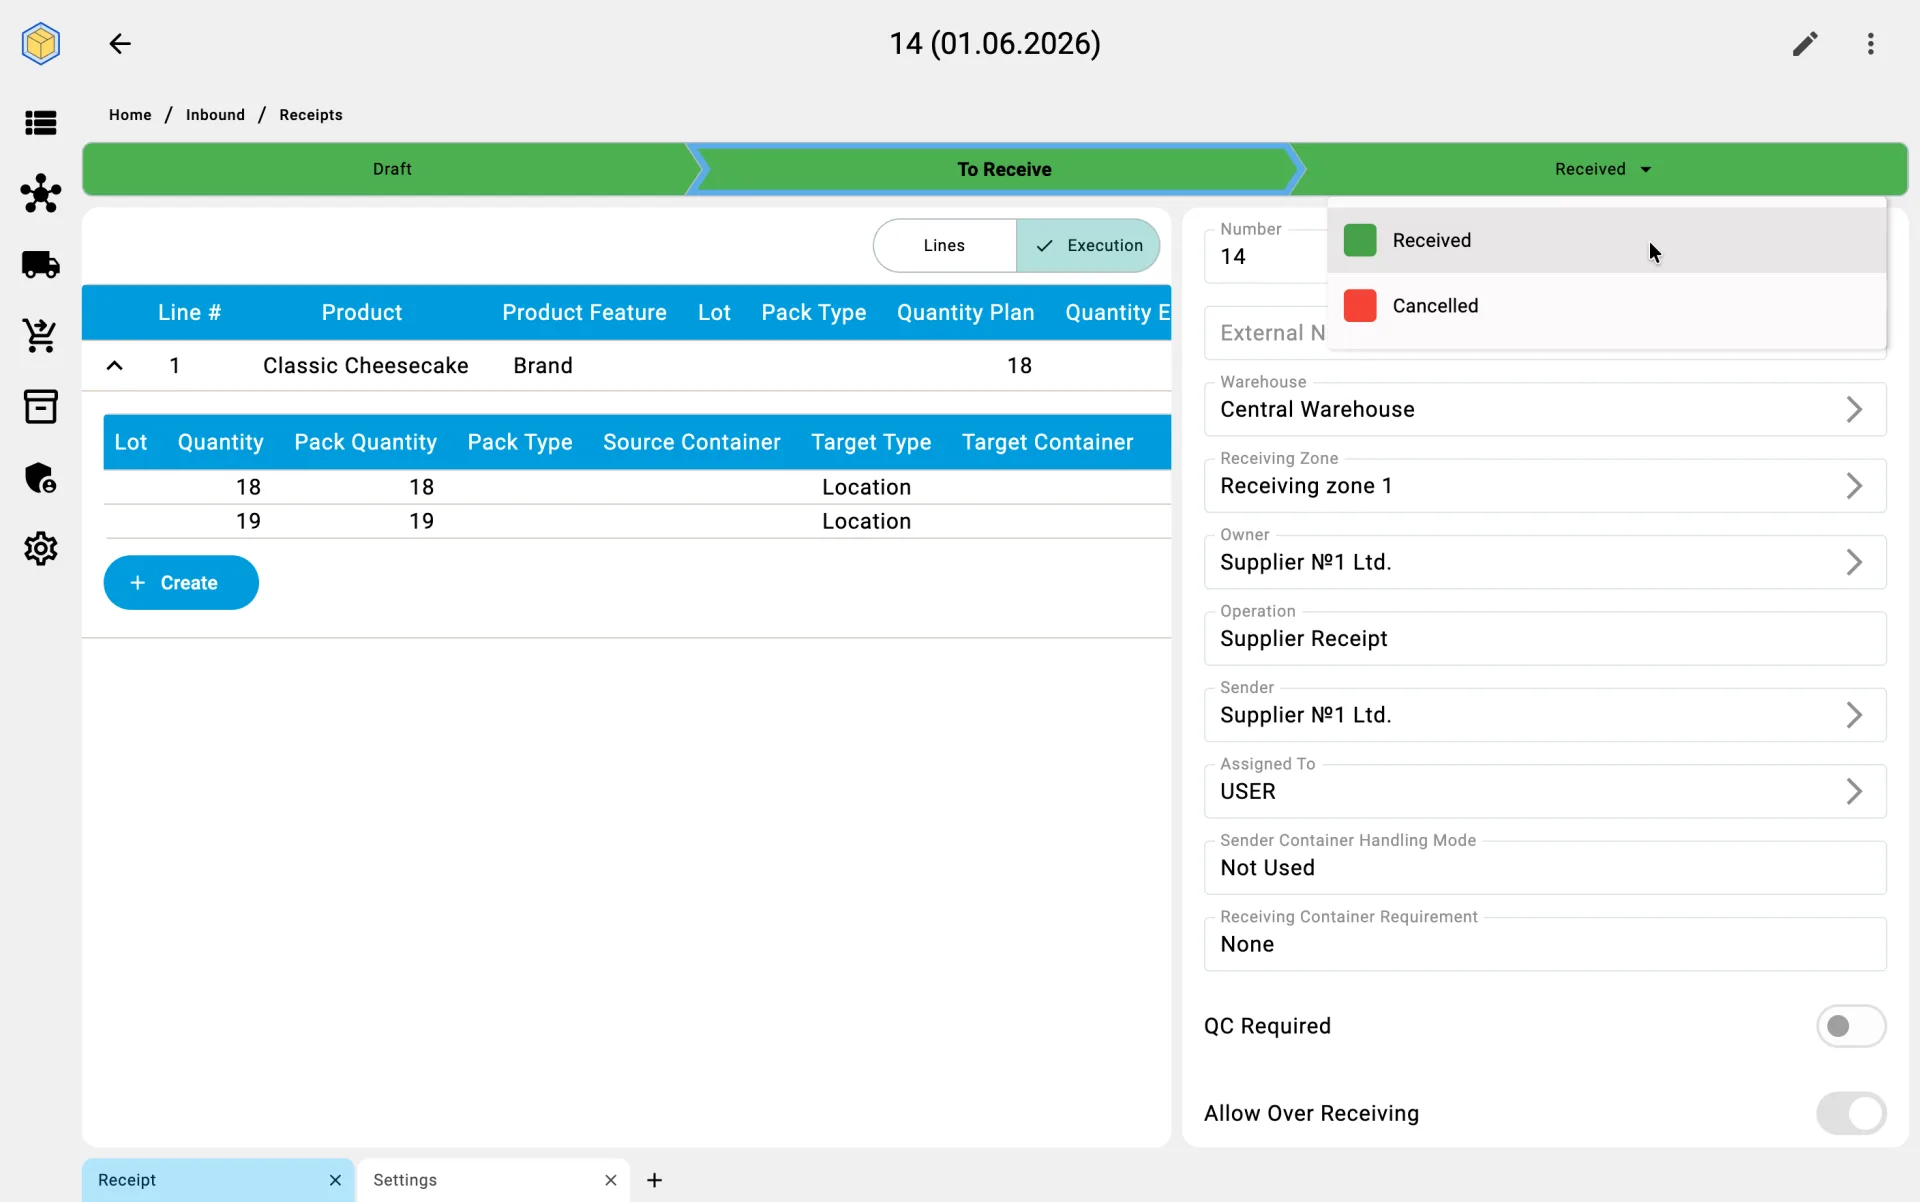
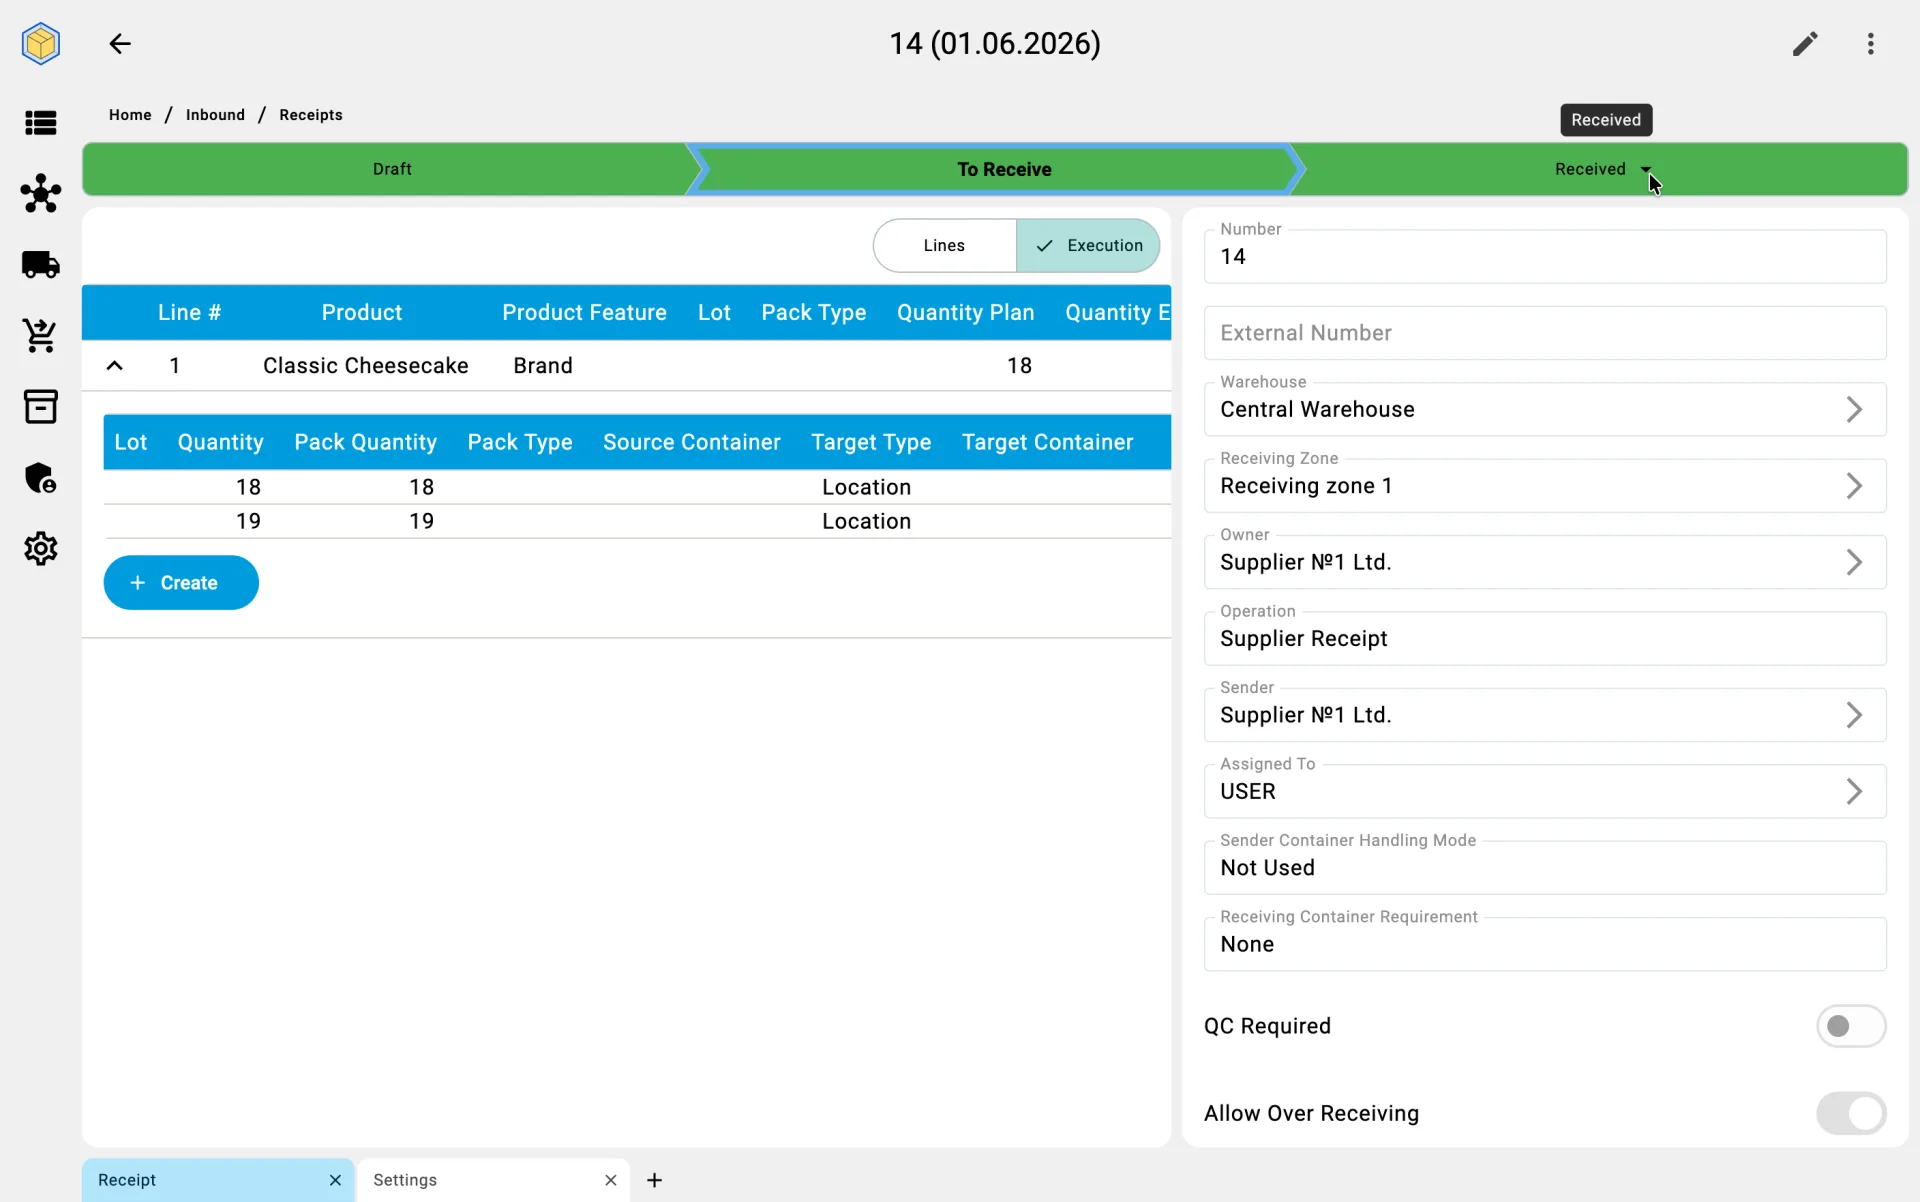
Phase 7. Putaway handoff
Once the main receiving is complete and quality control has passed, the received goods are ready to be moved into the storage zones. At this point:
- the system flags received lines as awaiting putaway;
- the cell-selection process kicks in, driven by the product's placement rules;
- the goods stay physically in the receiving zone until a putaway operator collects them.
Every movement during putaway is scanned, so the system always knows where each unit of received goods is.
The full rules and execution of putaway live in the Putaway module (not yet documented here).
Sender container handling
Sender containers accepted for storage
When supplier pallets were accepted as storage units, full pallets are handed off to putaway. The system suggests a cell for the whole pallet rather than for individual lines inside it; the pallet is not broken down at this phase.
Sender containers accepted for putaway
When supplier pallets were accepted with the "to putaway" flag, the same pallets are handed off to putaway. The system takes the pallet's attributes — pallet type, weight class — into account when looking for an optimal cell.
Sender containers for tracking only
When supplier containers were used only as a lot identifier, putaway receives either individual lines from the receiving zone or warehouse containers that the goods were received into — depending on the receiving container requirement. The supplier container no longer appears at this stage.
Sender containers not used
When supplier containers are not in play, putaway receives either lines directly from the receiving zone or warehouse containers — depending on the receiving container requirement. The handoff is formalised at the line level, not the pallet level.
Phase 8. Receipt closure
When every line has been processed, the receiver or the shift supervisor closes the receipt. At that moment:
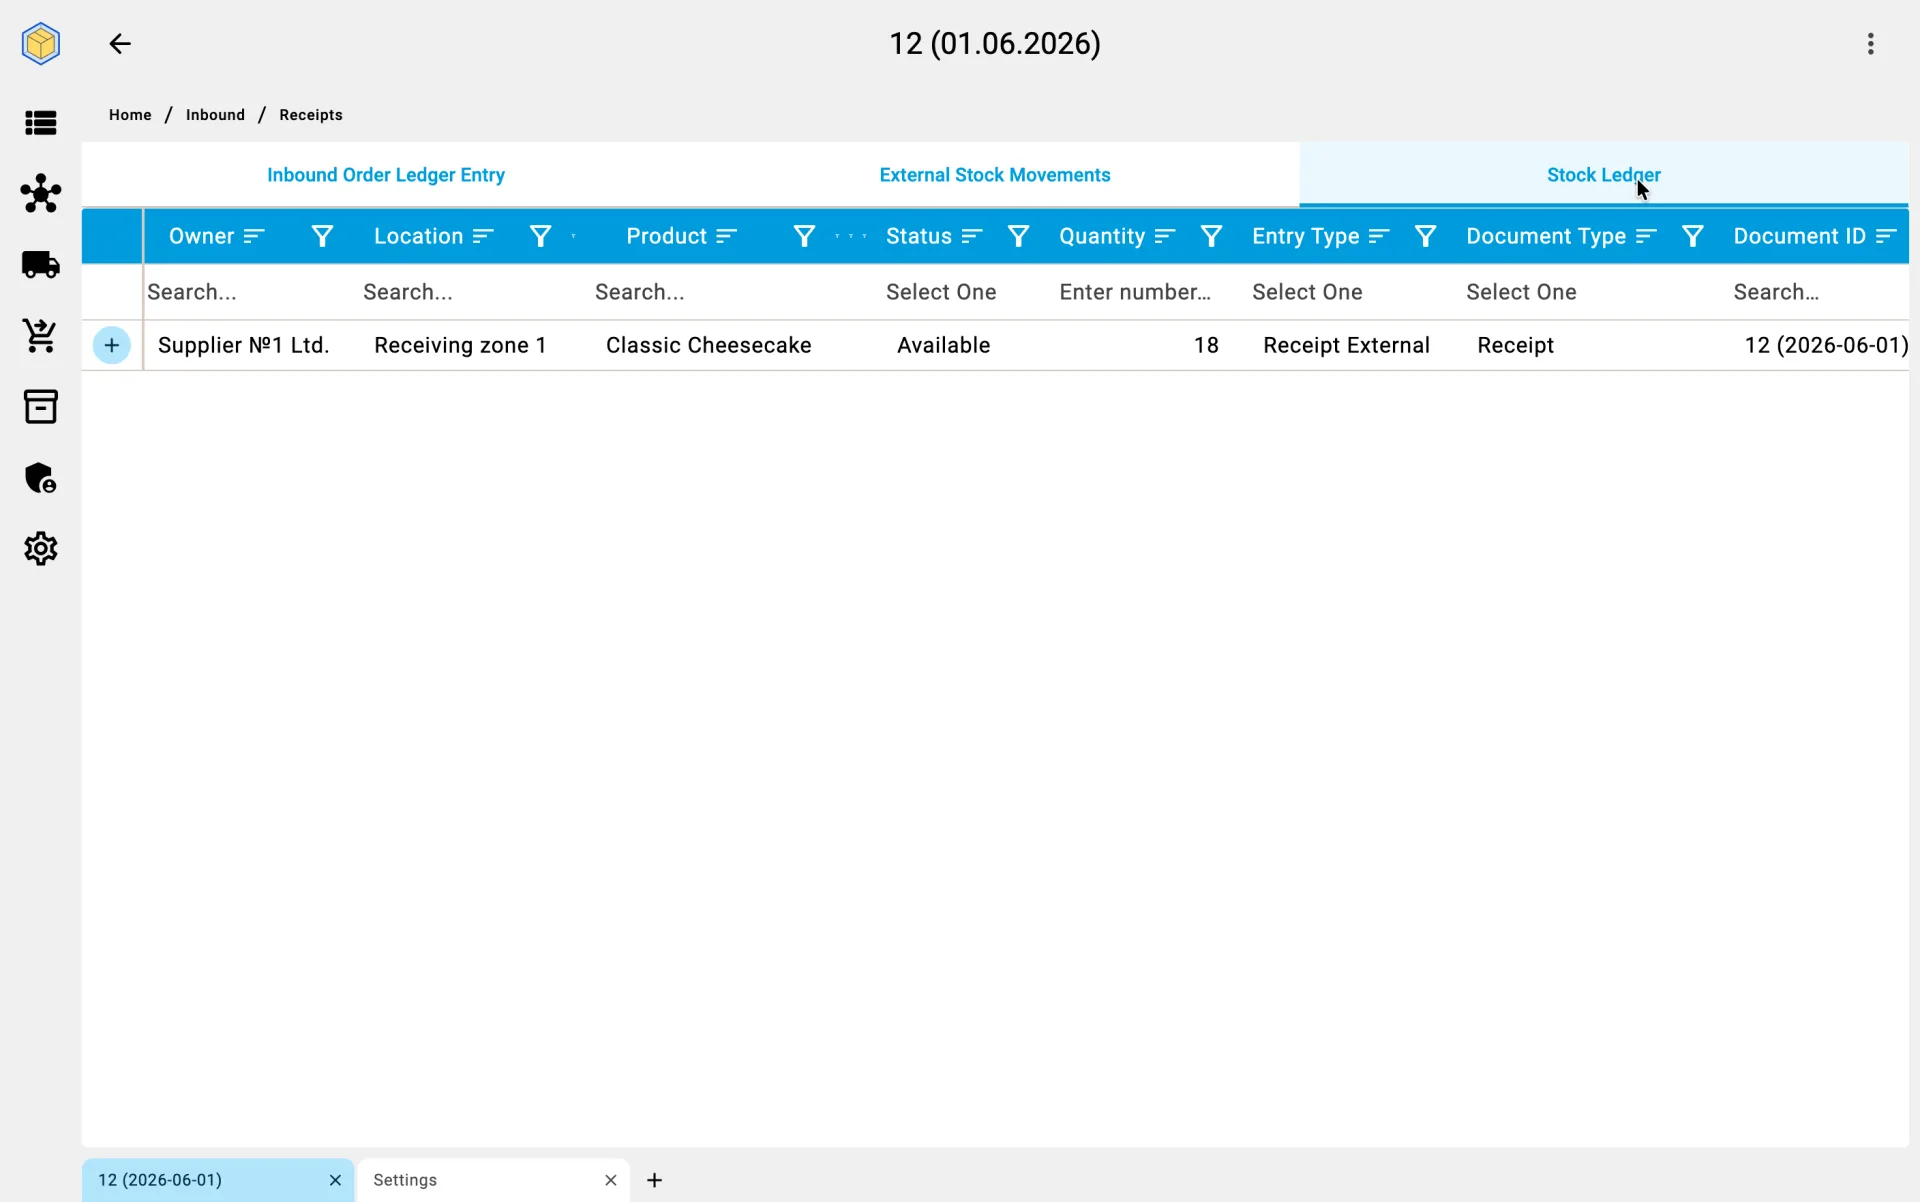
- the warehouse stock is officially increased by the received quantity;
- the goods become available for sale and order picking;
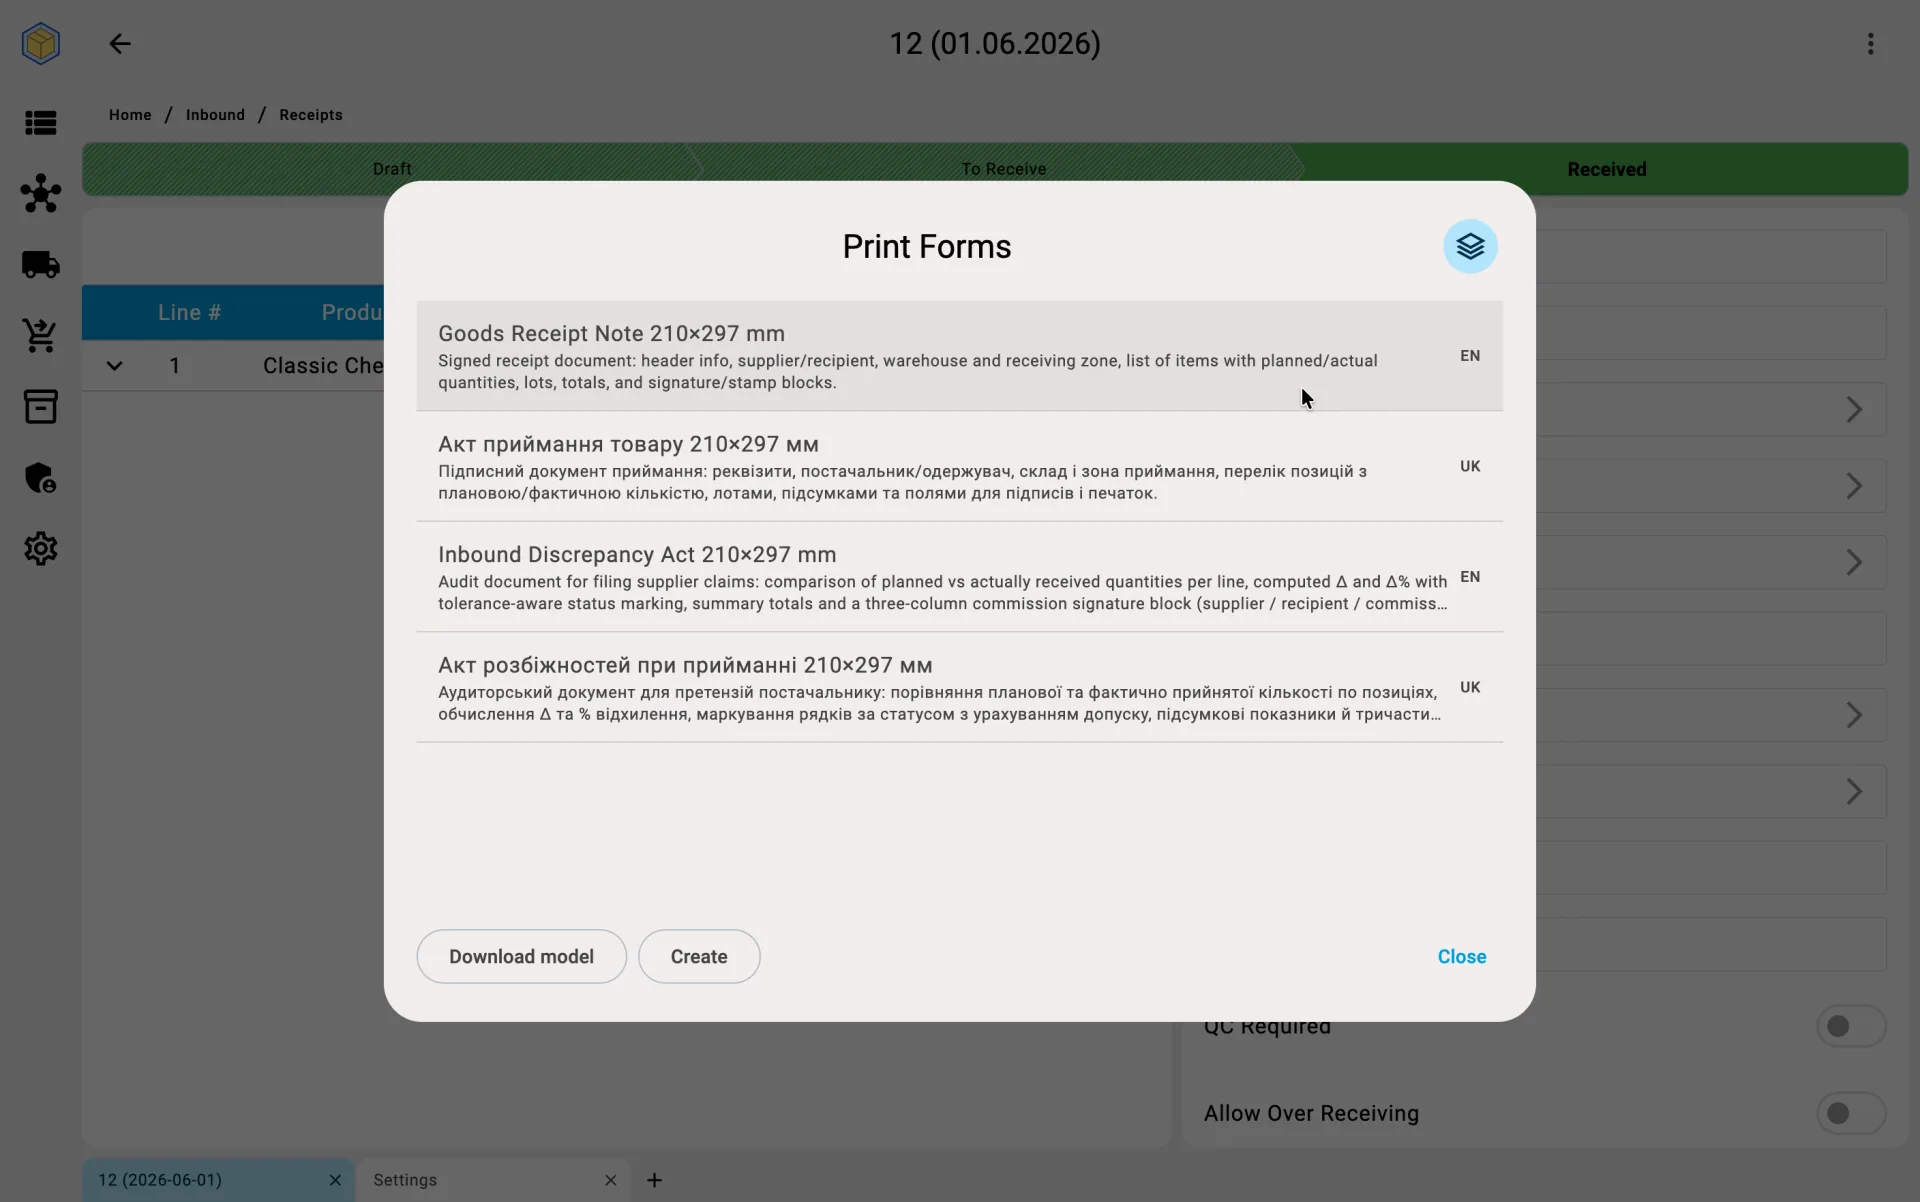
- the document pack is generated automatically — the receipt report, the discrepancy report (if any), quality claims (if any);
- the ERP system gets the updated data through the integration;
- the supplier may be notified that the delivery is confirmed.
What the business gets from this process
- Speed and transparency. All eight phases are pulled together into one interface; the shift supervisor sees progress in real time.
- Quality control from the start. Defective goods do not enter stock, and the problems that are found are recorded on paper.
- Objective supplier picture. Data on supplier punctuality, completeness, and quality accumulates per supplier.
- Scenario flexibility. The same process serves both planned orders and unplanned deliveries — no mode switching required.