Picking on the PDT
On the PDT the operator does the hands-on picking: opens a ready picking task, walks to each line, scans the source and the product, enters the quantity picked, and completes the task. The task itself is prepared in the client app.
What happens outside the PDT
Steps performed before a picking task reaches the PDT operator:
Step 1. Opening the picking task
On the PDT the operator opens the picking list — the screen shows the picking tasks ready to be worked (status Planned and In Progress). The operator taps a task to open it; the screen switches to the single-task view, which shows the task header — its number, status, and target location — above the list of lines to pick. Each line names the product, its packaging, the quantity to pick, and the source cell or container to take it from.
The operator does not create the picking task on the PDT. Tasks are prepared in the client app — by wave planning or, when the warehouse runs without waves, by direct planning — and arrive on the PDT ready to execute. The steps below are the same whichever way the task was planned.
On a warehouse with free picking
Some warehouses run free picking without reservation. Nothing is held for the task there, so the source cell on a line is a hint worked out from current stock when the task is opened: the goods may be taken from wherever they actually are, and opening the task again can show a different cell. A line the system could not cover arrives without a source cell and is still workable.
Picking into a cluster of containers
Some tasks pick into several containers at once — one per order, carried together on a cart; this grouping is called cluster picking. For these the operator first tells the PDT where the cart is and which container is being filled: select the Container Location (where the cart stands) and scan the Target Container to make it the active one. Once set, the active container is shown in the header and stays fixed until the operator closes it; picks recorded next go into that container. Tasks that pick into a single target location skip this step. This applies to wave picks only — cluster picking is a wave methodology. Tasks planned directly (without waves) are always discrete, with a single target, so this step never appears for them.
Step 2. Recording pick facts
After opening the task the operator records one pick fact per line. The cycle is short: open a line, confirm where the stock is, pick it, enter how much, and save.
To open a line the operator taps it (or scans the product barcode to jump straight to it). On the line's screen the operator:
- Chooses the Source Type — Location (a cell) or Container — and scans or selects the source being picked from.
- Selects the Pack Type — the packaging unit being taken, for example a case or a pallet. Scanning the packaging barcode fills this in.
- Enters the Quantity picked and saves with the checkmark button. The quantity field offers quick plus/minus buttons and a calculator for awkward sums; see Entering quantities and Scanning for how the fields behave.
The saved fact appears against the line with its running total, and the operator moves to the next line. When the task is in Planned, the first saved fact moves it to In Progress.
If the order permits overpicking, the operator is not limited to the planned lines. The Add line action (the + on the task) adds an extra position — its product, pack type and quantity are entered the same way as a planned line — so more than the planned quantity can be picked and recorded. This is available only when the order's Allow overpick option is on.
Picking into a cluster of containers
When the task picks into a cart of per-order containers, each saved pick goes into the active container chosen when the task was opened. The operator can review what is already in it on the current-container screen and, when that container is full or its order is done, Close container and make the next one active. Picks recorded after that go into the new container.
Step 3. Shortfalls and substitutes
Not every line can be picked in full. The PDT gives the operator a few ways to handle a line that is short, missing, or needs a substitute — most of them are swipe actions on the line in the task list.
- Mark a line as absent. If the product is not there to pick, swipe the line and confirm its absence. The line is recorded as picked for zero and moved to the bottom of the list, so the operator can return to it later. The PDT asks for confirmation first.
- Pick an analogue. When an equivalent product can stand in for the planned one, swipe the line the other way and choose Analogue to search for a substitute and pick it against the line.
- Cancel a line. A line that should not be picked at all can be cancelled from the swipe actions. This cannot be undone, so the PDT asks to confirm.
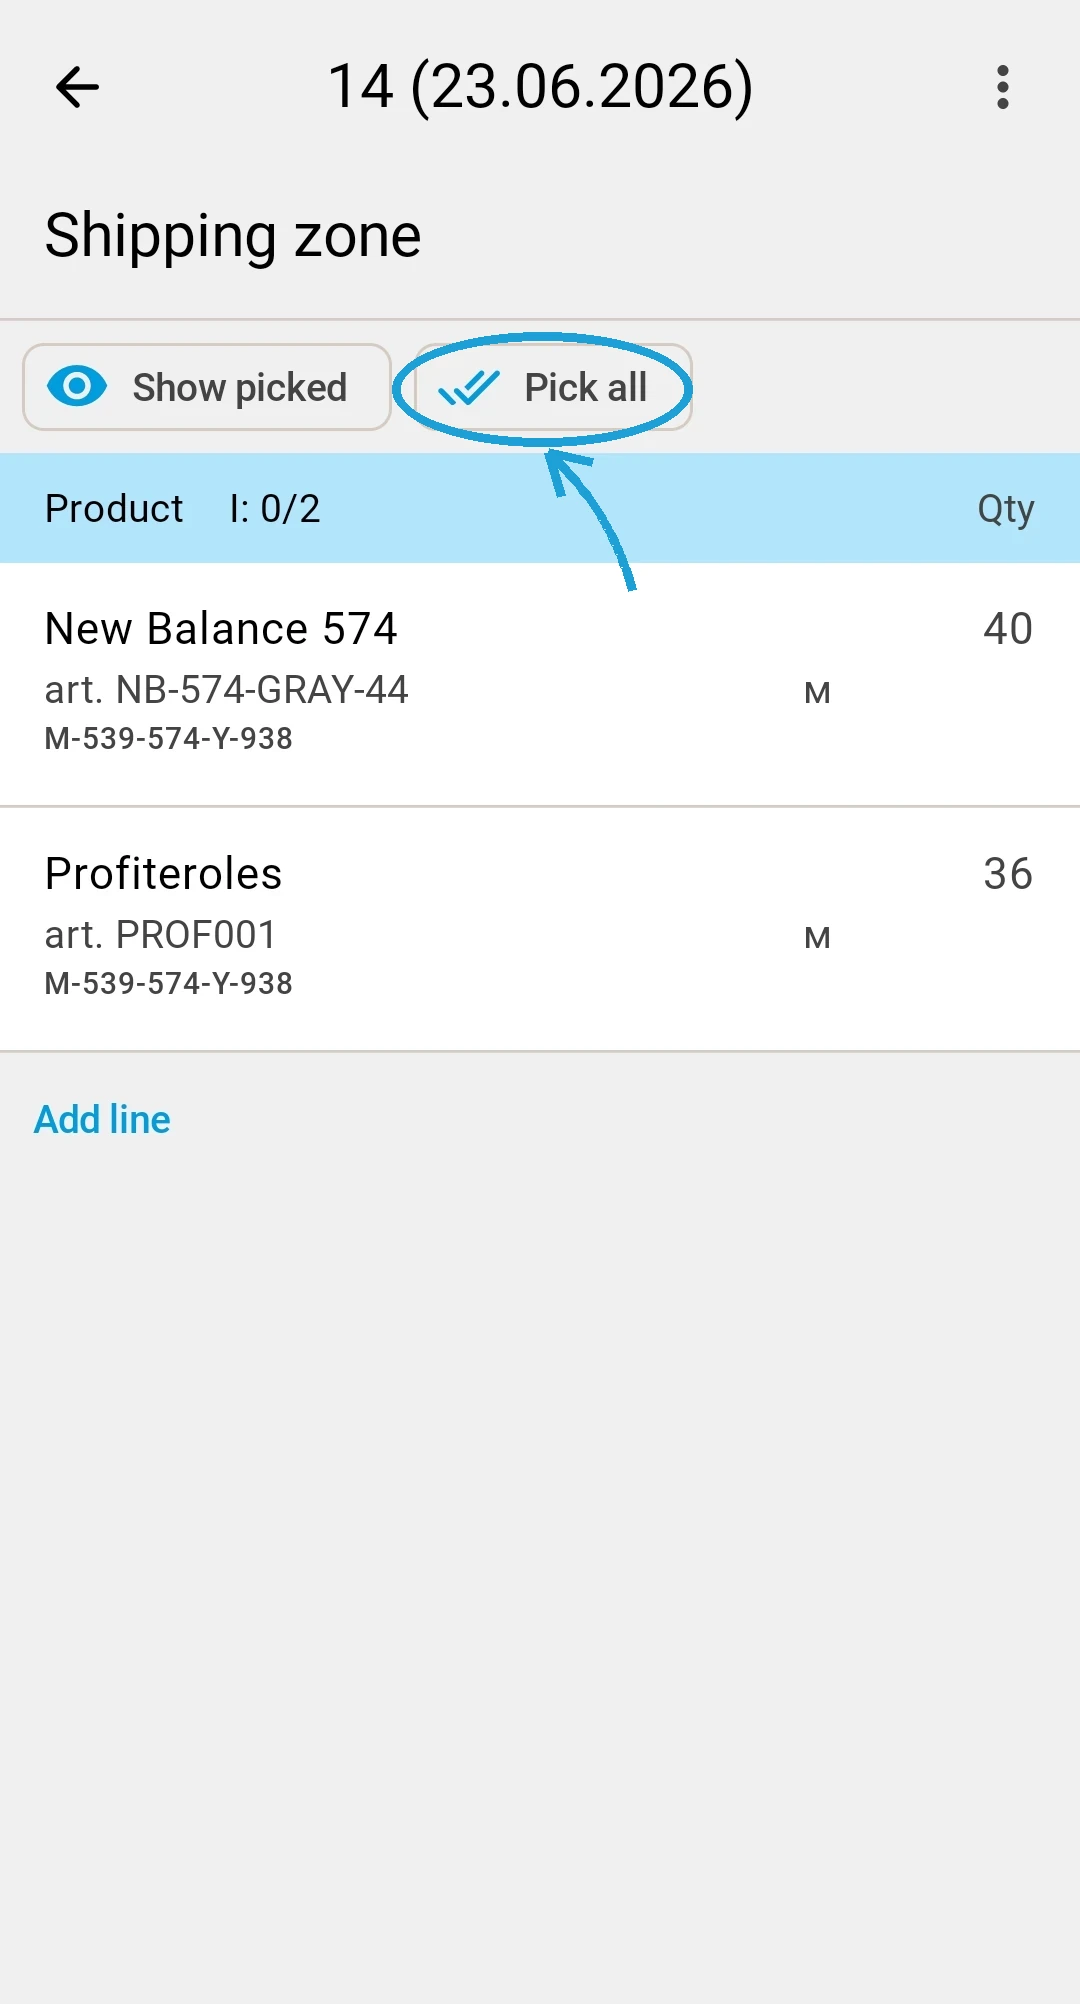
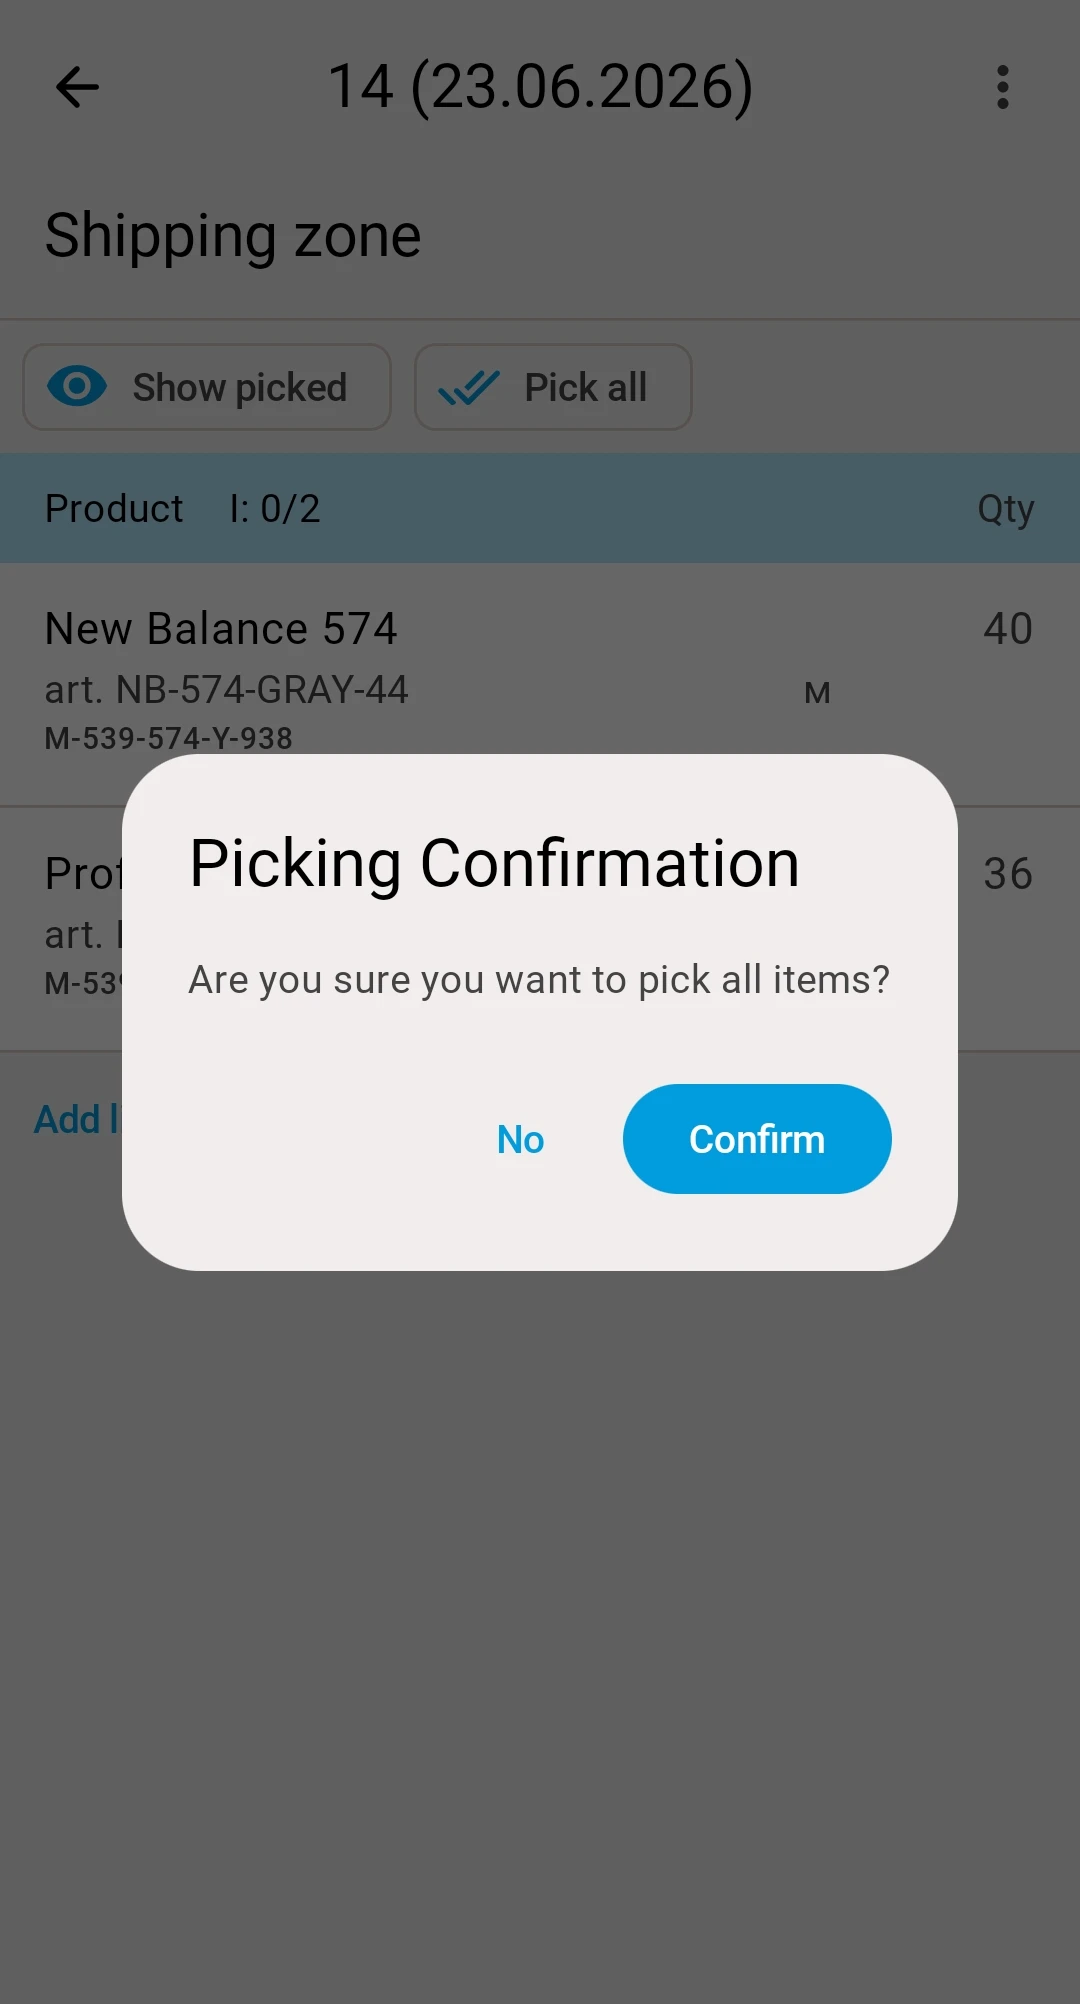
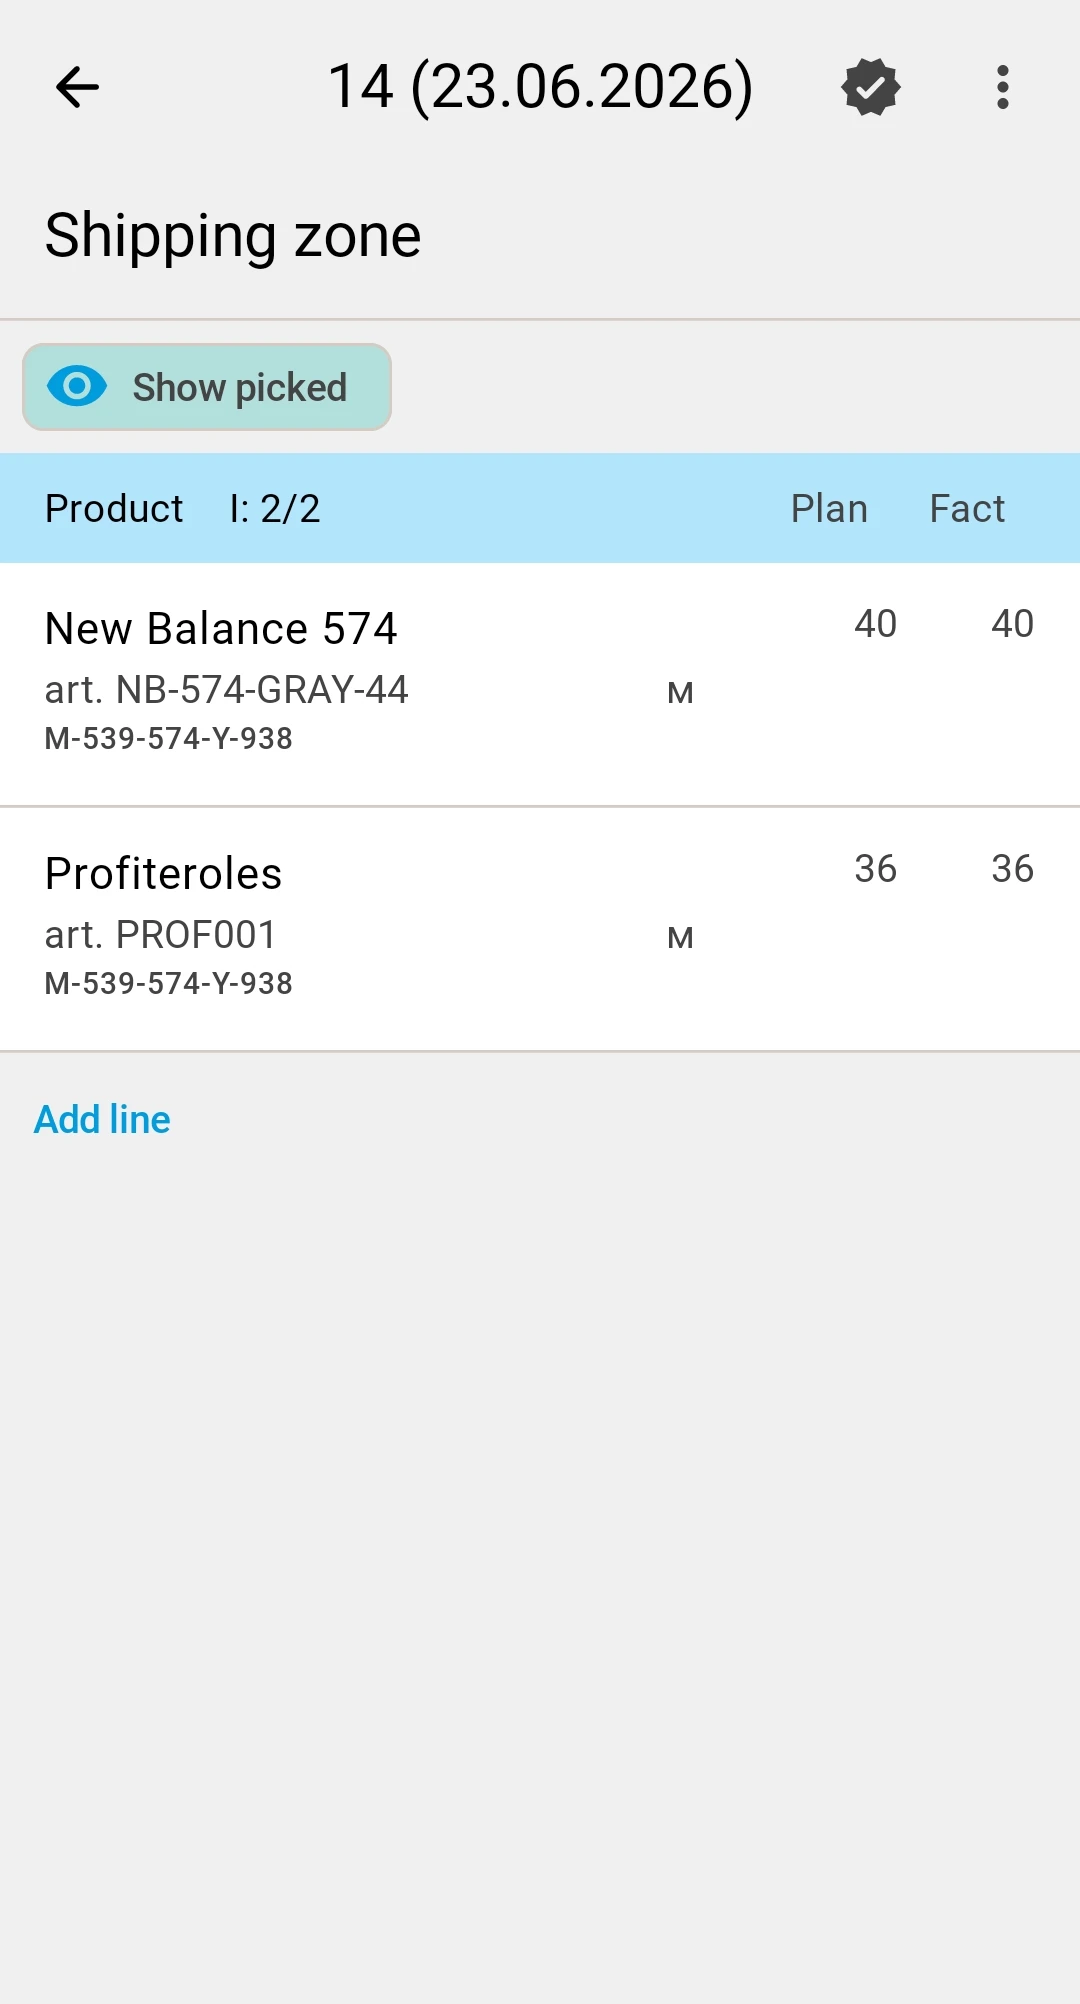
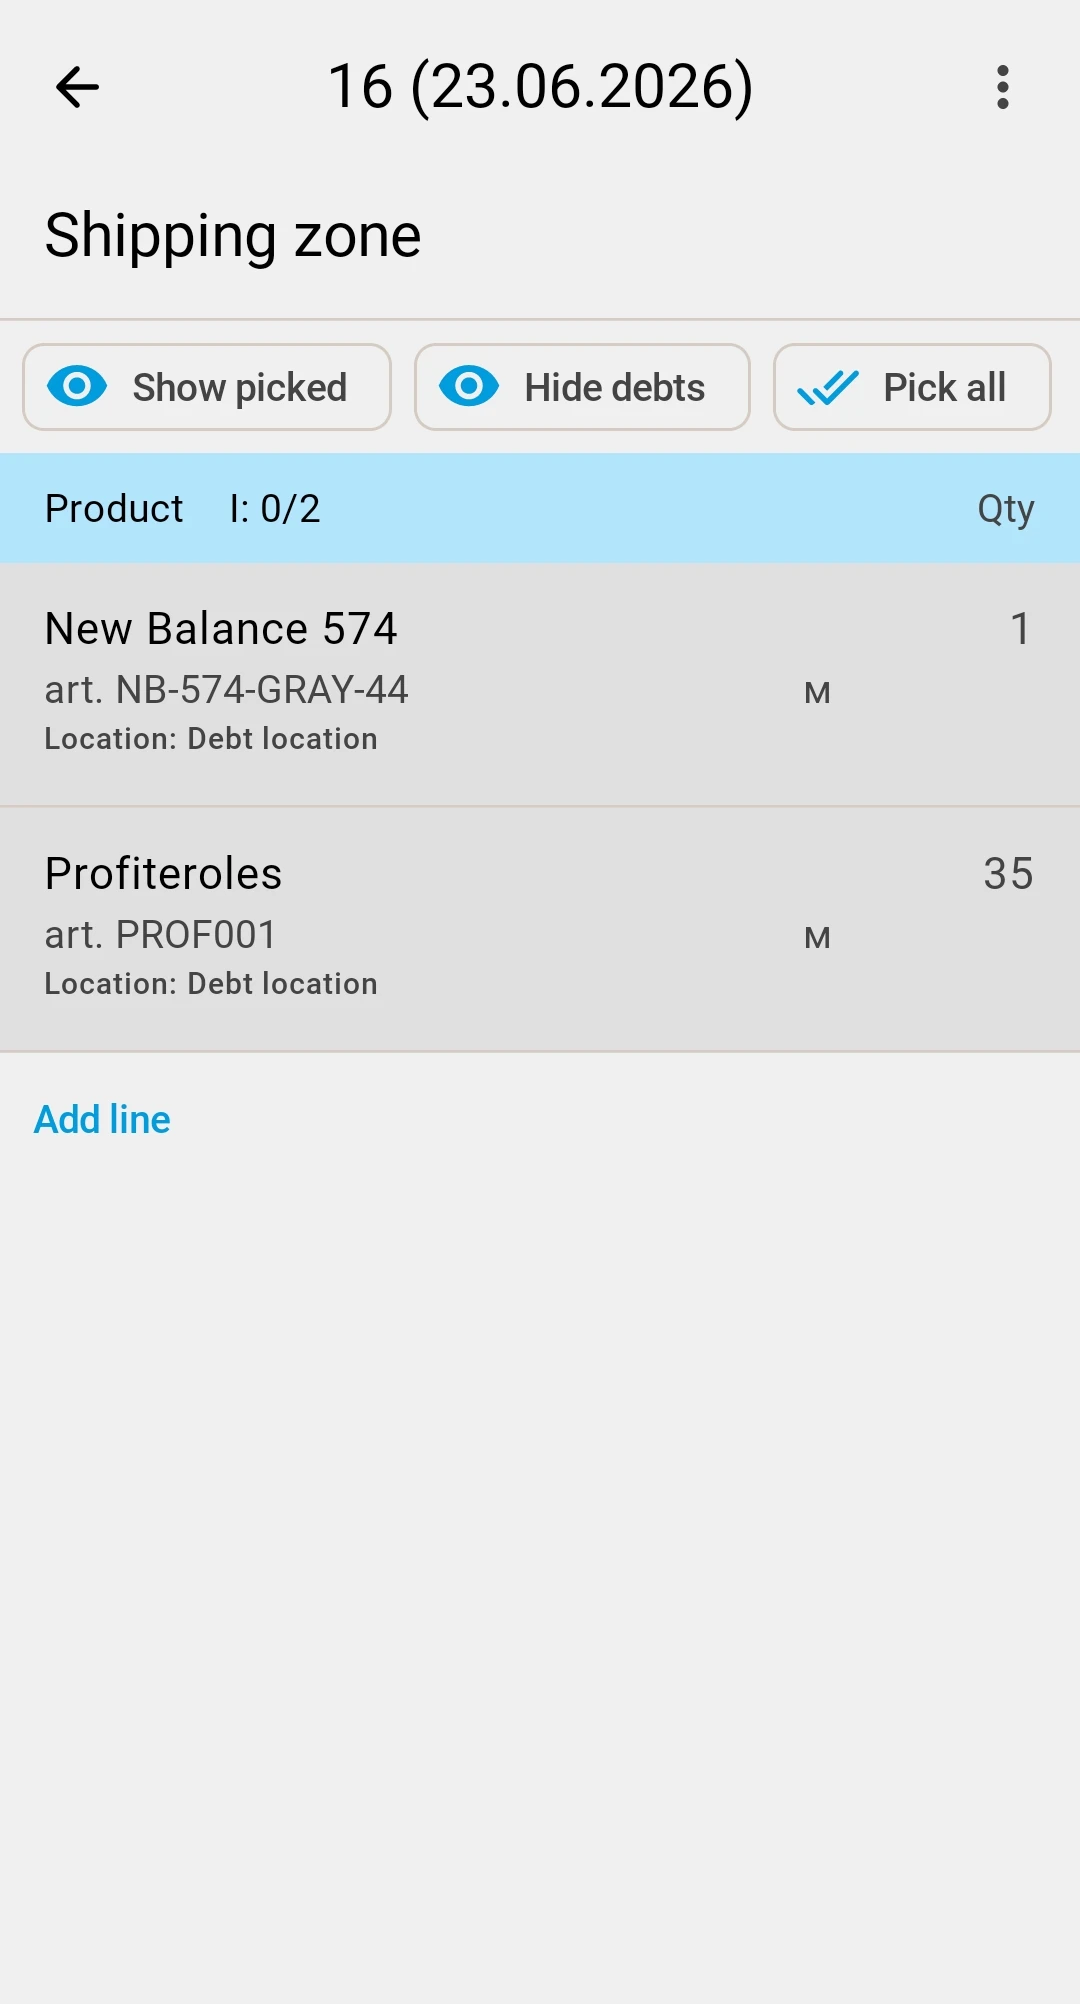
A line whose stock could not be reserved in a normal cell is shown against a debt location instead of a source cell — its stock is on its way to the pick face on a separate replenishment move, and the line clears once that move is done. To keep the working list short, the task screen offers filters: Show picked brings completed lines back into view, Hide debts tucks away the debt lines, and Pick all accepts every remaining line at once.
On a warehouse with free picking, Pick all confirms exactly what the screen shows and skips the lines the system could not cover. If the stock has moved on and no longer covers what was shown, nothing is recorded and the PDT reports it.
Step 4. Completing the picking
When every line that can be picked is done, the operator confirms the task with the checkmark button to complete it. The task moves to Completed and becomes read-only on the PDT.
If some lines are still unpicked, the PDT shows a confirmation warning that picks remain before it lets the operator close the task. Confirming closes the task as Completed anyway — the unpicked remainder is simply left out of the result (see the Picking statuses reference for what that means for the stock).
A safeguard: the operator cannot confirm an empty task — if no picks have been recorded yet, the PDT shows a message and blocks the action.
Picking into a cluster of containers
Before completing a cluster task the operator closes the last active container. With every container closed, confirming the task completes it just as for a single-target pick.
What happens after completion
What happens after the PDT operator completes a picking task:
Business value
One task, many lines, in one sweep. The operator picks the whole task in a single planned walk, scanning as they go, instead of chasing one item at a time.
Honest progress. Short picks, substitutes, and cancellations are all recorded on the spot, so the task's status always reflects what is really on the cart.