Planned relocation on the PDT
On the PDT, the operator executes existing planned relocations — opening one document from the list, walking the plan line-by-line through the source/target zone form, and closing the document. Plan creation itself happens in the client app (linked below). For movements that don't have a plan, see Ad-hoc relocation on the PDT.
What happens outside the PDT
Steps performed before the PDT operator opens the planned relocation:
Step 1. Opening the planned relocation
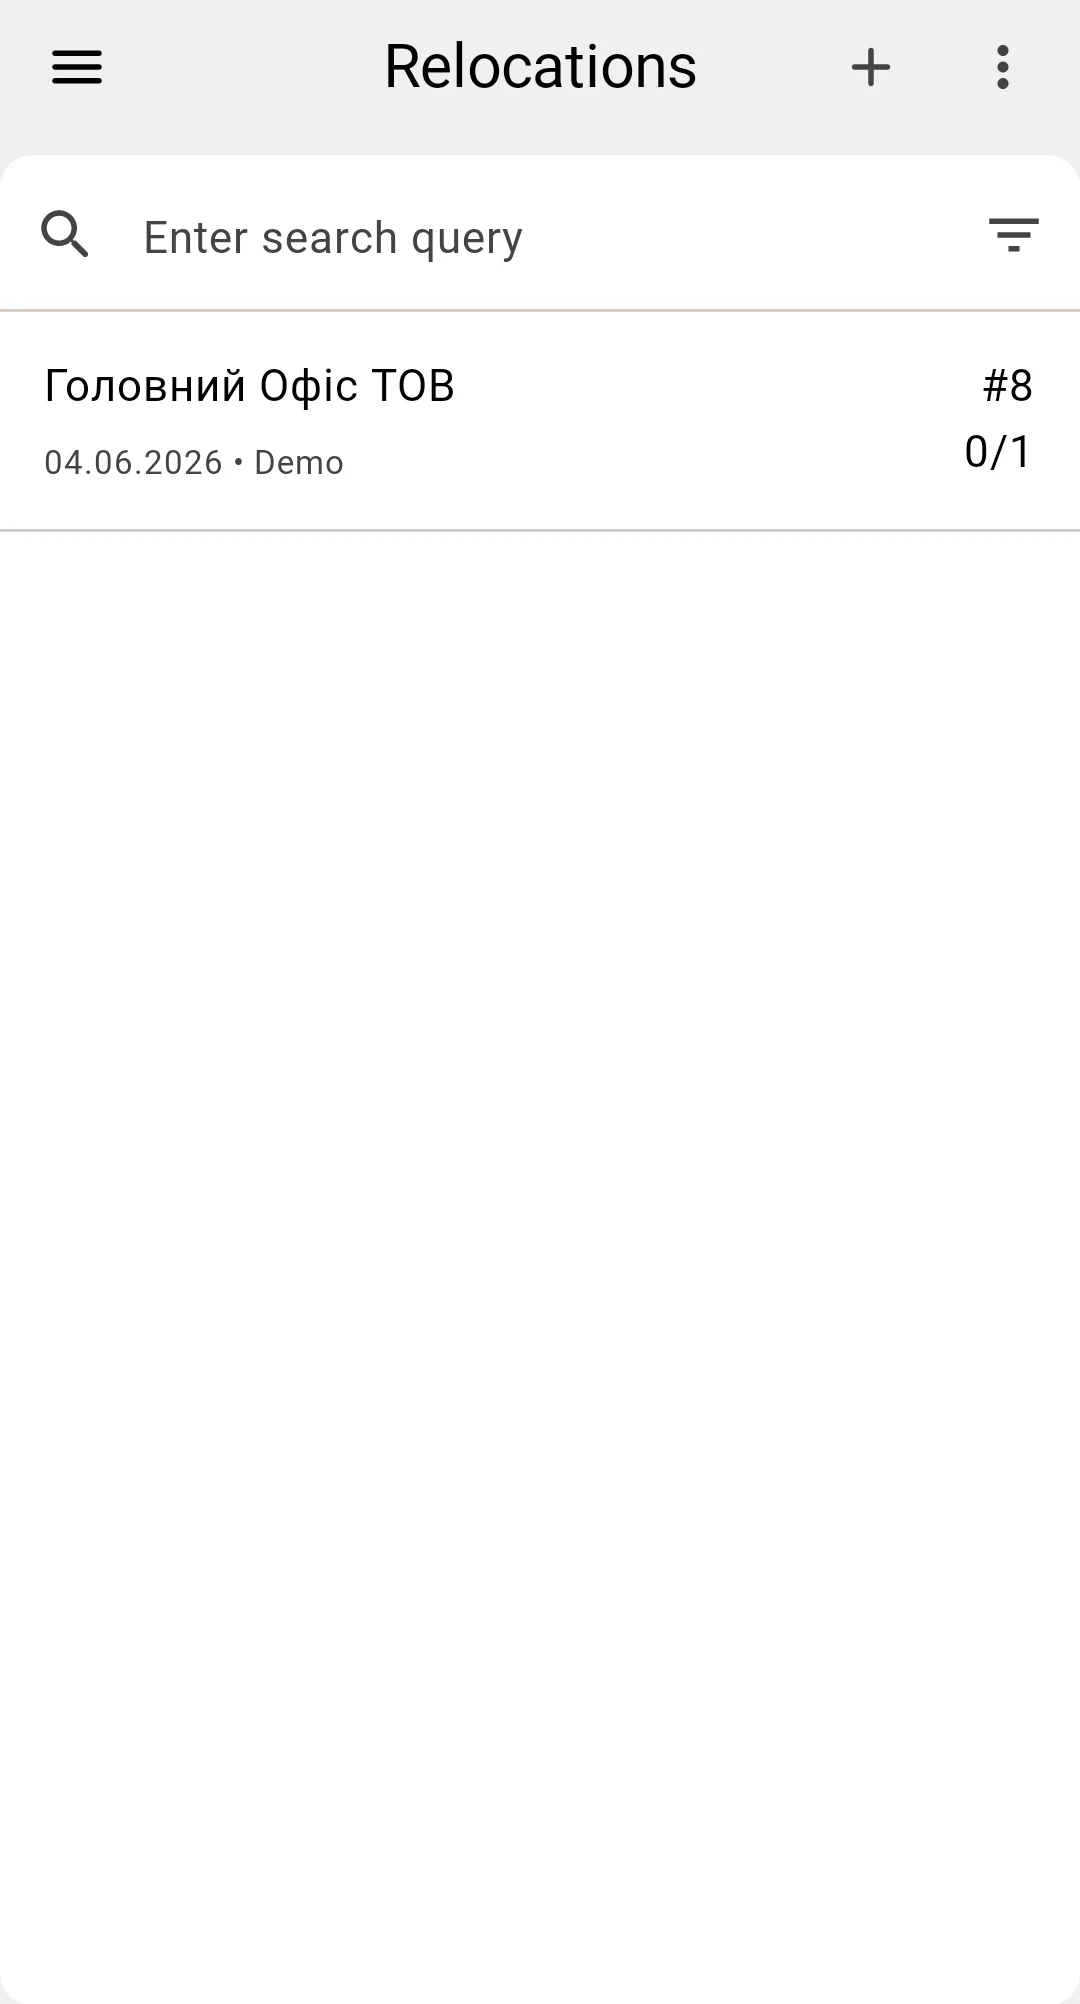
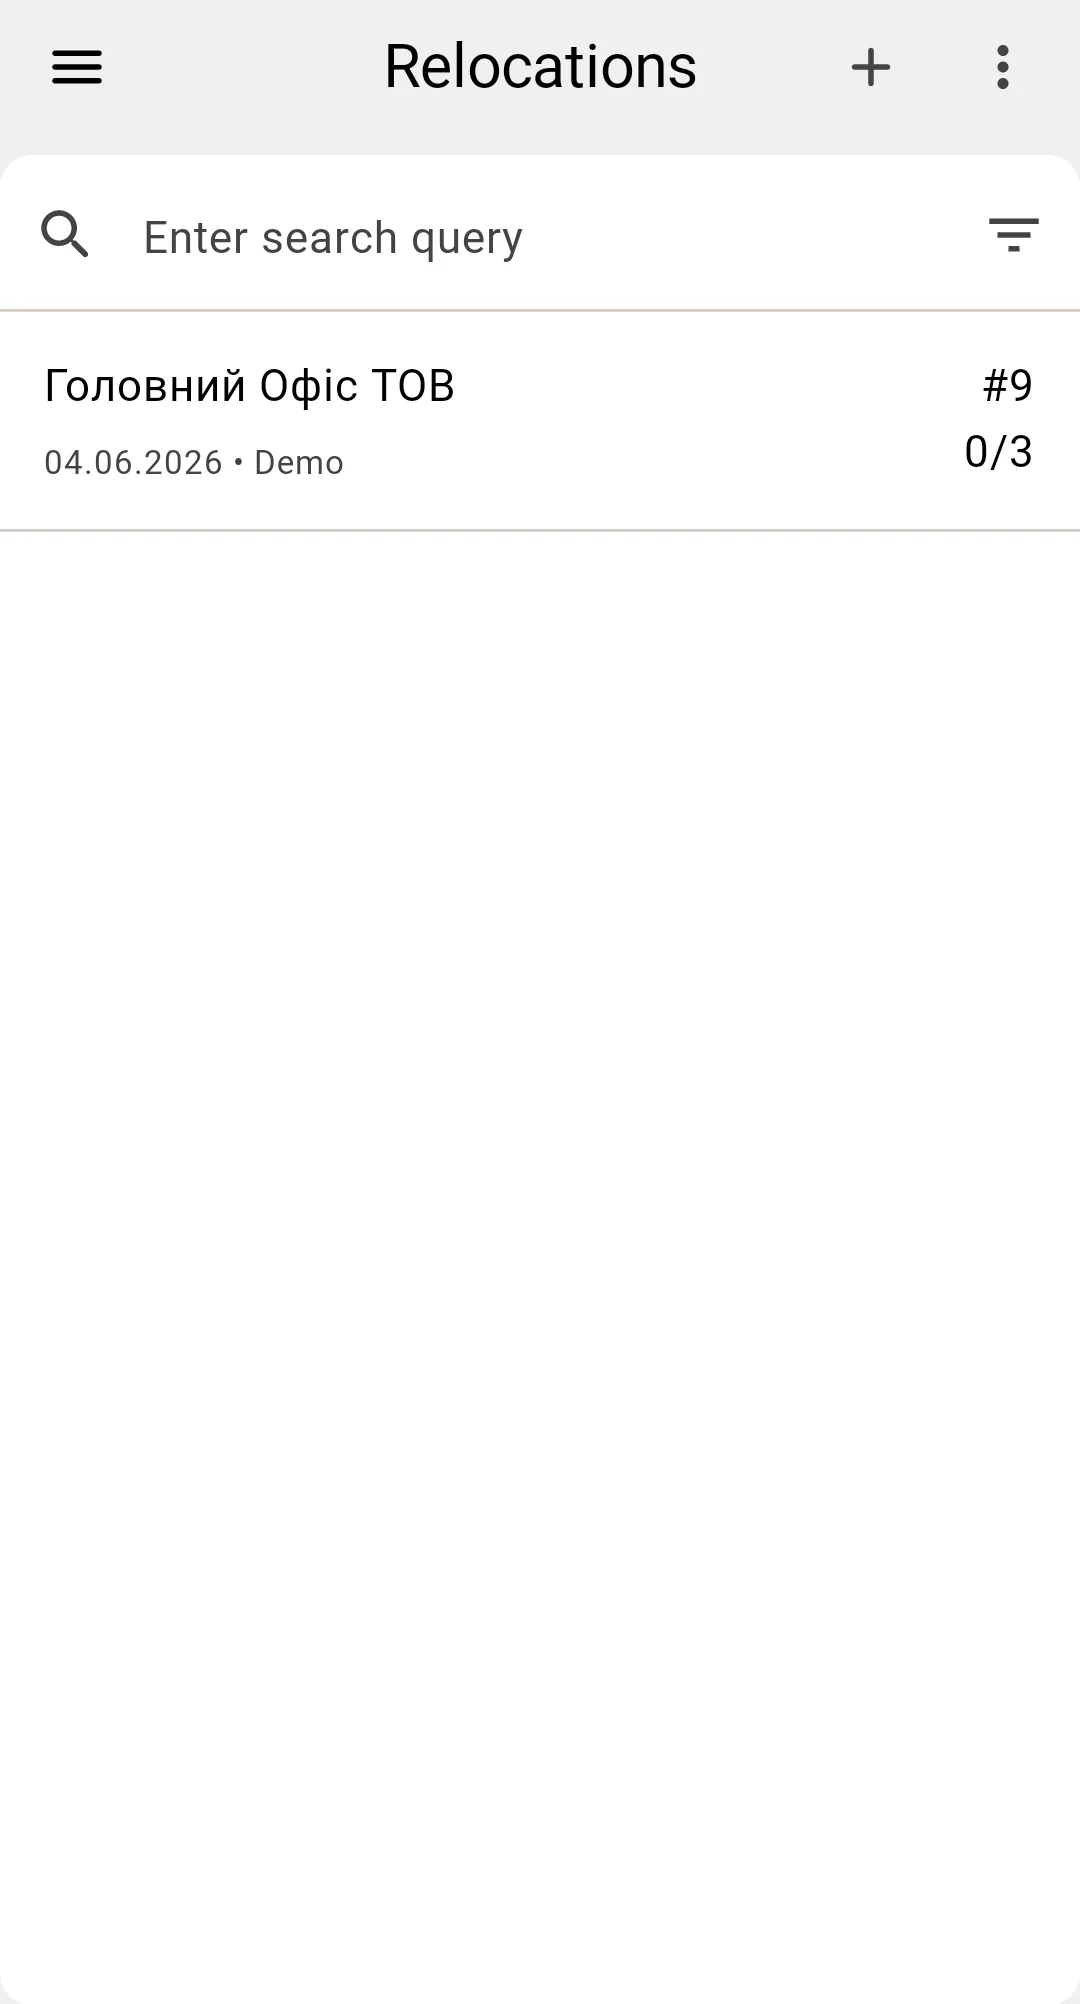
The operator opens the Relocations list from the PDT side menu. The list is a read-only view of the relocation documents visible in the operator's warehouse, with the standard search, filter, and sort controls on the top bar.
The "+" button in the top bar opens the ad-hoc form instead of creating a planned document. Creating or editing a planned relocation isn't available on the PDT — that happens in the client app.
To execute a planned document, the operator taps its row. The document opens in the PDT single-document screen; the default view is the items table, described in the next step.
Step 2. Reading the items table
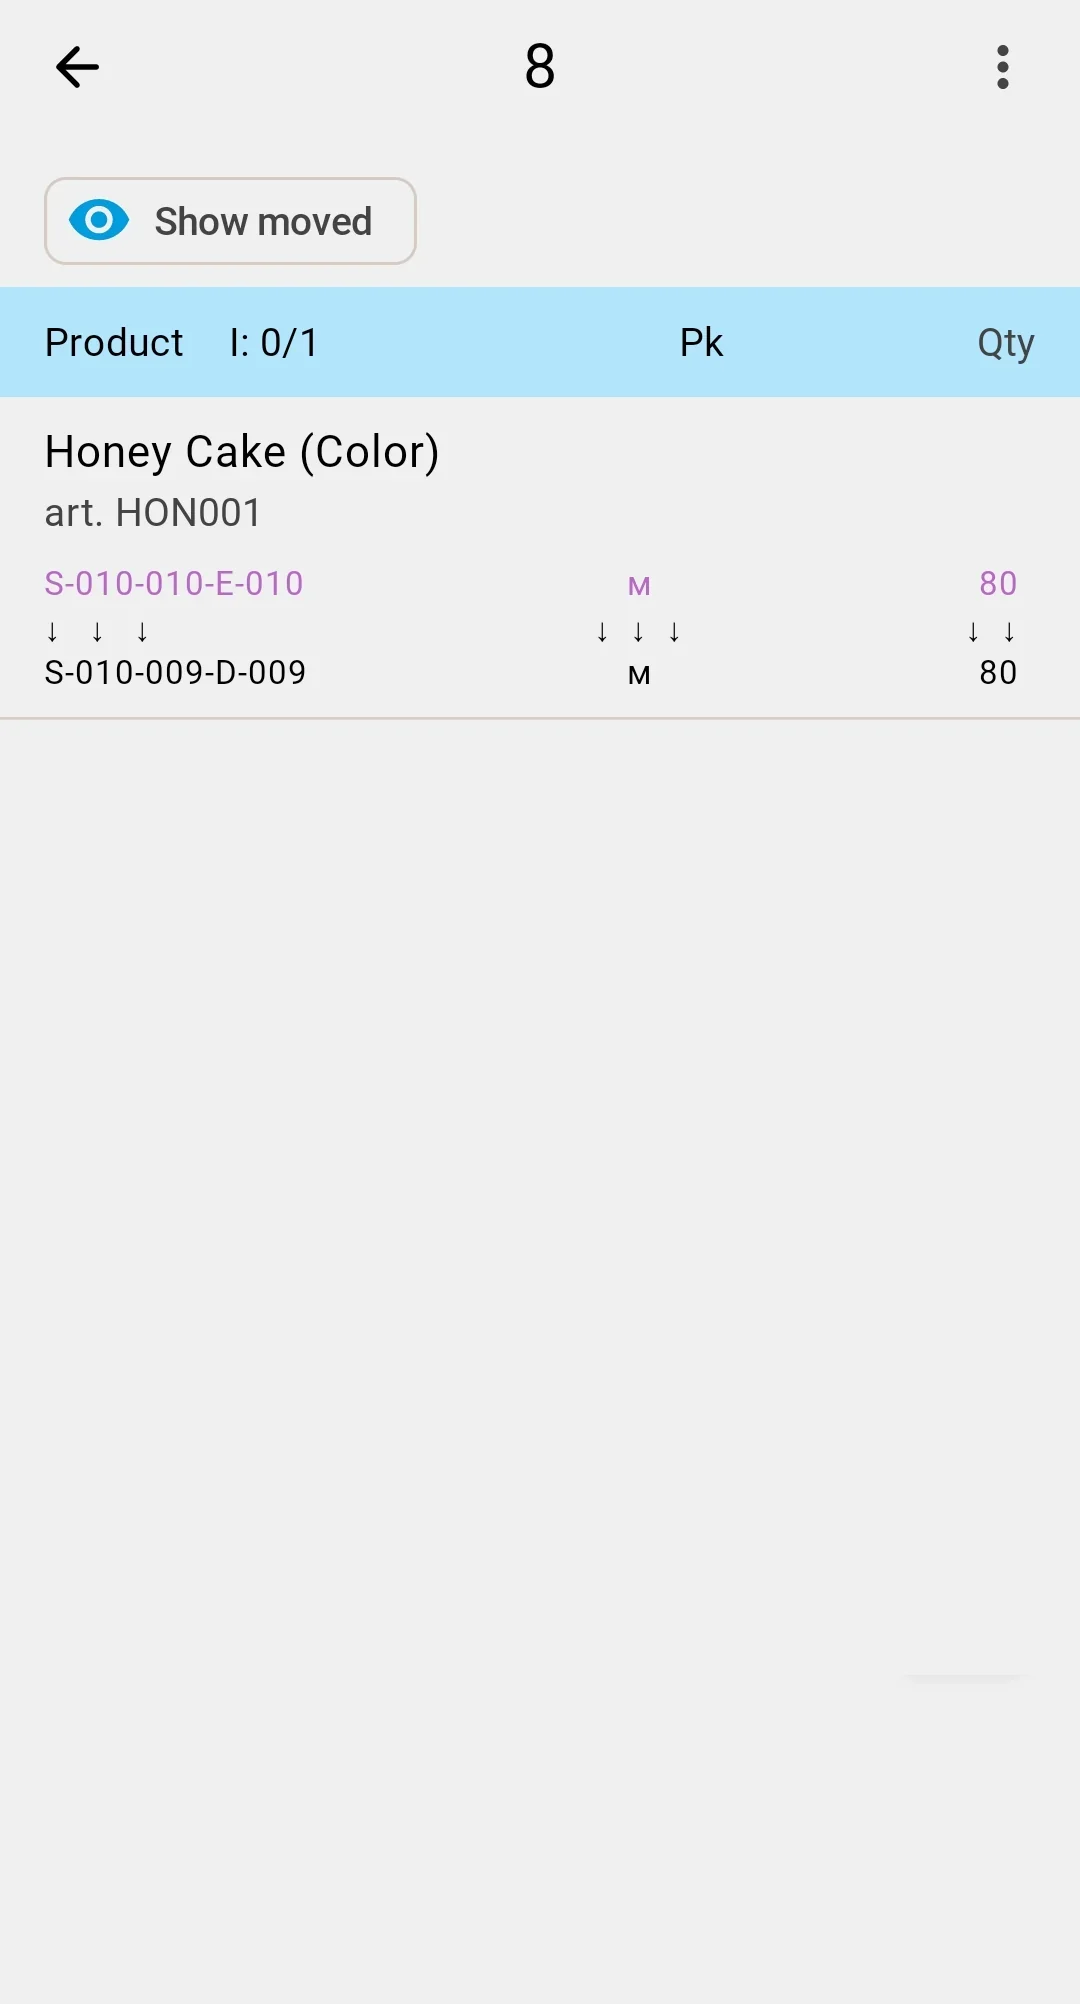
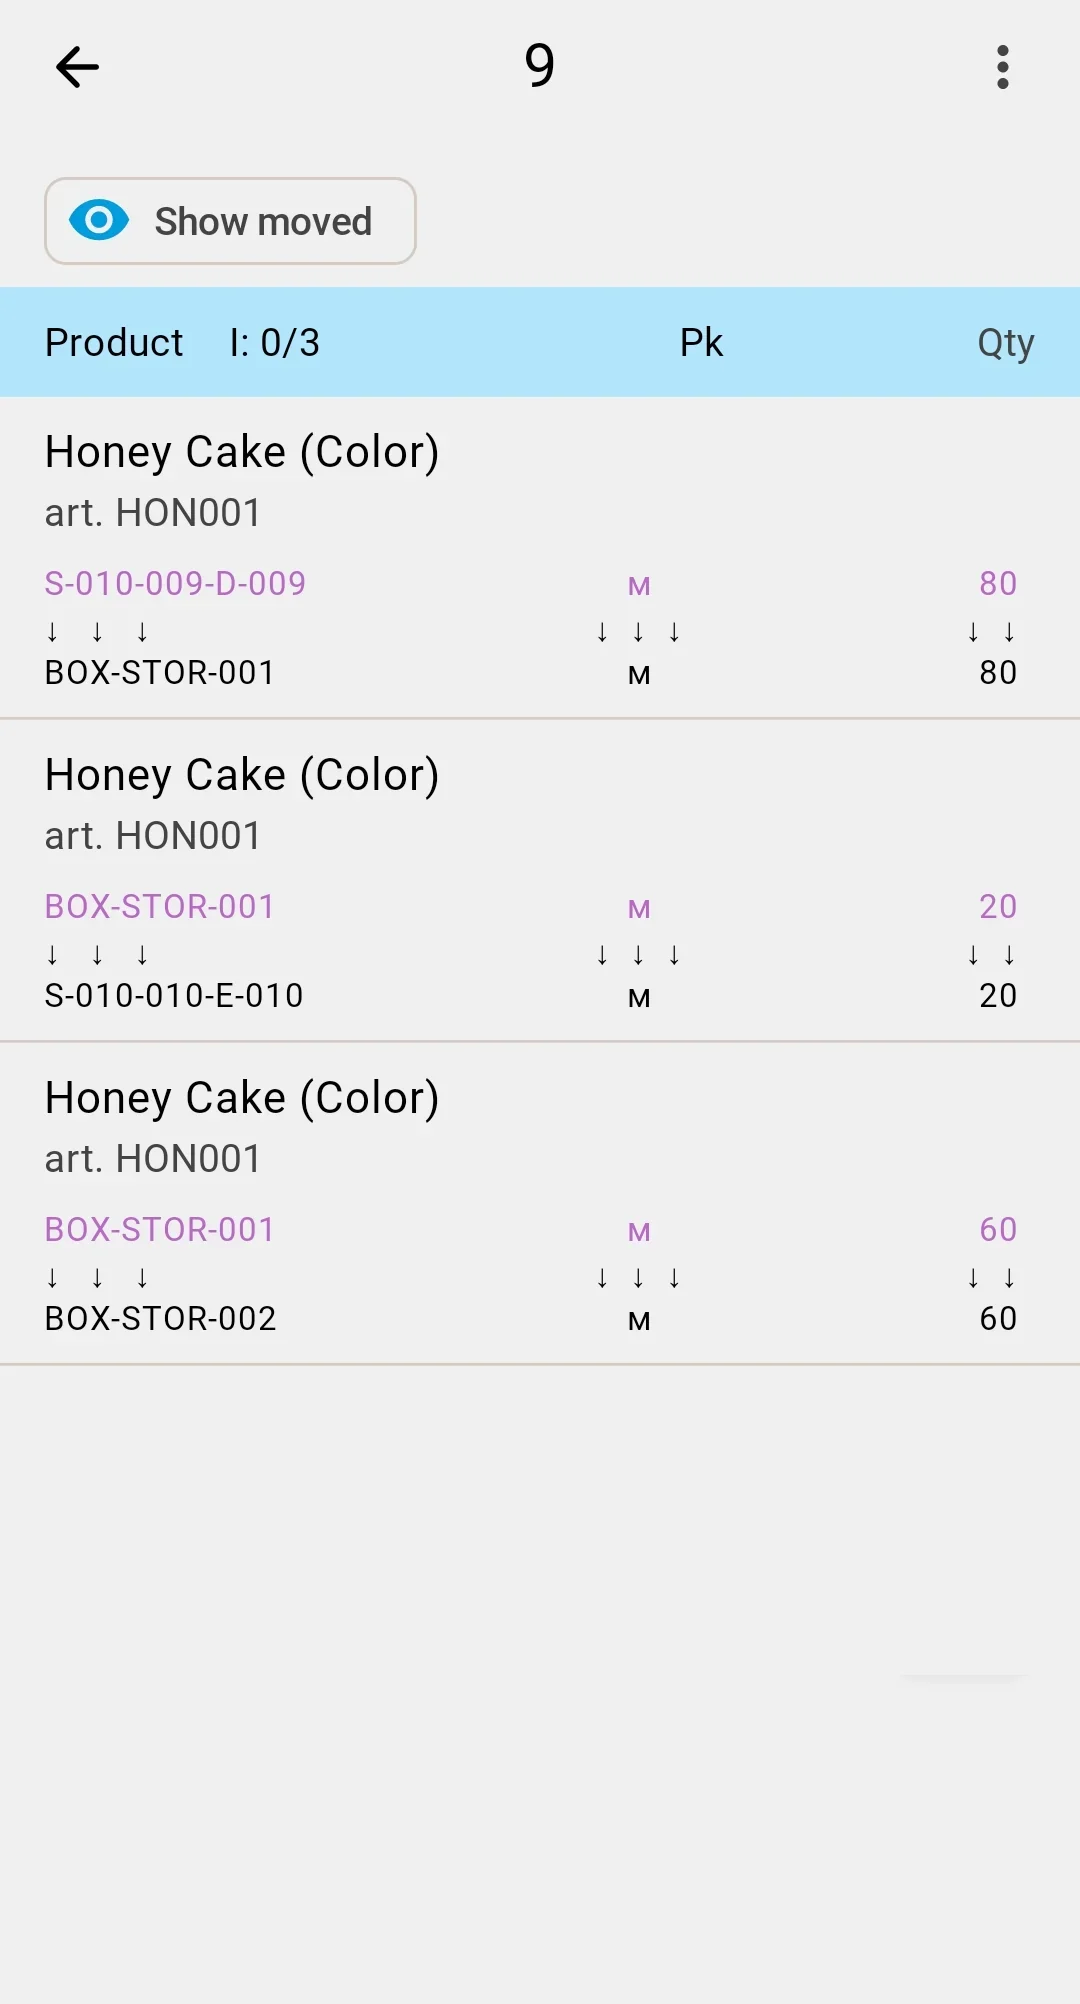
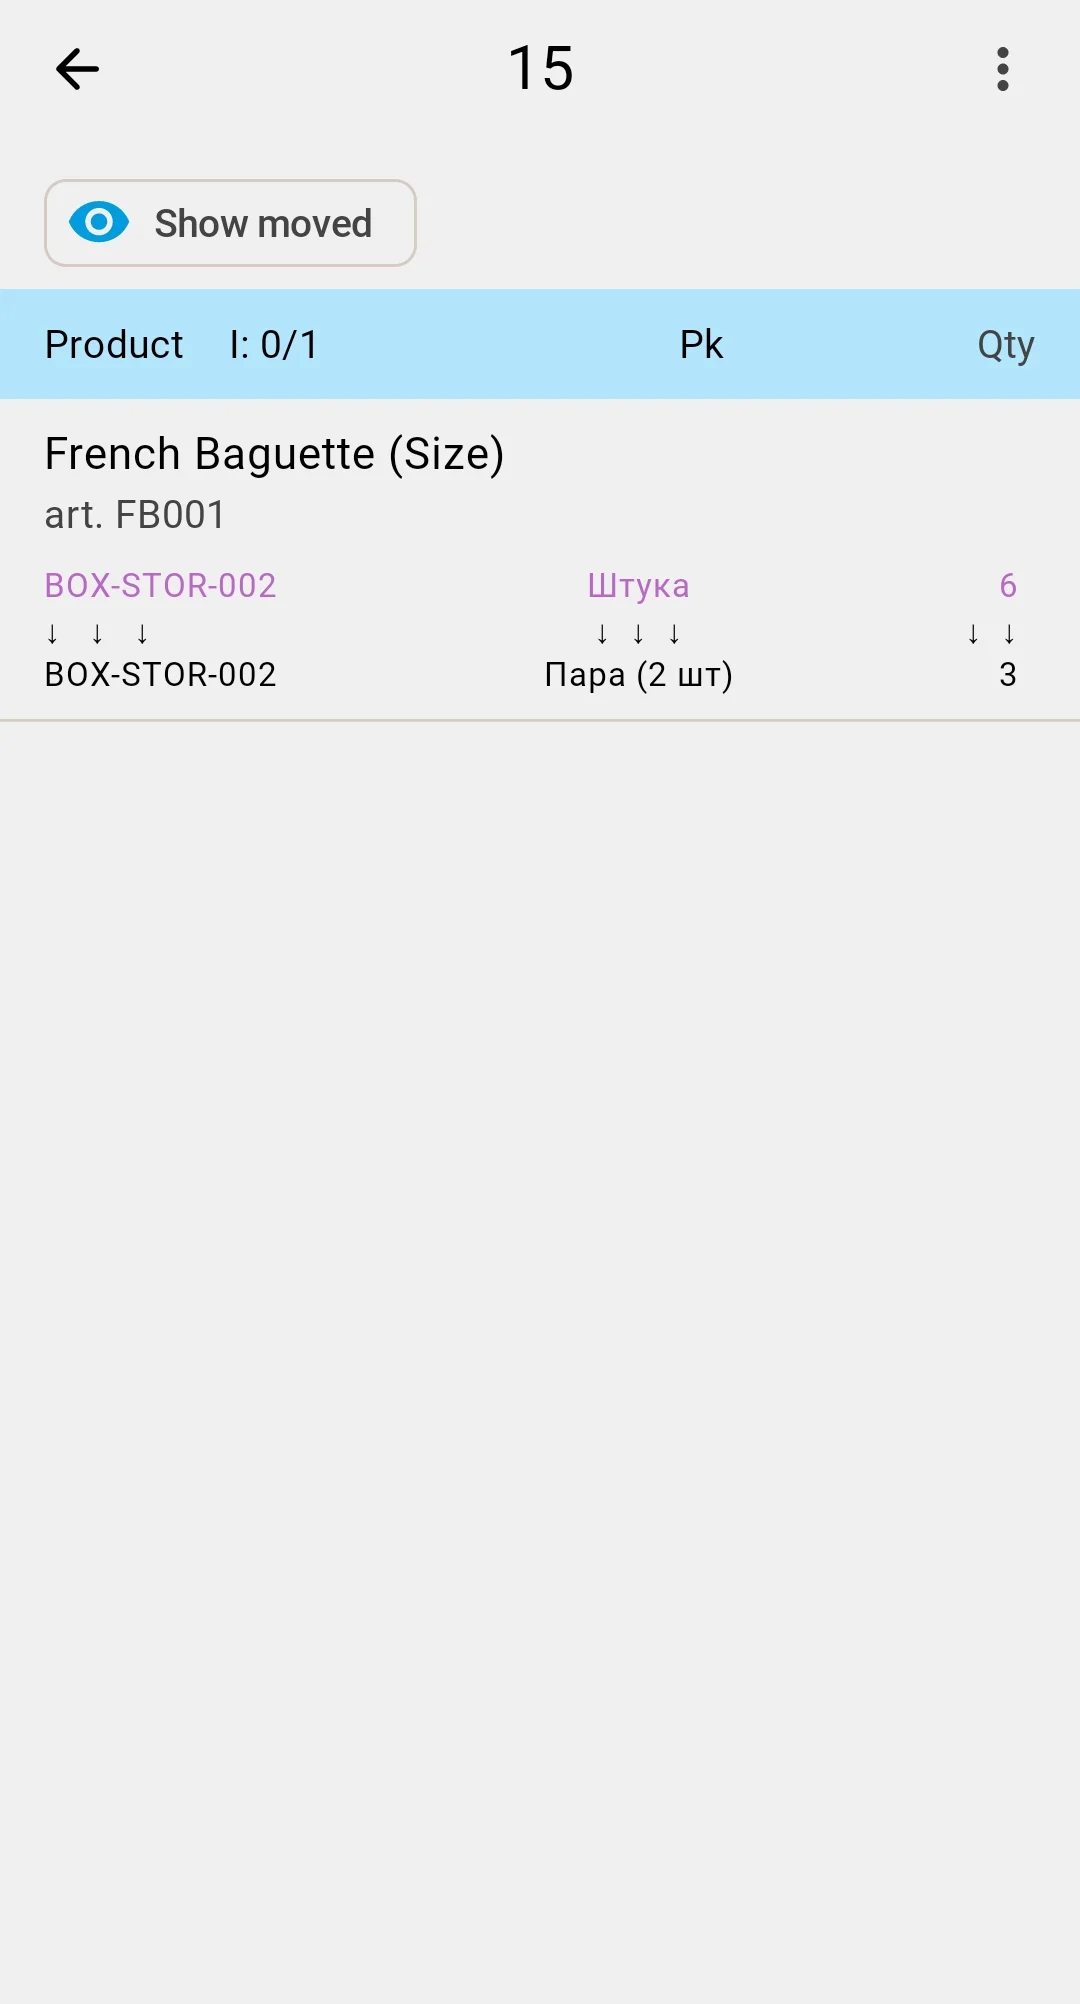
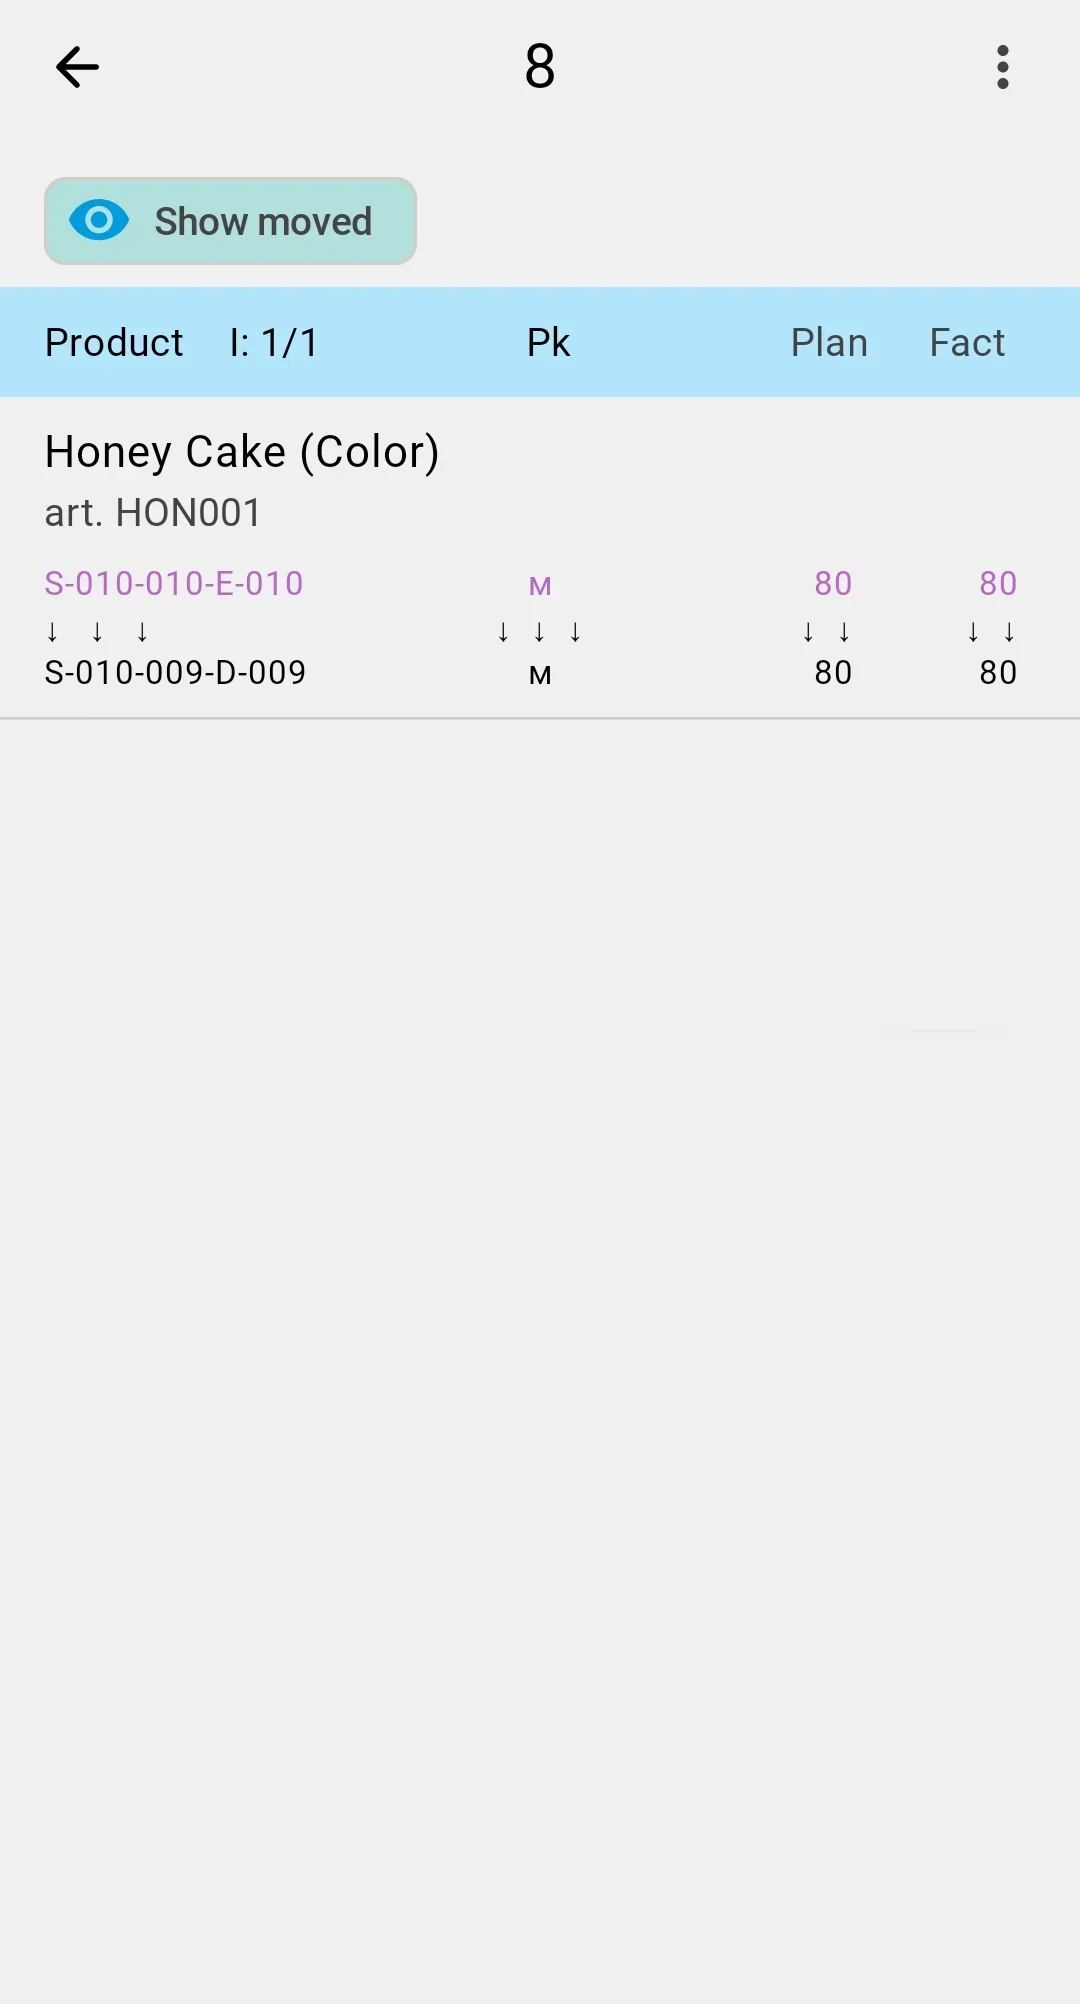
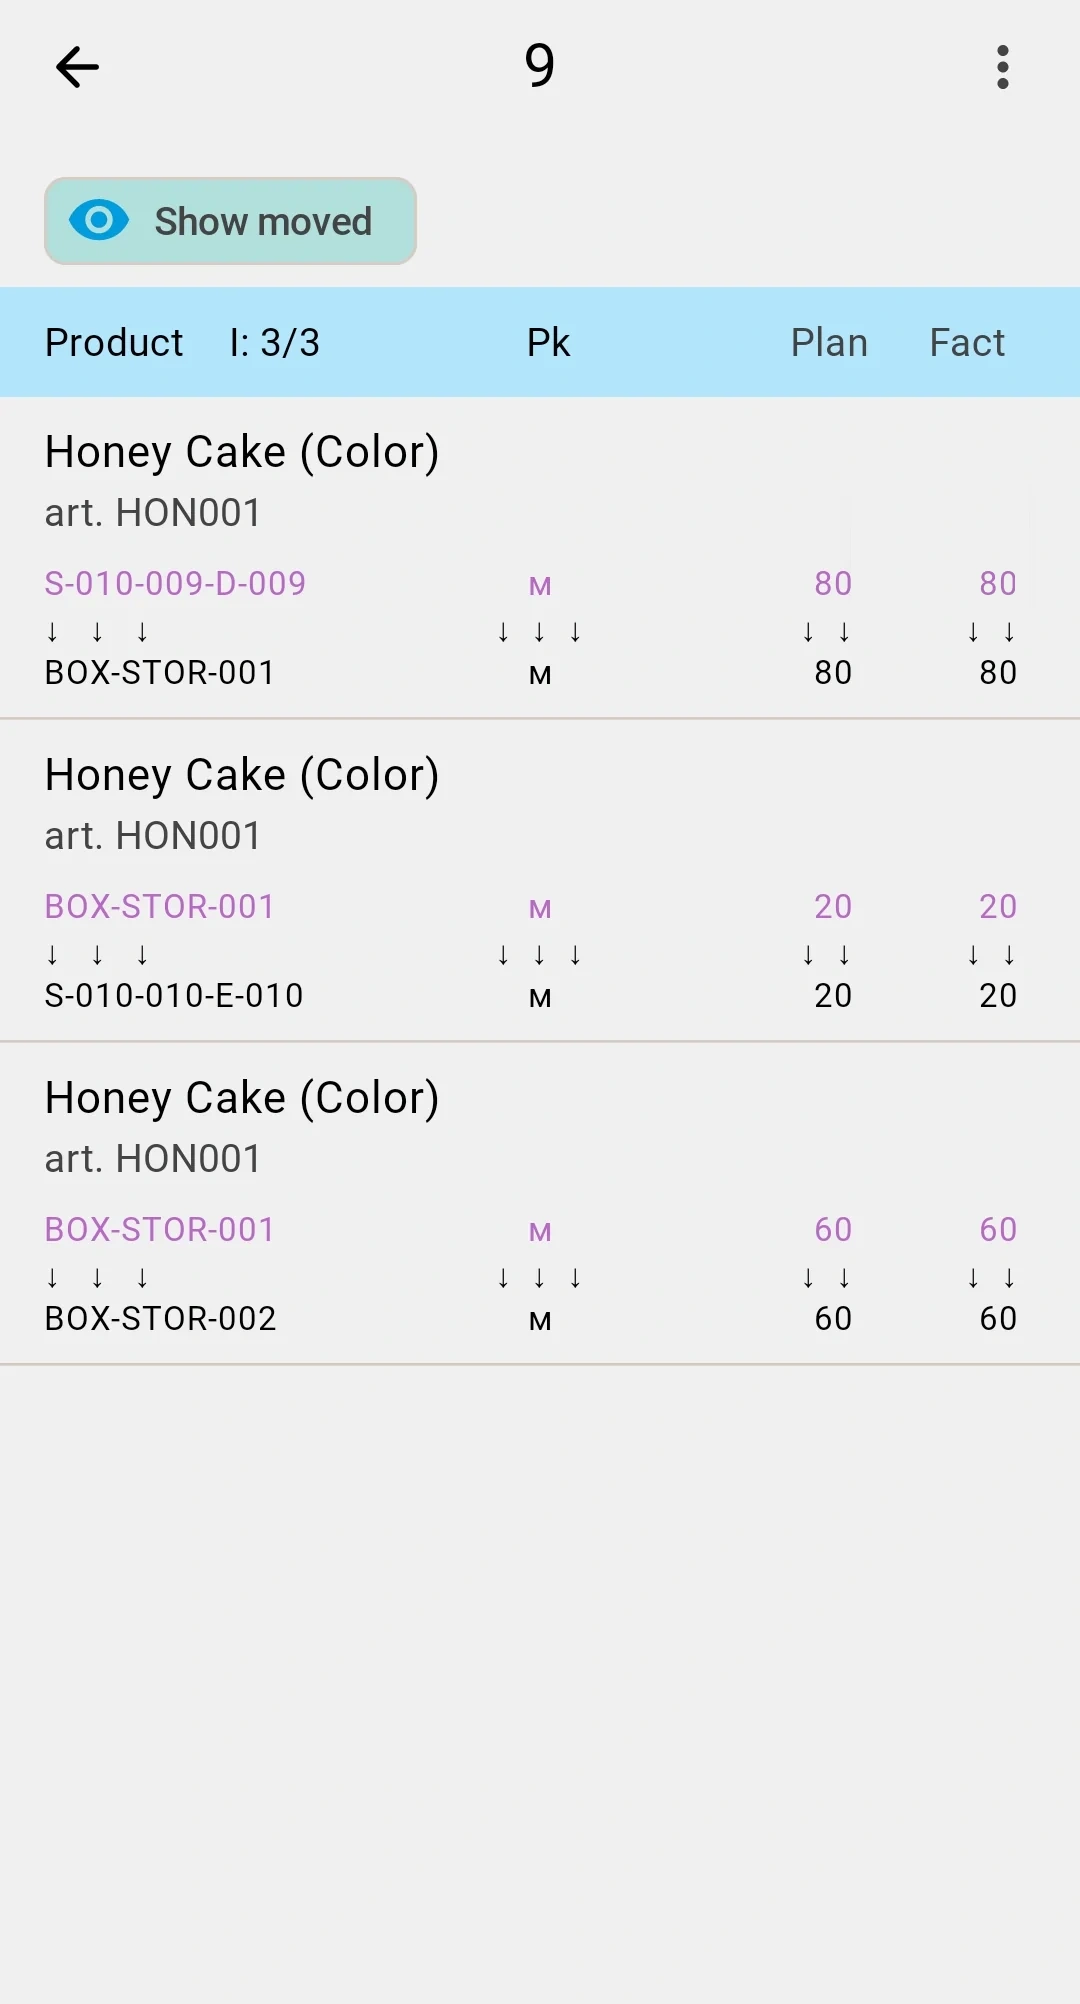
Once a planned document is open, the default view is the items table — one row per planned line. Each row shows the product (with its optional feature or lot if any), the planned quantity vs how much has already been moved, the pack-type hint, and a hint of the source and target (cell or container) from the plan.
What this screen doesn't offer: editing the plan or the multi-tab layout that the client app uses. The PDT is for execution only — adjustments to the plan happen in the client app.
The top bar shows a ✓ button (visible while the document is In progress) — used for closure. The ⋮ menu opens an Information view with the document's high-level header.
Tapping a line takes the operator to the fact-recording form. Multiple facts can be saved against one line — useful when the same line is split across several target cells.
Step 3. Recording a placement fact
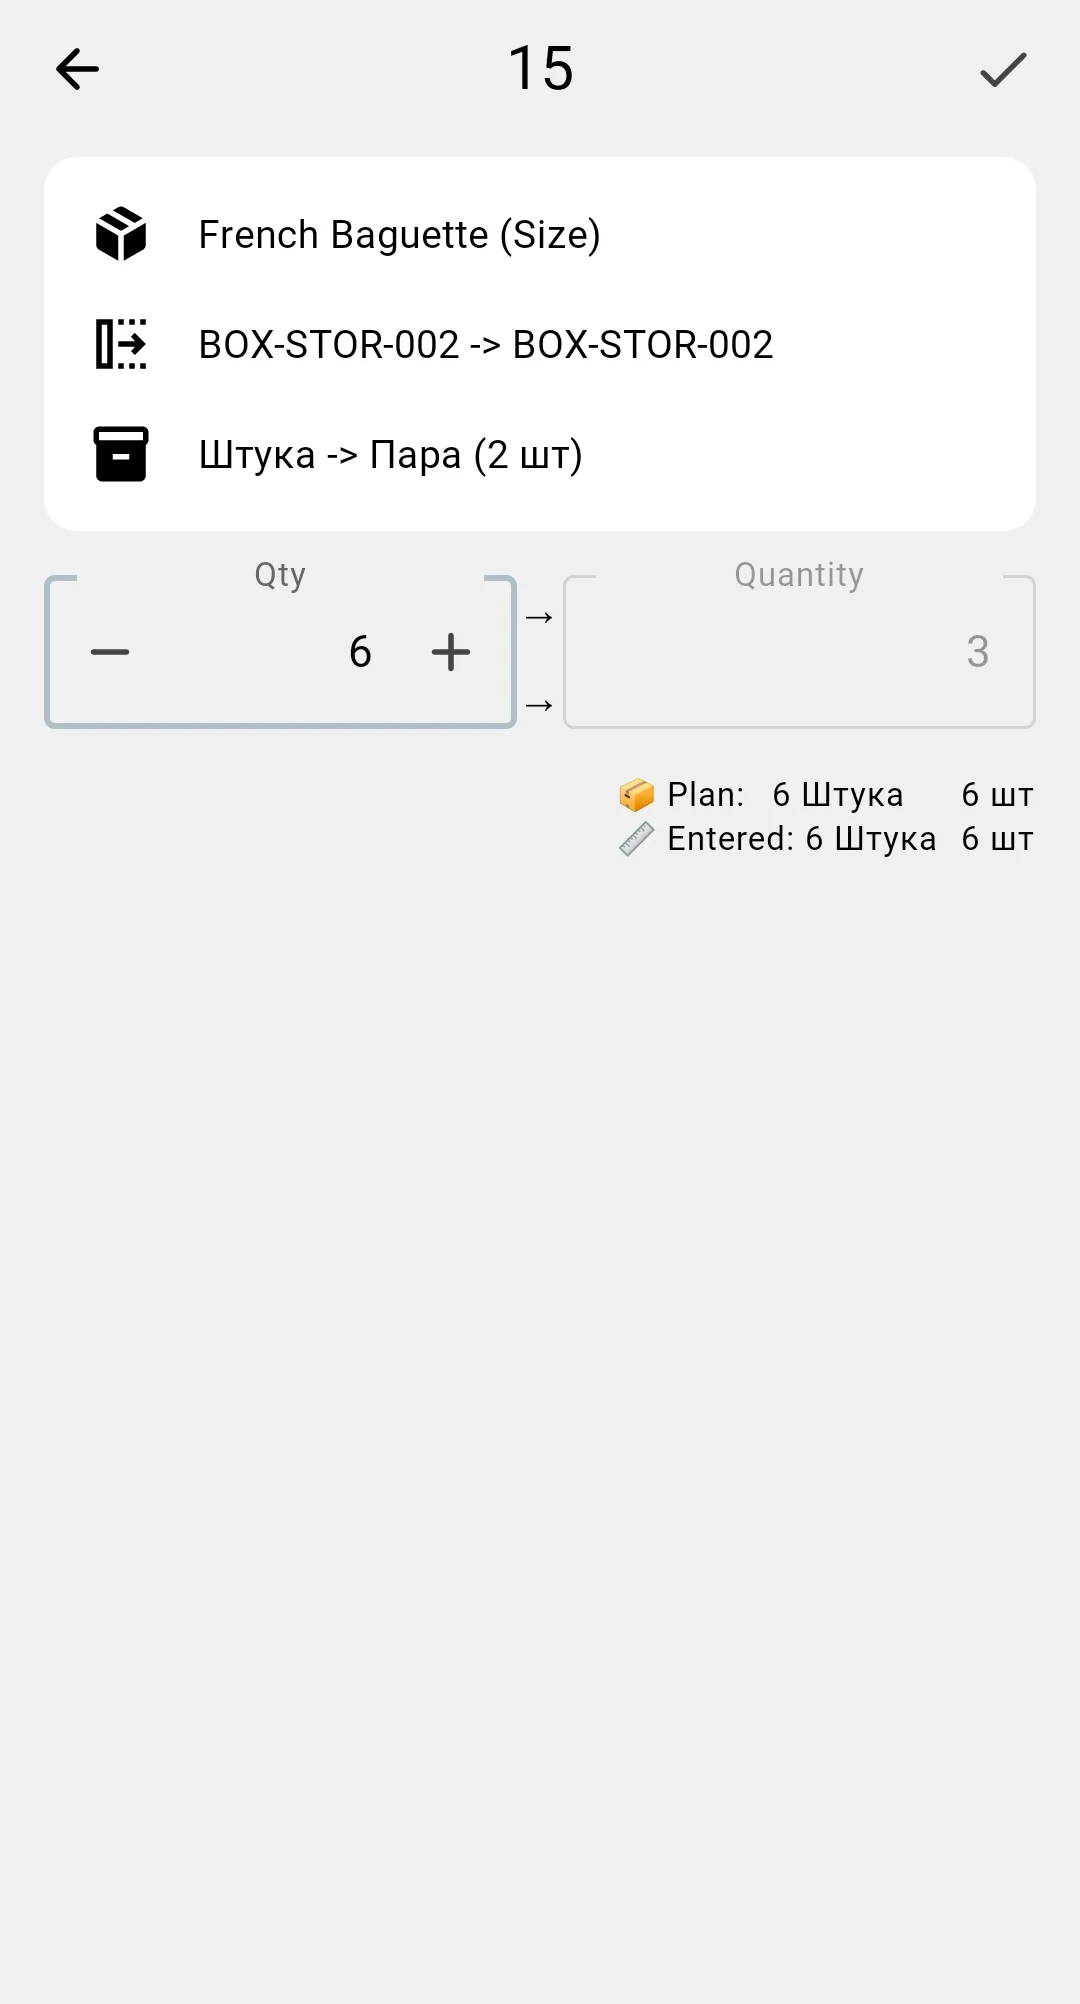
After the operator taps a line on the items table, the screen switches to the fact-recording form. The layout has two zones with an arrow between them: the picking zone on the left (where you're taking goods from) and the placement zone on the right (where you're putting them). A summary card on top shows the product (and any feature or lot) bound to the chosen plan line.
The product, feature, and lot are bound by the plan line — they aren't editable here. Source and target references default from the plan but can be adjusted per fact; pack types can be changed if the operation is a repack. Quantities are operator-entered (a calculator helper is available for awkward math).
The ✓ button on the top bar saves one fact. The first saved fact automatically transitions the document to In progress.
On save, the server verifies that the source actually has enough stock. If it doesn't, the fact is rejected with a localised error and isn't saved.
The on-screen scanner button speeds up data entry — a single scan drops into whichever field is active (source, target, product, or pack type), resolved by context. How scanning works.
Multiple facts can be saved against the same plan line — for example to split the same line across several target cells.
Each relocation row describes what, from where, and where to you move.
The source and target of a row are each one of two kinds — a cell or a container — giving four combinations:
Cell → Cell — the most common case: moving goods between storage areas (for example, consolidating partial pallets from a pick face into a reserve aisle).
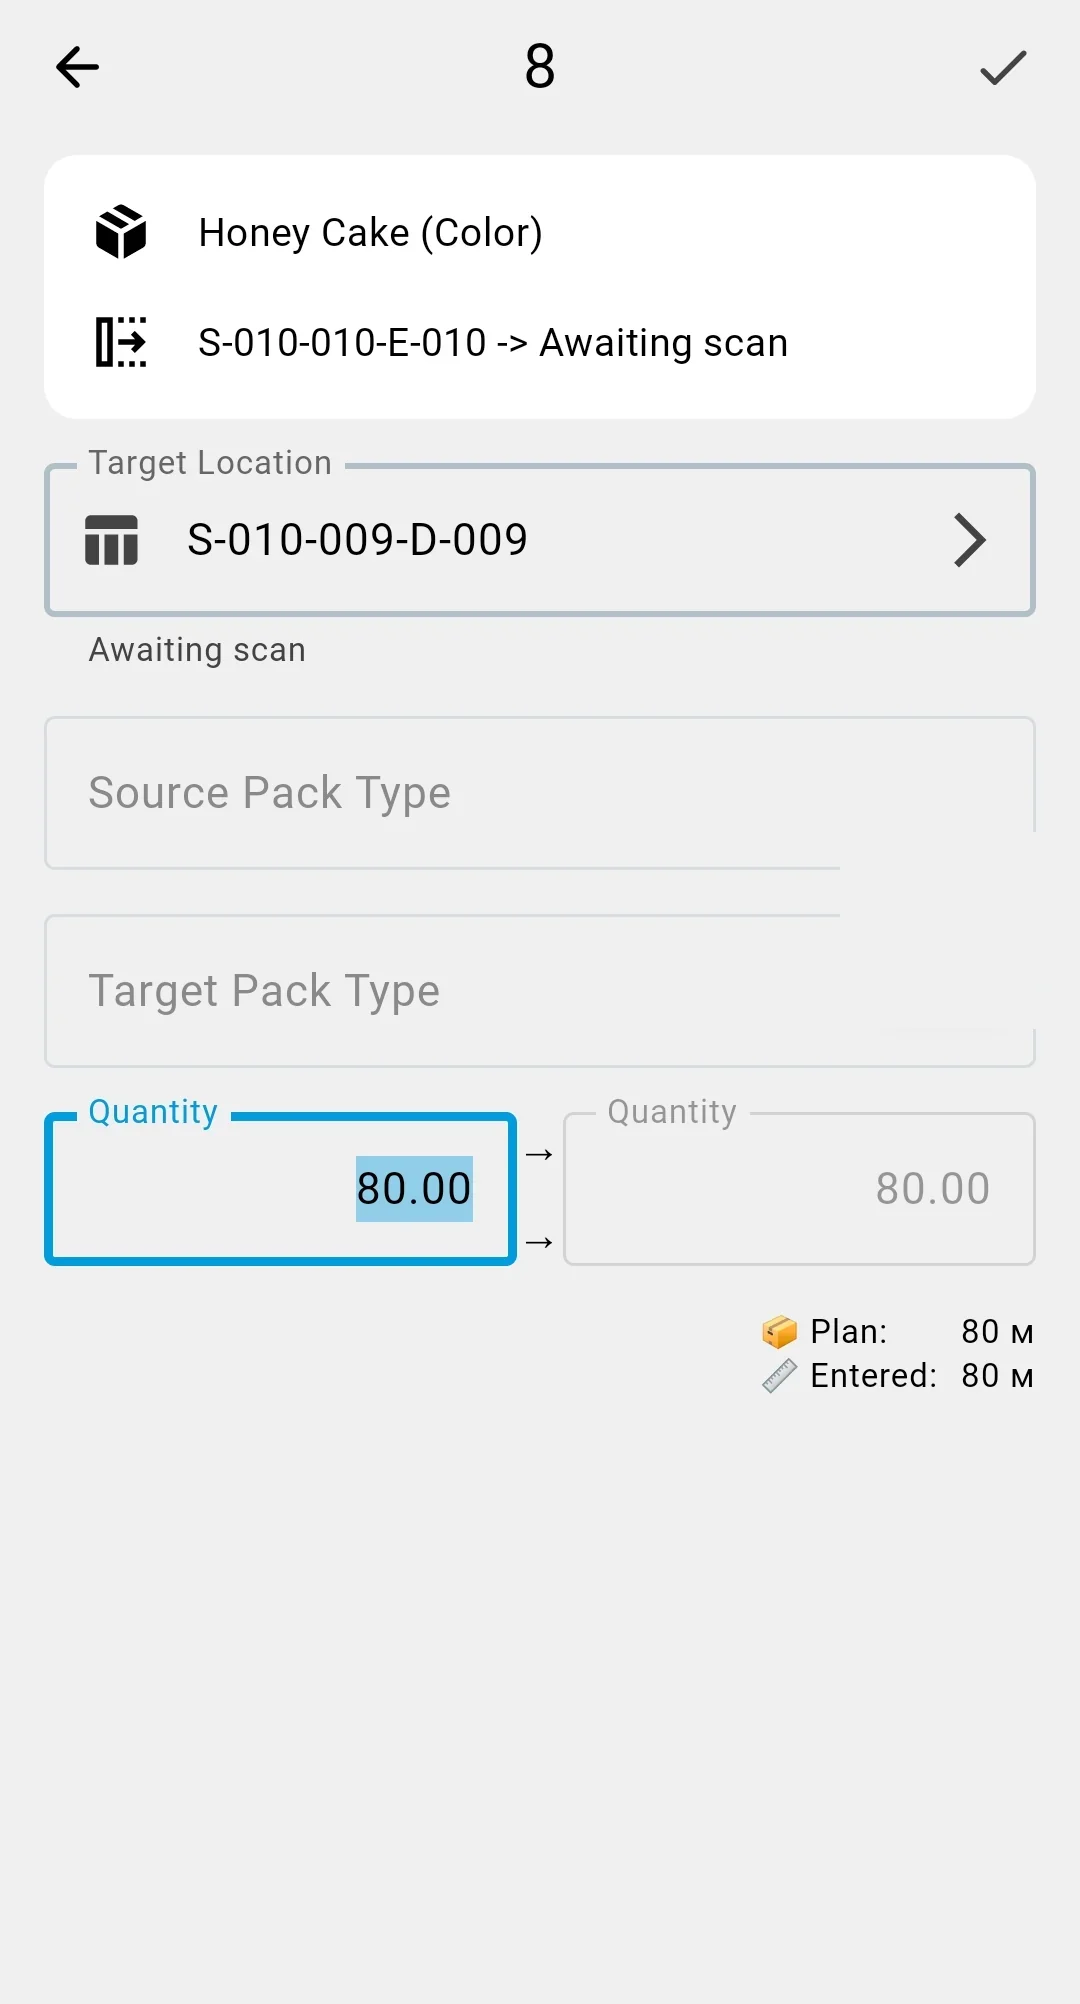
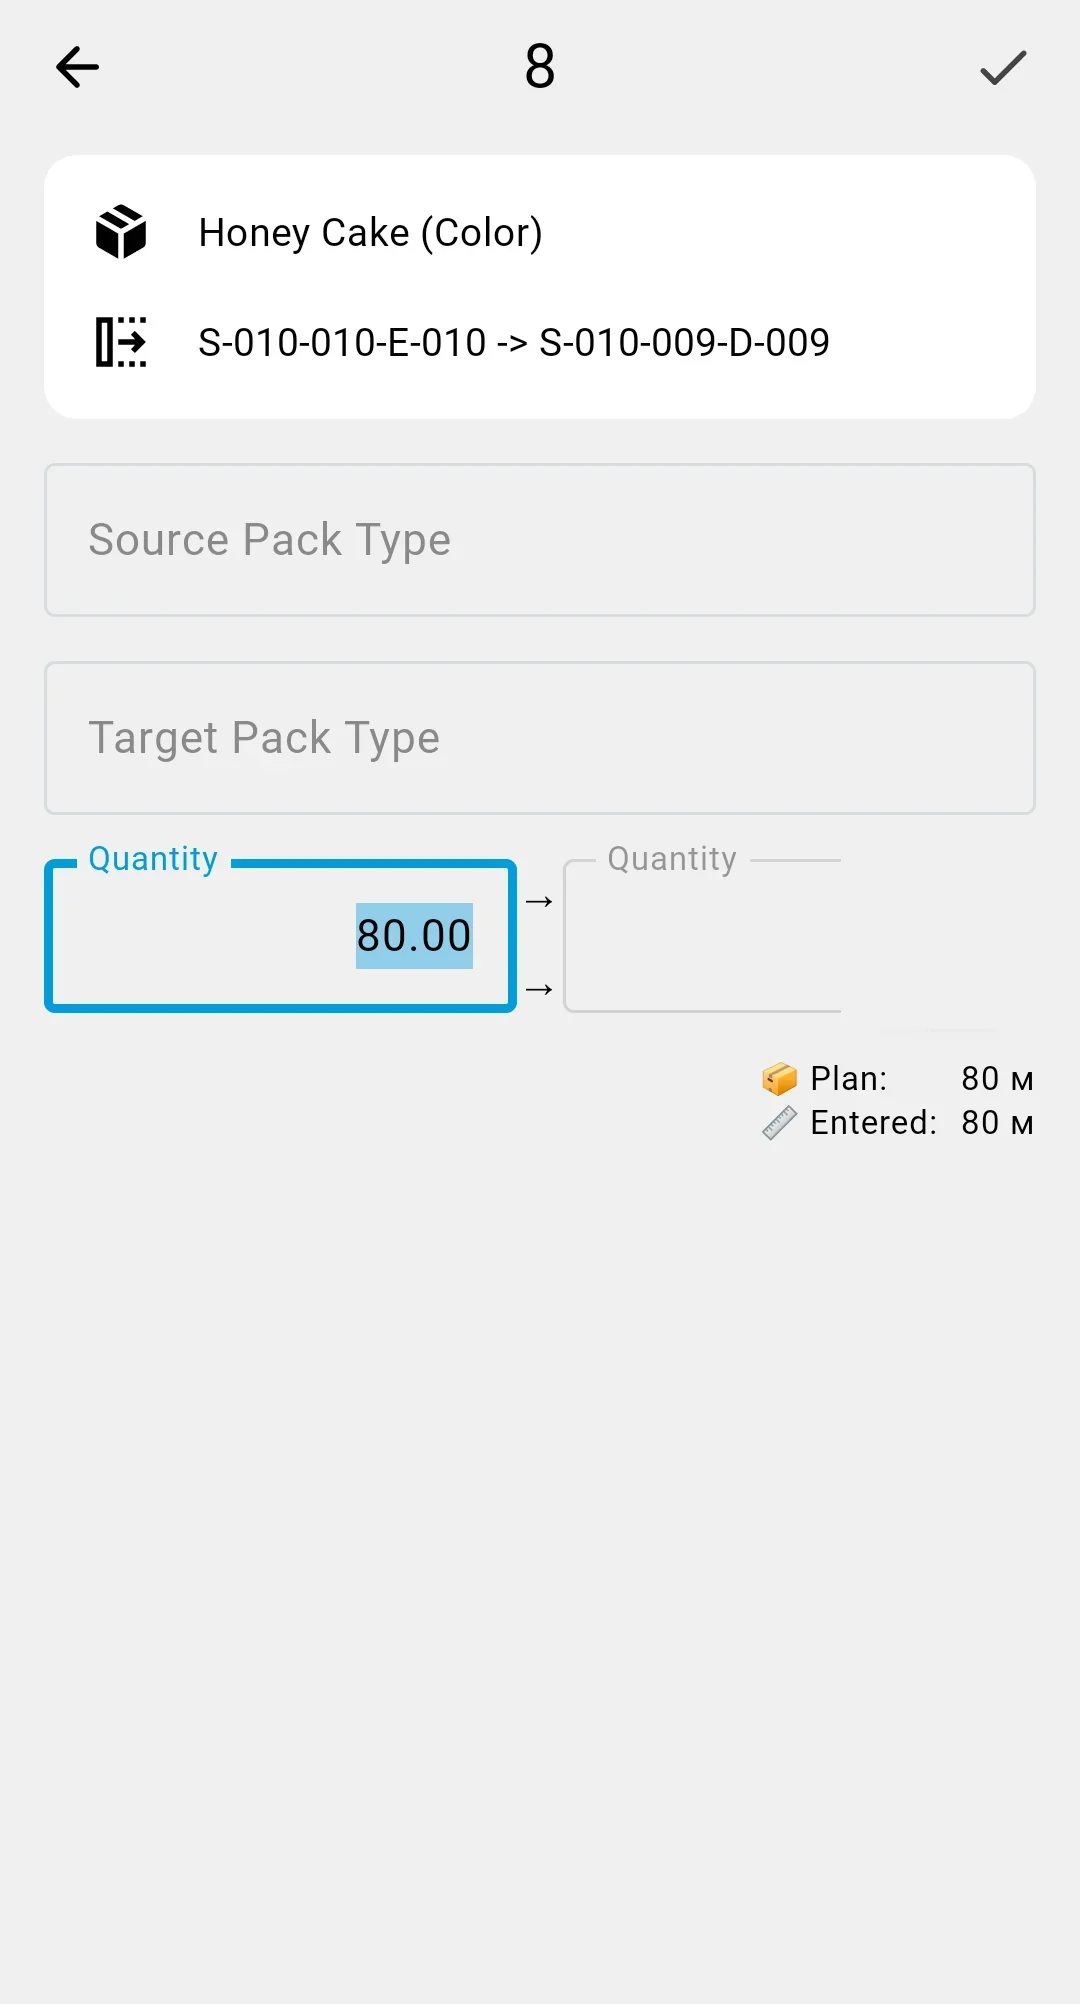
Cell → Container — packing goods from a cell into a container (for example, to stage a shipment or to move loose goods on a carrier).
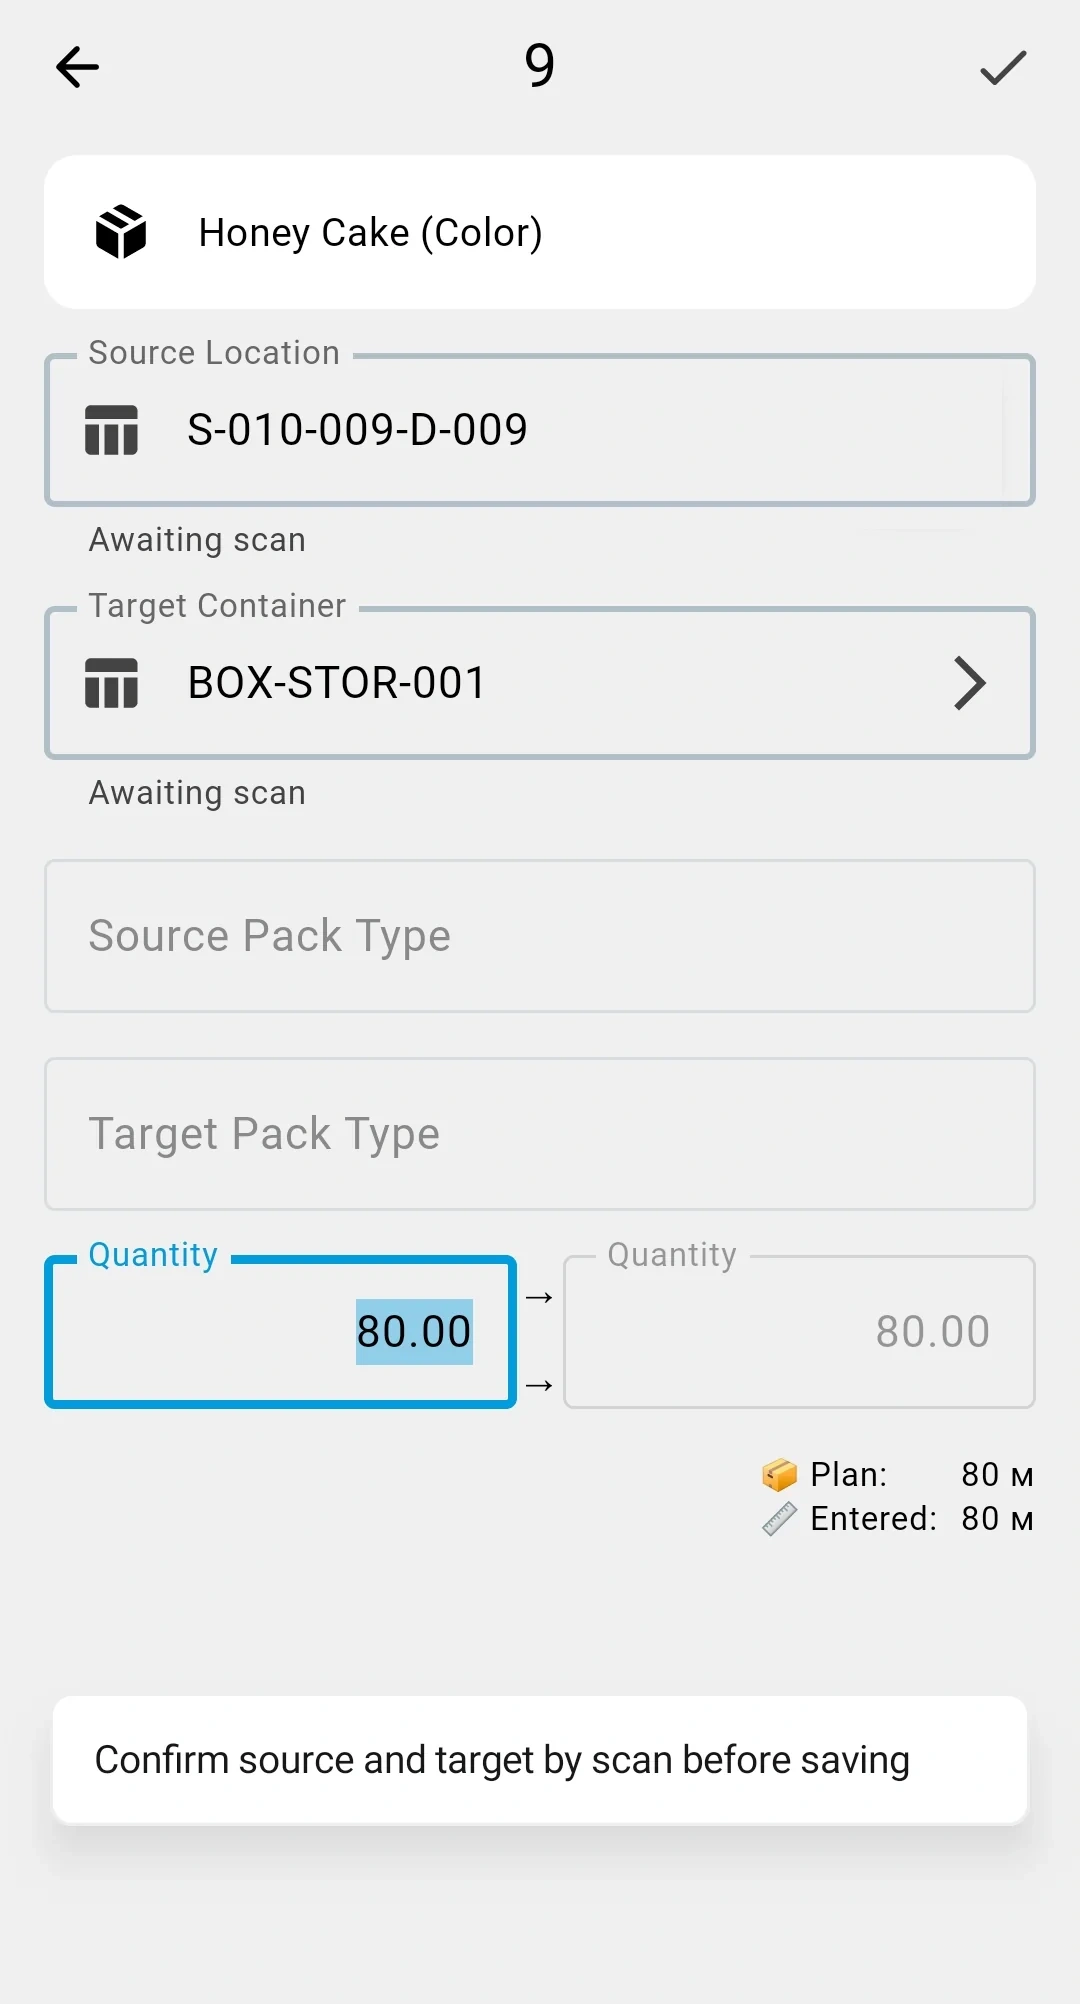
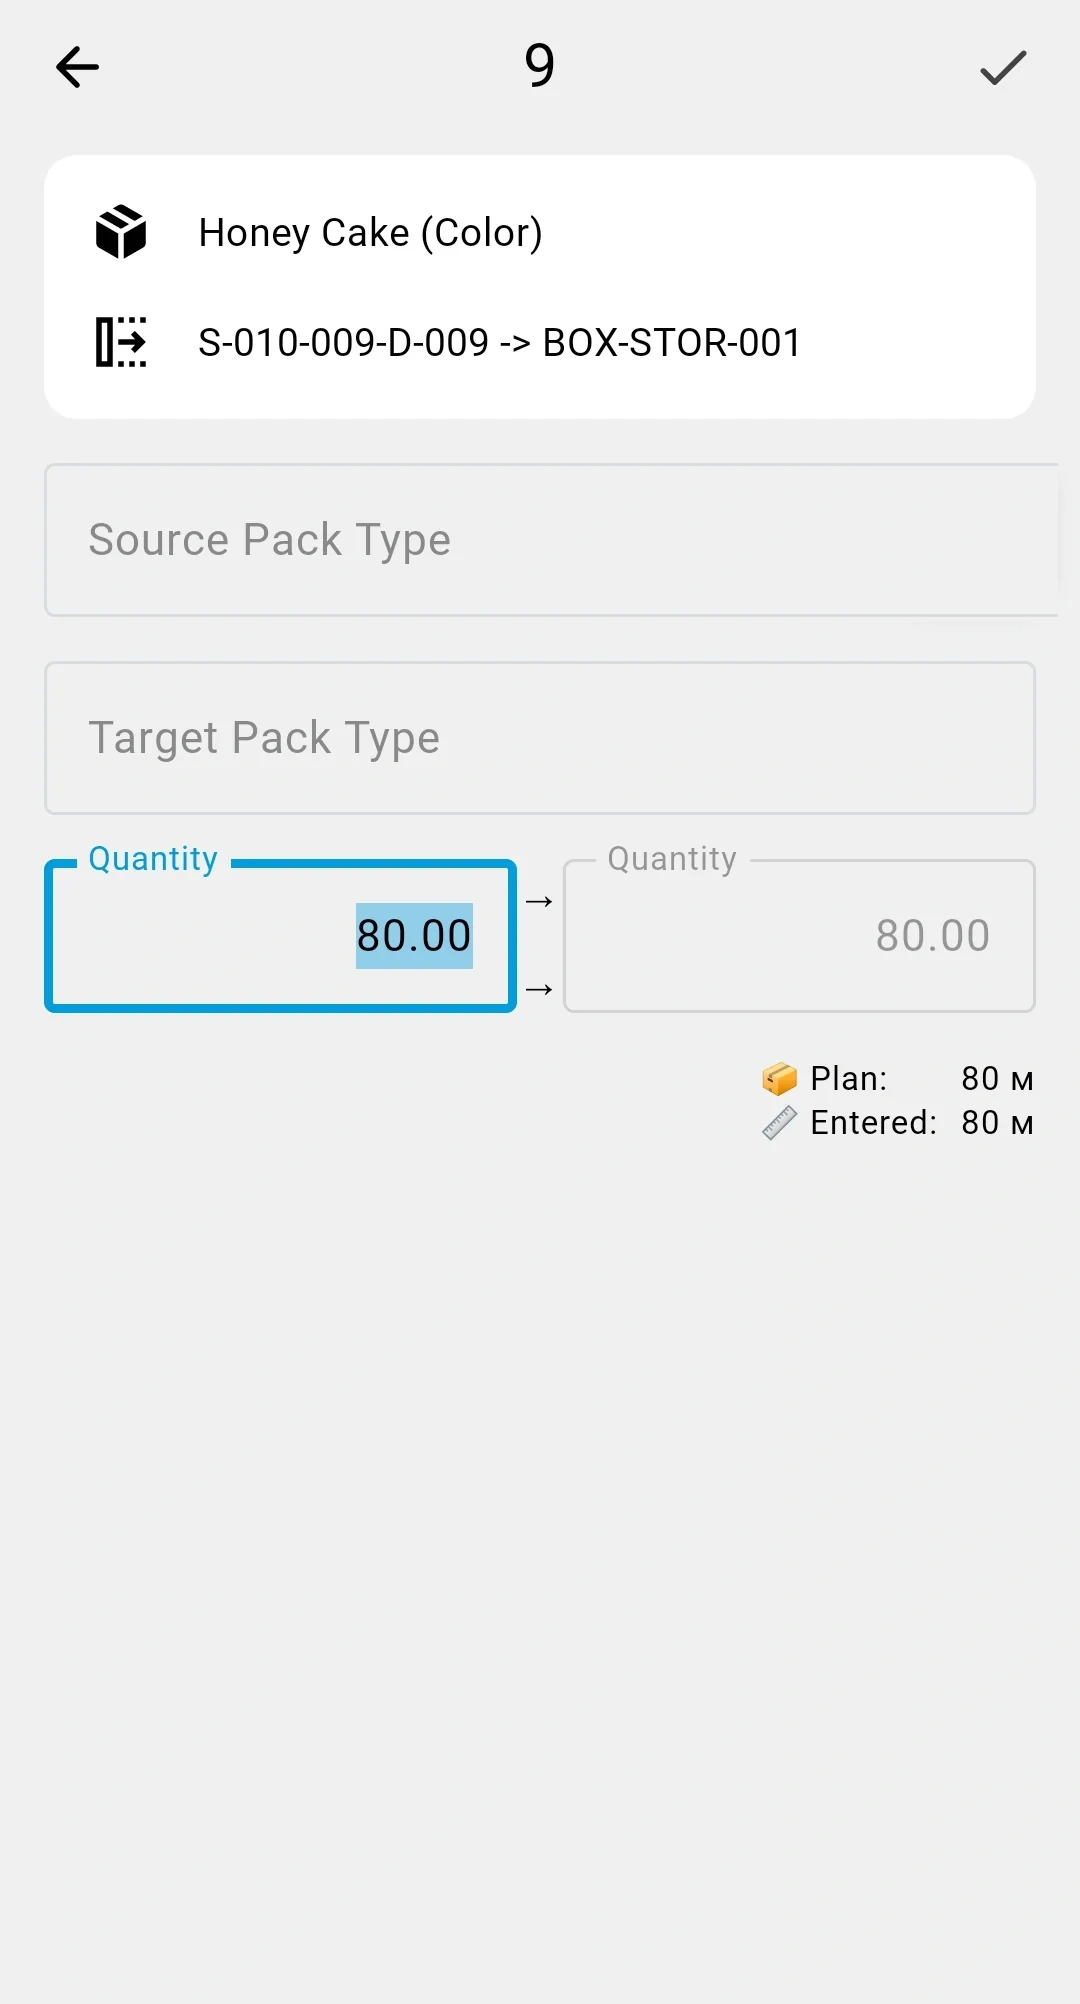
Container → Cell — unpacking a container into storage cells (for example, breaking down a received pallet onto the rack).
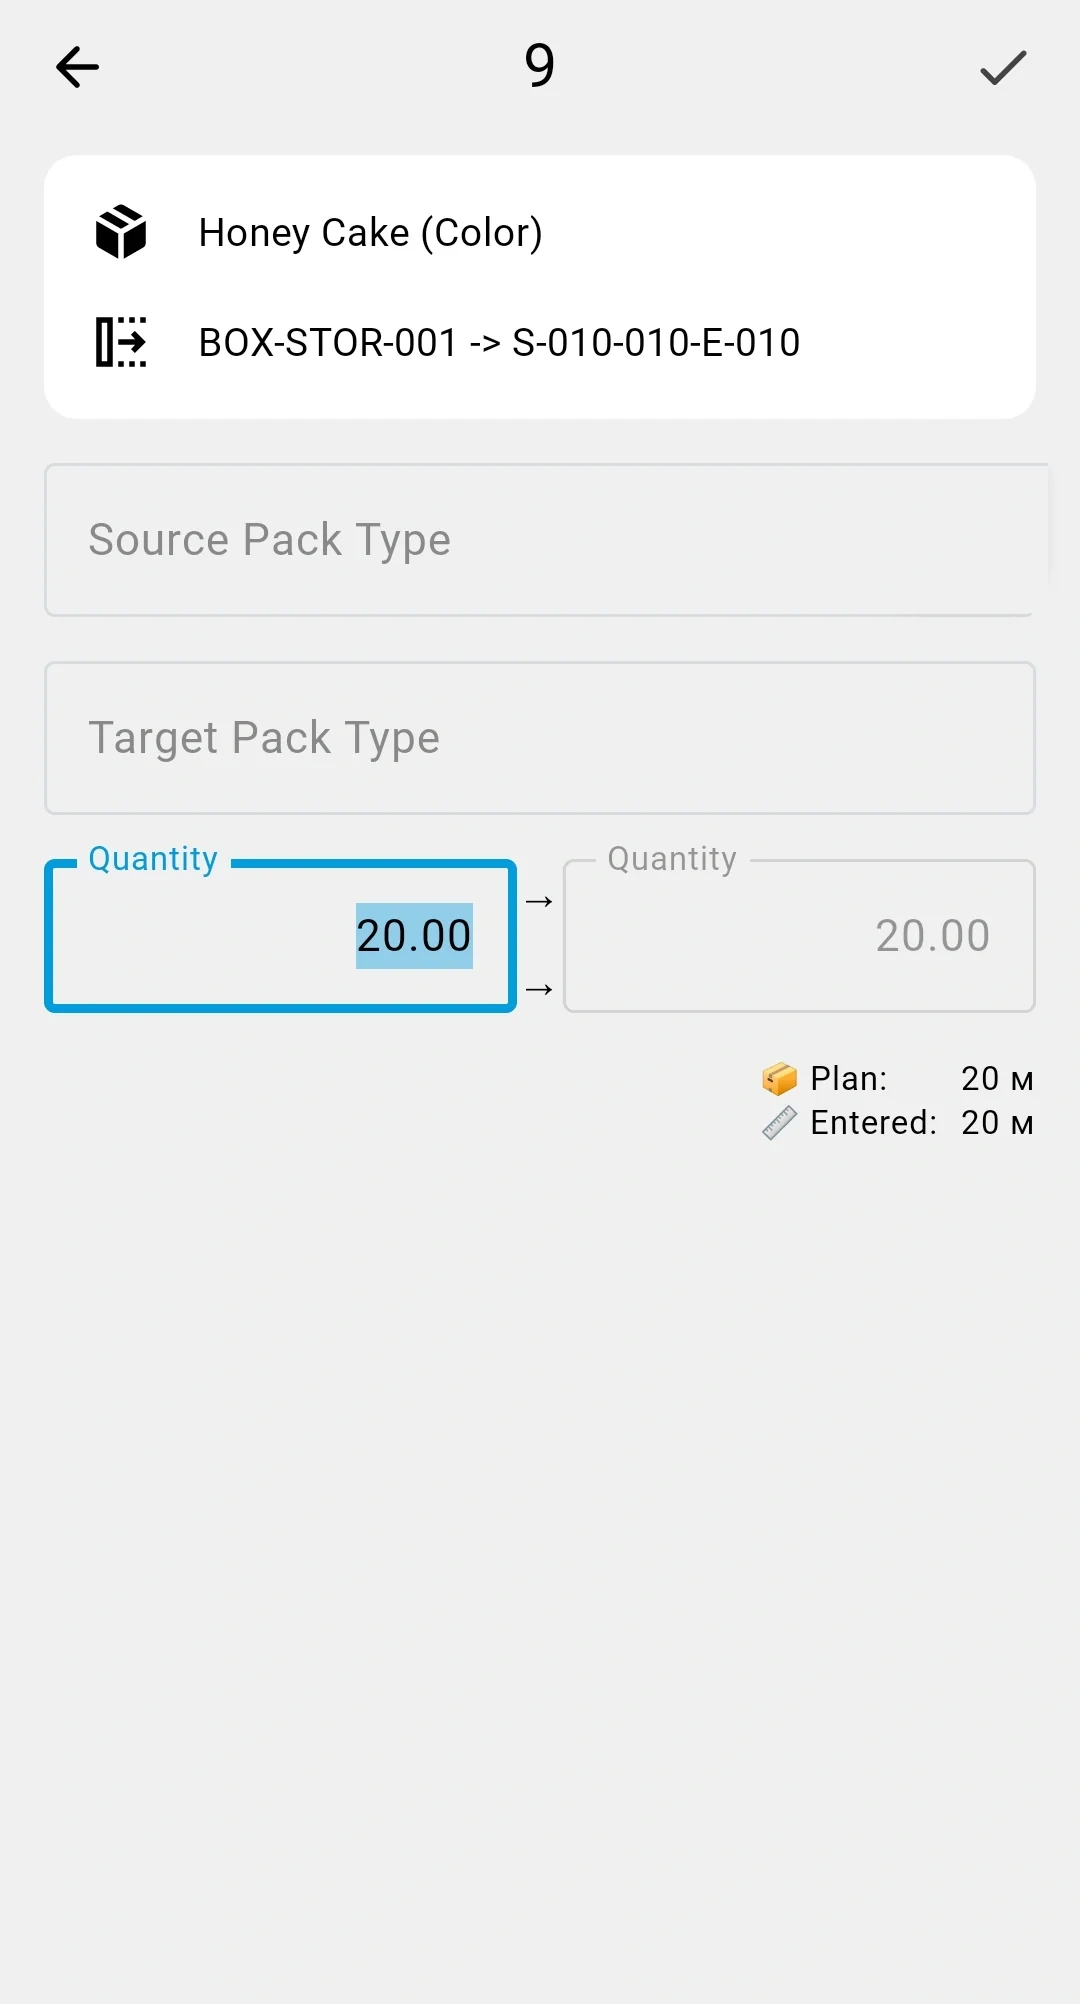
Container → Container — moving the contents from one container to another (for example, consolidating two half-full bins).
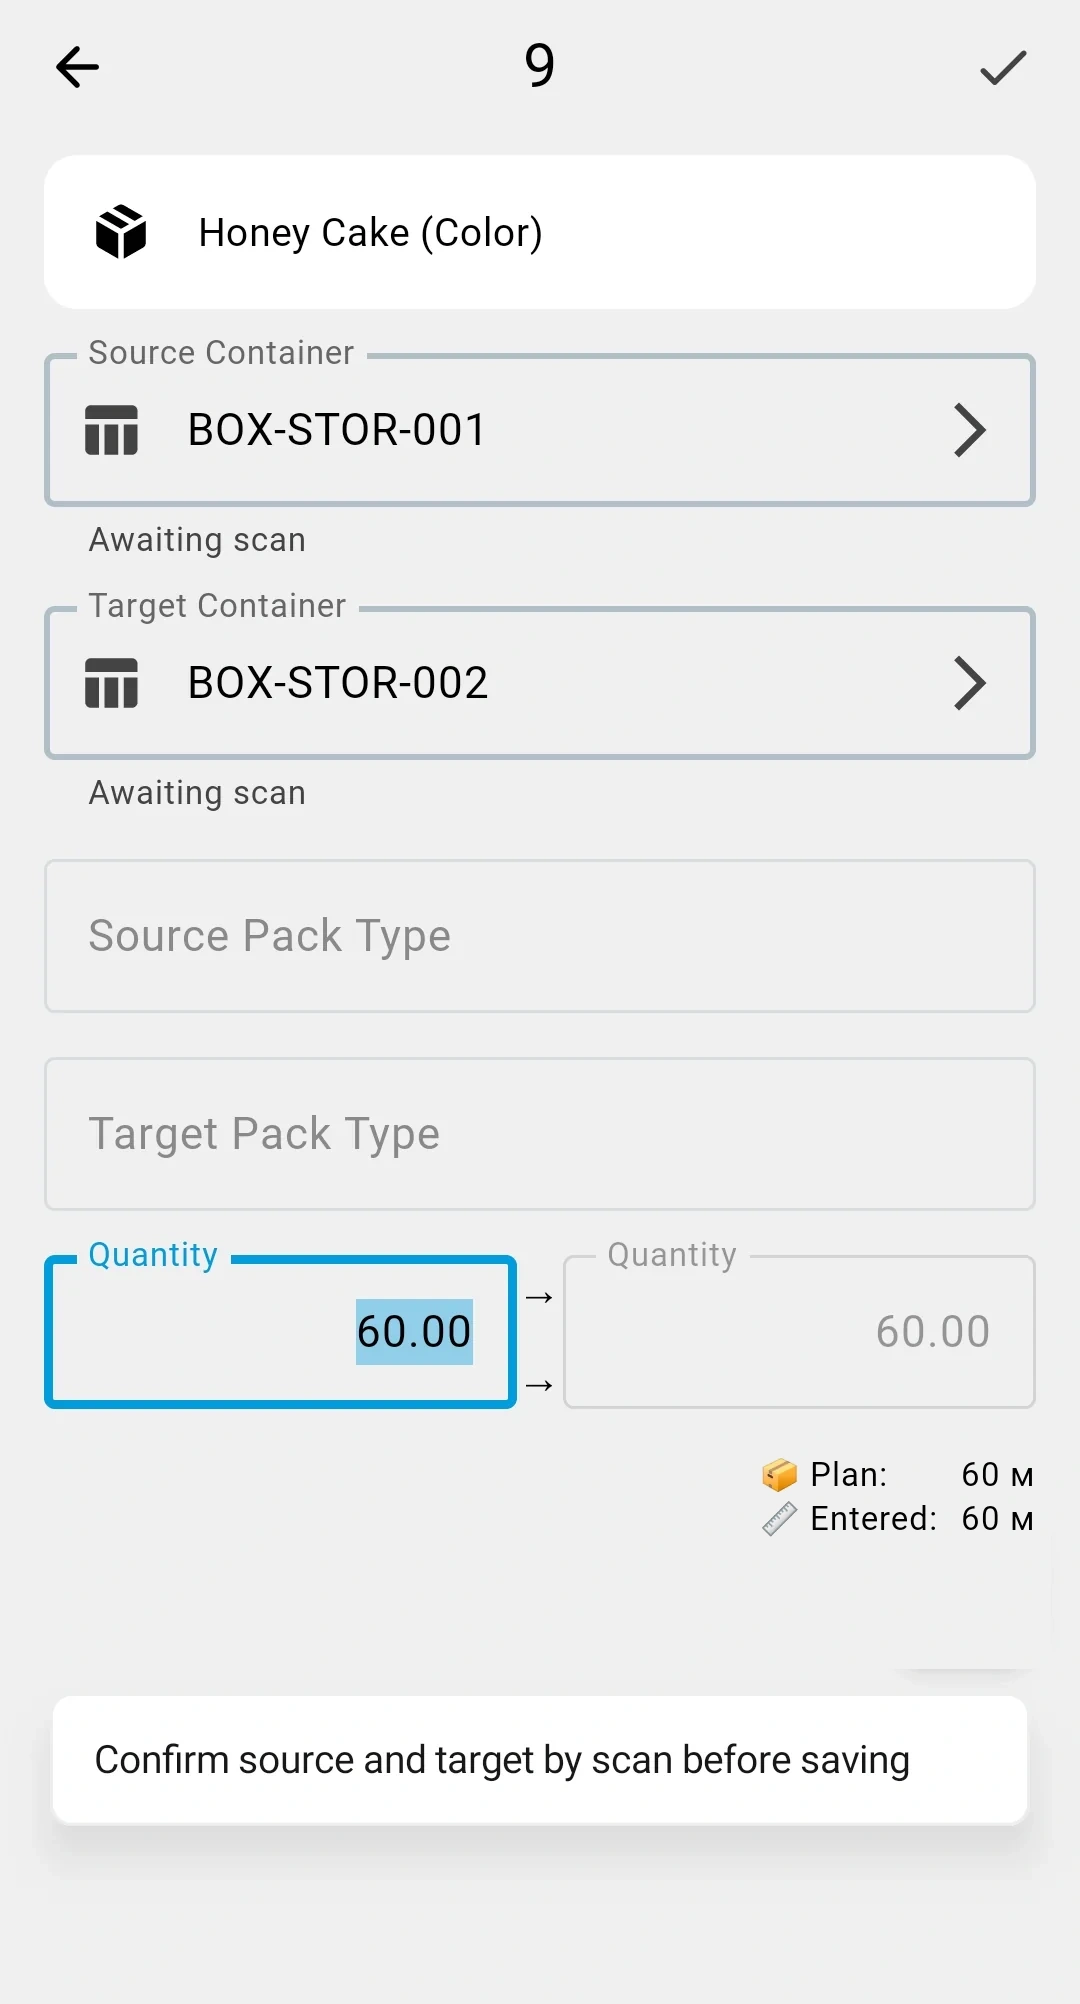
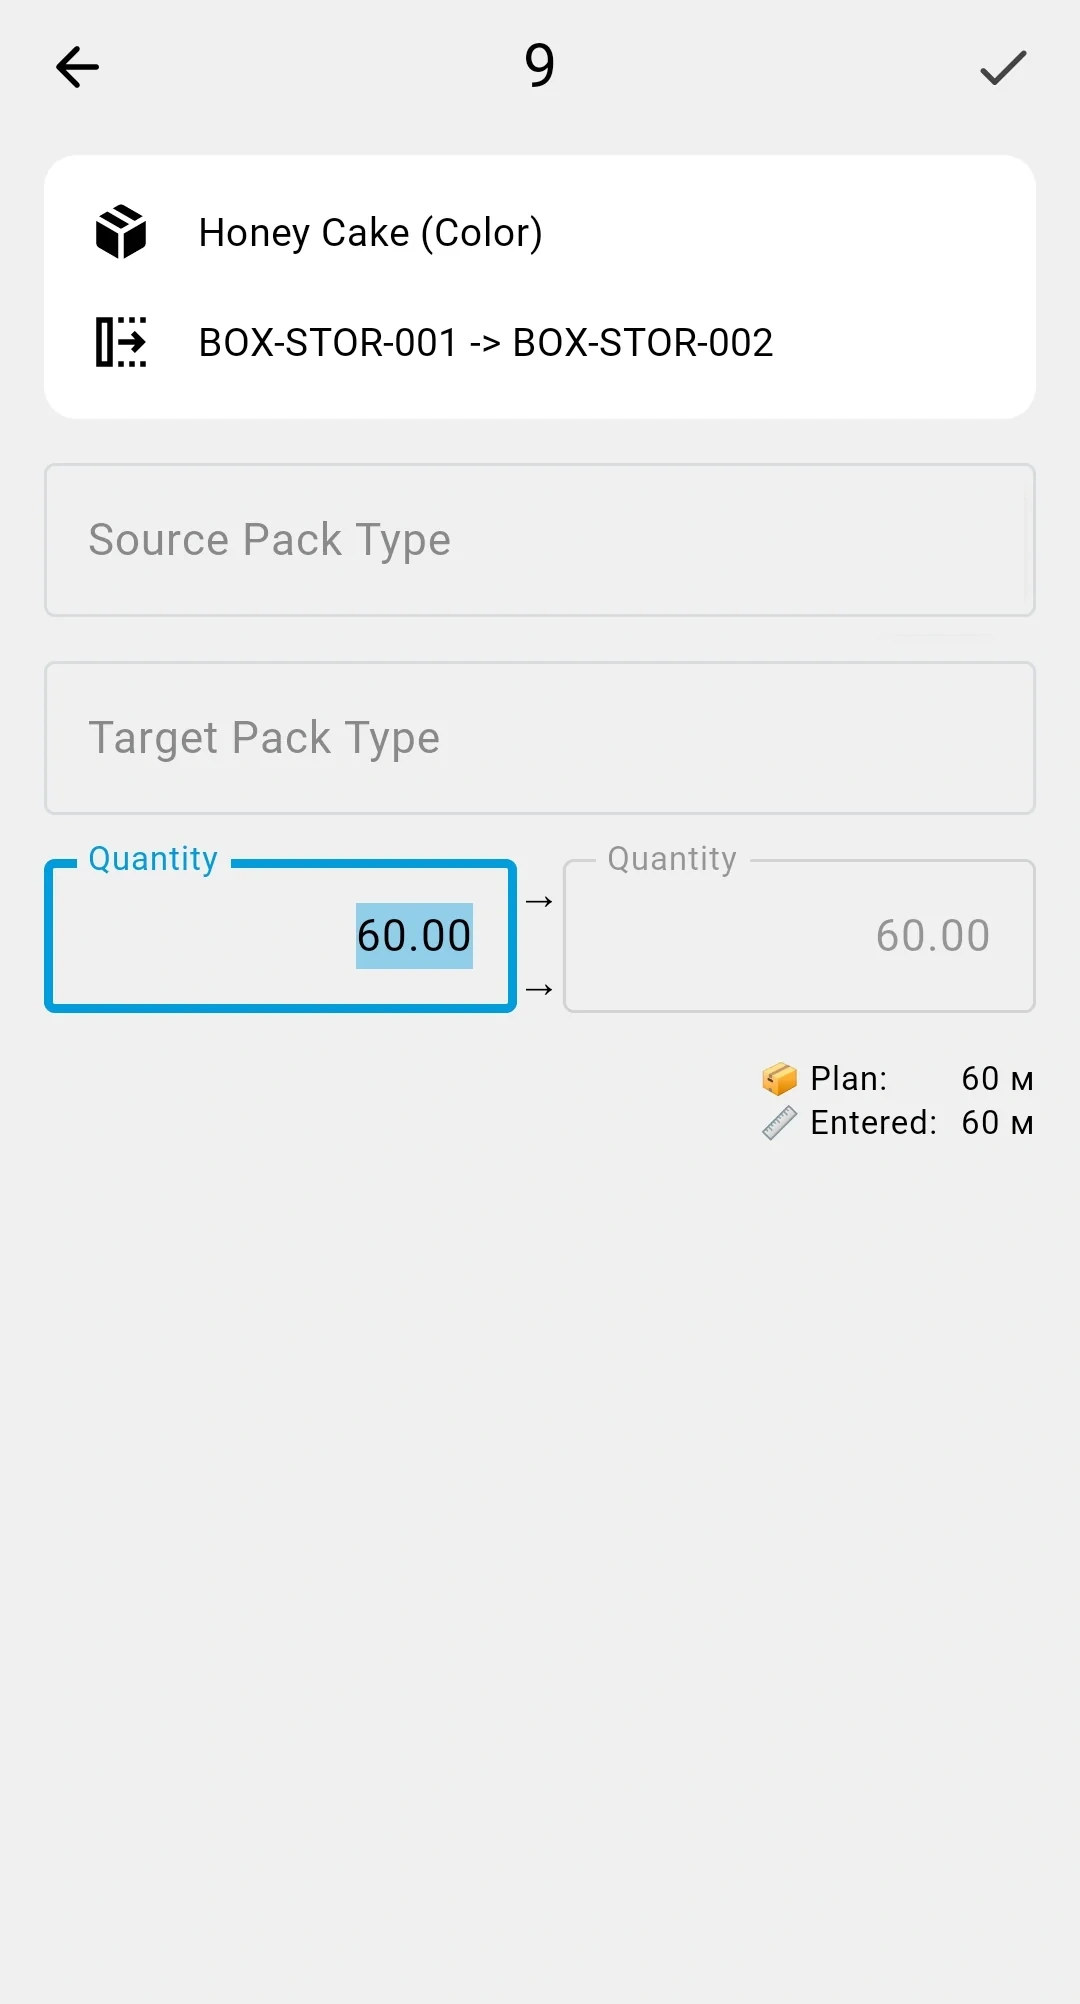
Pack-type change (repack)
A row may also change the pack type of the goods: the source pack type and the target pack type differ, while the quantity in the base unit of measure stays exactly the same.
Example: a product is stored as cases of 12 units. You want to put it on pallets of 144 units. In a single row you set the source pack as "case" (source quantity = 12 cases), the target pack as "pallet" (target quantity = 1 pallet), and the base quantity stays 144 units.
Repack is available in both planned and ad-hoc scenarios — it is a property of an individual row, not of the document.
Step 4. Closing the document
On the items table, while the document is In progress, a ✓ icon appears on the top bar. The operator taps it to close the document.
- Every line fully executed. The status moves directly to Completed.
- Some quantity remains. A confirmation dialog appears — confirming moves the status to Partially completed.
When the document is closed with a remainder, every source cell that still has unmoved stock is given the Count required status in the Inventory state section of the cell. The next inventory-count cycle picks these cells up automatically.
Cancel isn't available on the PDT — to cancel a planned relocation, use the client app.
For the full meaning of each terminal status, see the Relocation statuses reference.
What happens after closure
What happens after the PDT operator closes the document: